
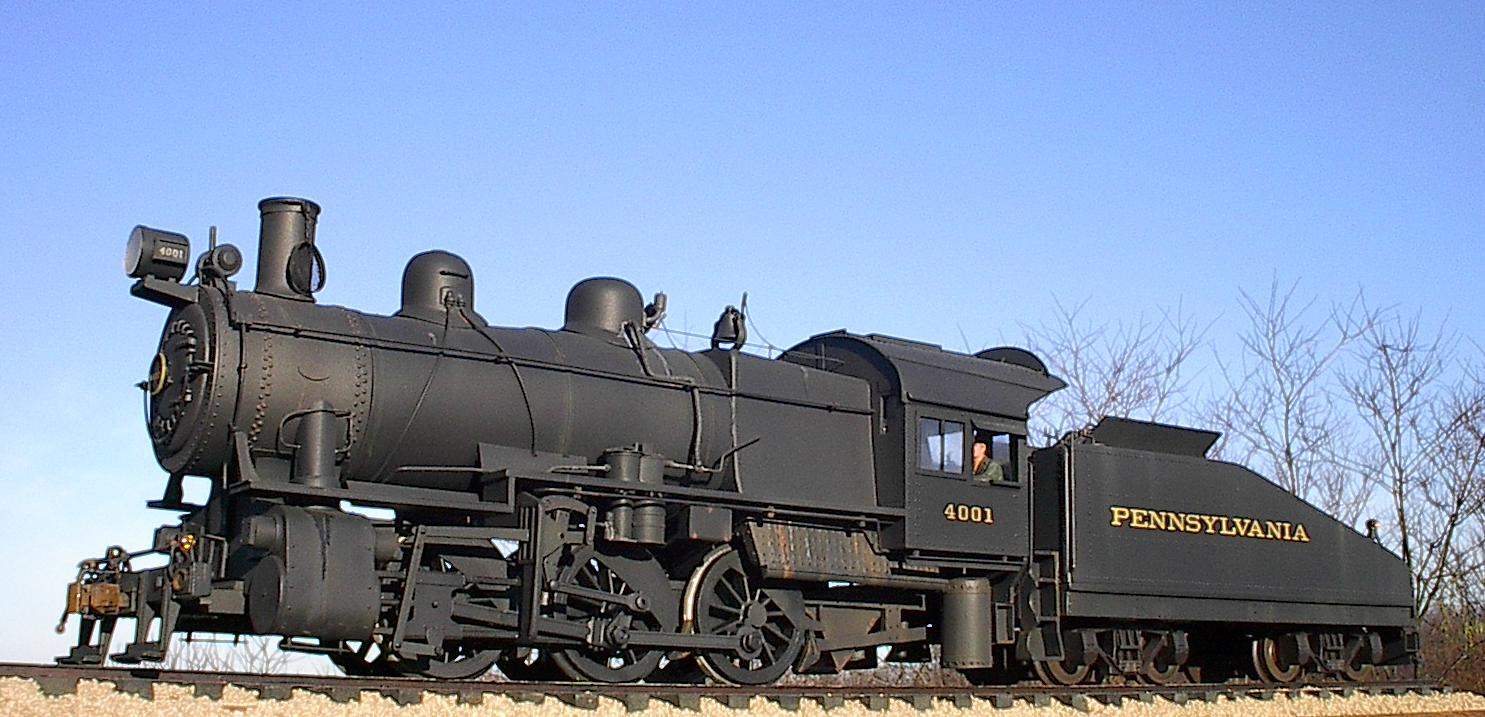
***THE PROTOTYPE***
Over the 10 year period between 1916 and 1926, the Pennsylvania Railroad constructed 238 Class B6sb Locomotives. These locos were of an 0-6-0 design and were used mainly for shifting. They could be found in Freight Yards, Passenger Terminals and could even be seen in branch line duty. The Pennsy liked these locos as they could negotiate the tightest curves of industrial spurs as well. With over 36,000 lbs of Tractive Effort these little critters did their job. Thru World War 1 and 2 they could be seen pretty much every where on the PRR System. During the late 40's and early 1950's the B6sb Class was slowly pulled from service. 1 B6sb class continued steaming as late as 1959 on lease in New Jersey. Luckily 1 B6sb survived and can be seen on display at the Railroad Museum of Pennsylvania, located in Strasburg Pa.
***
***THE MODEL***
1:29th is a relatively new Scale in Model Railroading. Several American Manufacturers of Large Scale Trains, USA Trains and Aristo Craft mainly, introduced this scale some yeas ago. Why they didn't decide on 1:32 scale, which is more correct in overall proportions for the gauge of the track used, is beyond me. I settled on building a 1:29th Locomotive as well because I wanted to be able to use other models that are currently available of this scale and have everything match.
Steam Locomotives in 1:29th Scale are something not readily available. When they are, they are far from being anything I would be interested in. Scale and Prototype PRR Steam Locos of 1:29th proportions do not exists at all. I wanted to do something about it so I decided to try to build my own. I figured smaller power would be best to attempt since detail parts are seldom seen as well. PRR small Steam Power was fairly plain and I assumed I could scratch build the parts I would need. Small semi-modern Steam Locos on the PRR to me meant either the A5s 0-4-0's or the B6 0-6-0 Classes. The A5s Locos were limited in service area, mainly in the east. I wanted a Loco that could have been seen anywhere at any given time. I chose the later class B6sb, as dozens served til the end of steam operations.
I needed to choose a medium for my B6sb project. I had just finished 2 years of scratch building 1:29th Scale PRR N5b, N6b, N8 and N5c Cabin Cars. I used Styrene for those. I was a quick student and learned what can and can't be done with Styrene. As Martha Stewart would say, "Styrene, It is a Good Thing". It is easily cut, glued, sanded and manipulated into the number of shapes needed.
This article isn't about a "how to" or "step by step" procedure one would expect to follow and in a year end up with the same thing. This is hand built and hand built items are pretty hard to explain for all to understand. Rather this article is more or less a Diary of my daily then weekly then monthly workings to get what I wanted. I am sure though anything you see that I accomplished in 1:29th Scale could be used in any of the smaller scales as well.
To aid in the construction of the B6sb, I used Photographs, the Internet, Reference Books and an HO Scale Sunset Models B6sb. I like this model and used it time and time again for construction techniques and measurements. An imagination is also a big help!
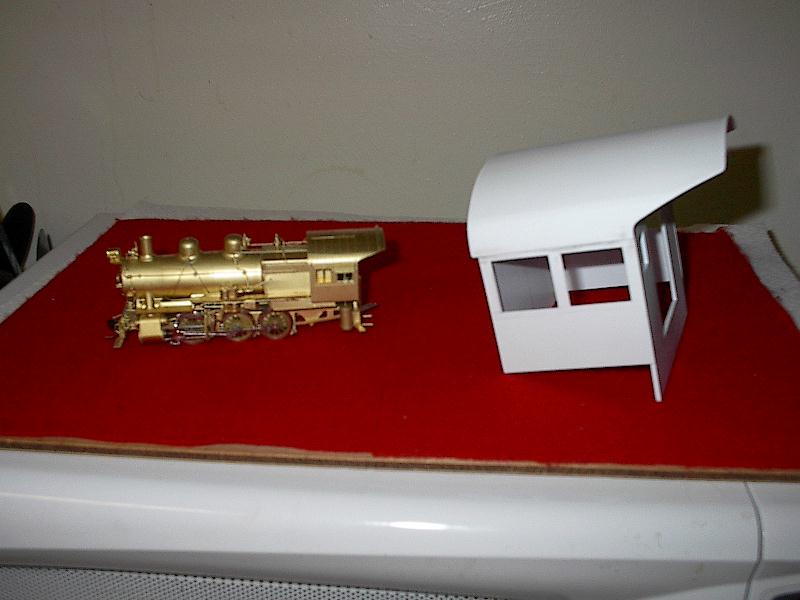
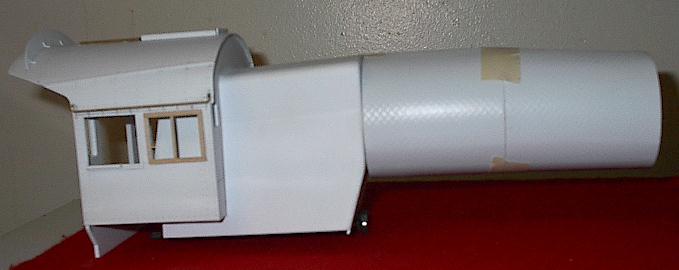
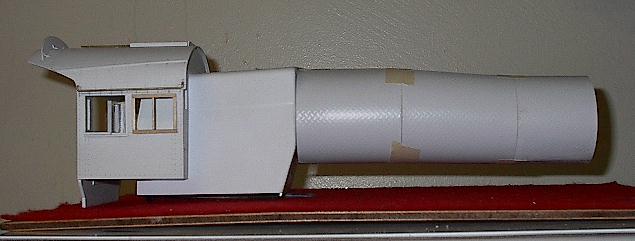
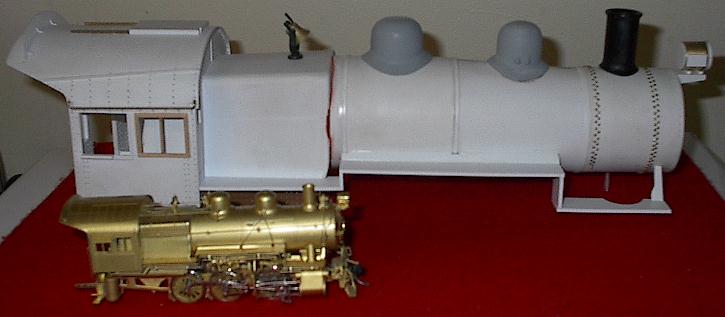
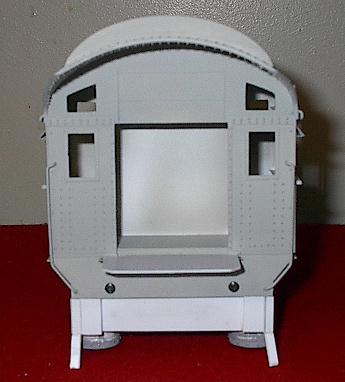
Construction on the B6sb started with the Cab. I figured if I could get a good looking Cab I would continue on. The Styrene performed well and the result was what I was after. No turning back now, The Firebox and Boiler were next.
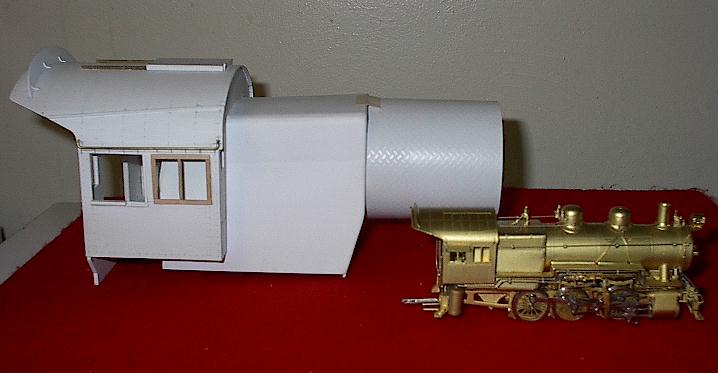
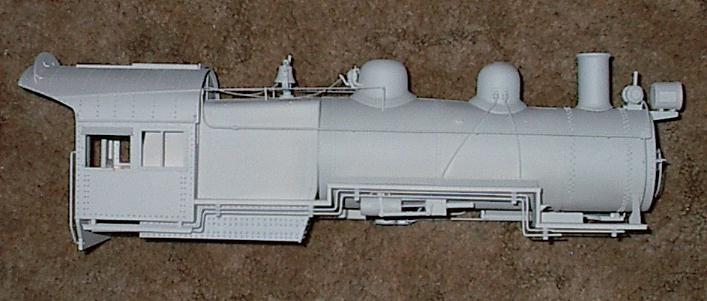
I was really worried about getting the Belpaire Firebox to look like it should. I wanted enough Slope, something lacking on many models. Within several hours of work I had what I wanted with only final sanding left. The Boiler Course next to the Firebox was easily constructed and attached. Next came the Boiler Course with a built in Taper. These can be a headache to build. The Taper is on the Top and sides only. The Bottom is Flat. I remembered my days gone by of Wooden Model Airplane building. I used that same bulkhead and spar technique to build the framework for this boiler section. Then I wrapped the assembly in Styrene. In the end I had a very easily built Tapered Boiler Course. All that was left now was the Smoke Box section. Most of the work there involved the detailing of the front. That concluded the basic Boiler/Cab assembly.
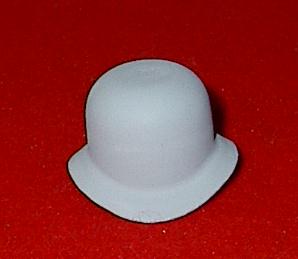
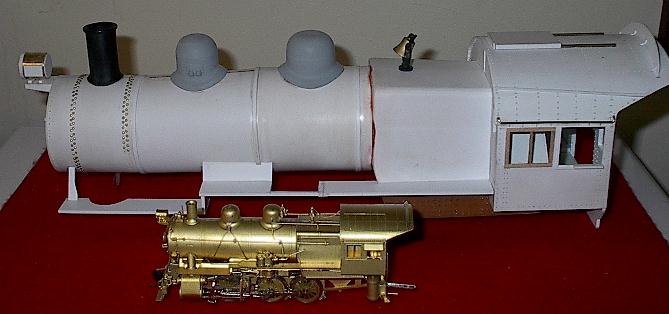
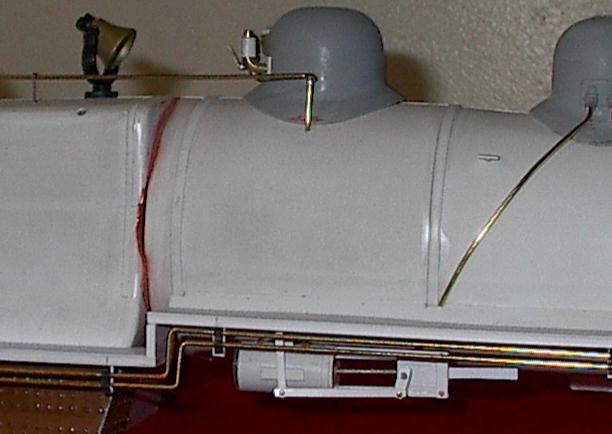
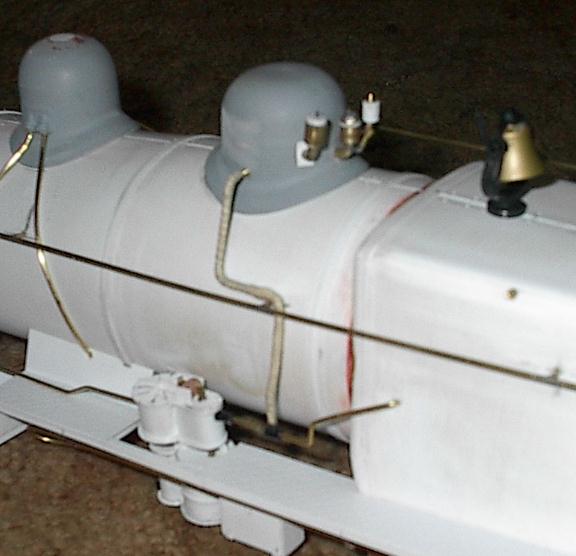
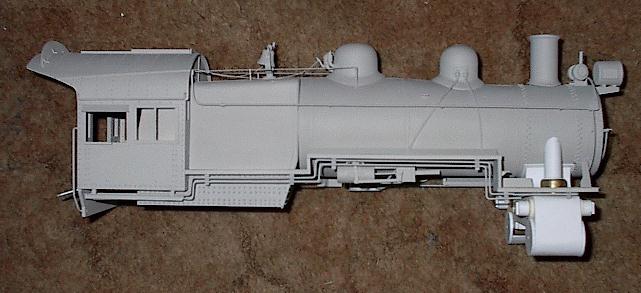
Up next was the addition of the Steam and Sand Domes for the Boiler. For these I used the ones found on an Aristo Craft 0-4-0. These were close to a PRR look but was several scale feet too tall. To fix this I cut out a section from the center and glued the pieces back together. A little putty and sanding and I had some good looking PRR style Domes. The Smoke Stack from an Aristo Craft 0-4-0 was used as well.
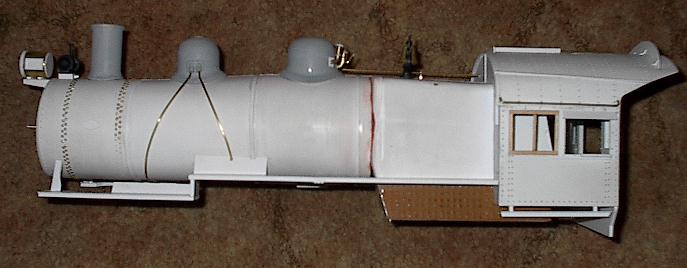
The Running Boards seemed to be the next item that needed attached. Measurements were taken from the HO Model and after cutting them from Styrene the Boiler was marked for their placement. Once anchored I topped them with a thin sheet of diamond tread.
As I wrote earlier, 1:29th Scale Detail Parts are not yet available in this fledgling scale. This is where I let my imagination run wild. After 4-5 hours of tinkering around with Styrene Sheet, Styrene Tube, Brass Wire, etc, I managed to fabricate a Power Reverse and an Air Pump. They looked OK when I finished them so I installed them in the appropriate places. Later that same night I was busy fabricating the Pop Valves, Modifying an Aristo Craft Bell to better represent a PRR Bell and having a tough go trying to model a PRR Banshee Whistle! What you see is what I came up with.
As the Project stood at this point, I thought it was taking shape way too easily. It may have been but a working Chassis was next on the drawing board.
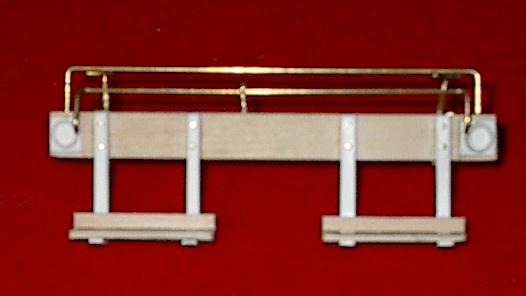
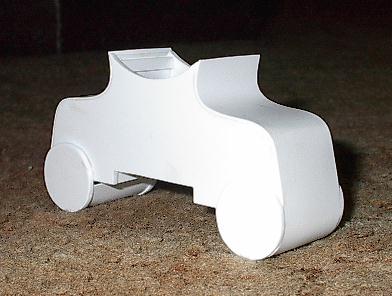
The Chassis began with work on the Pilot. Pretty straight forward construction. I used wood for the Beam and Treads. Styrene for the Steel parts and Brass Wire for Grab and Cutoff lever. I later obtained some great looking Lost Wax Brass PRR Claw Foot Markers that became available to me. More on those later.
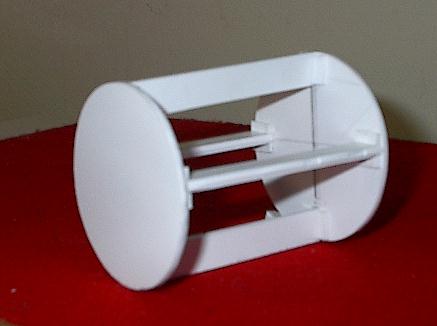
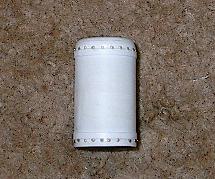
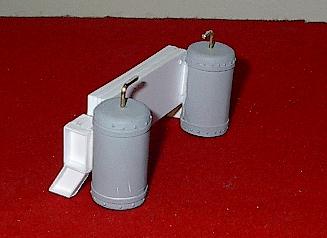
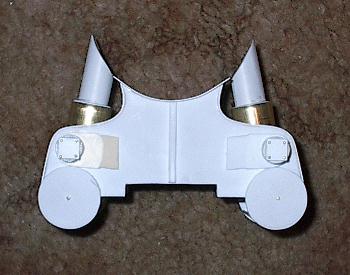
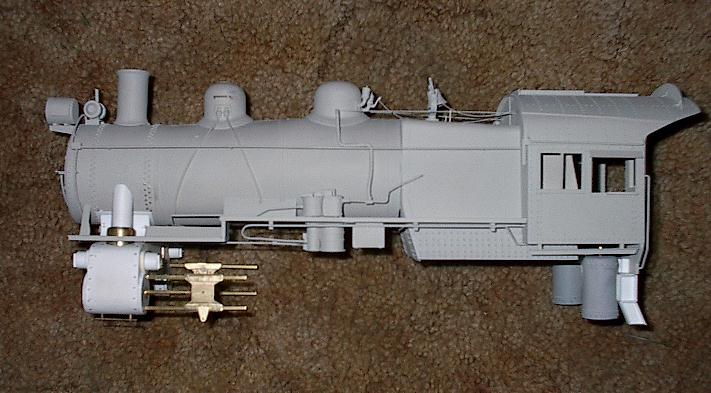
To model the 2 Air Tanks that are located under the cab I used Styrene Tube cut to length then wrapped with sheet Styrene to get the close to correct Diameter needed. A styrene cap was glued on and sanded to proper shape. Bands and Rivets finished the detailing.
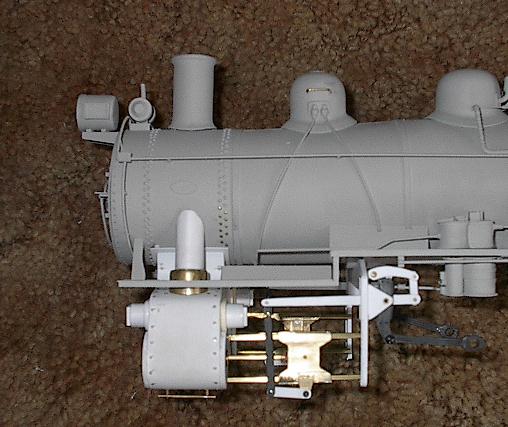
The Steam Chest involved gluing together the several main pieces. Parts were of both Styrene and Brass. Once the frame work was fabricated, styrene sheeting wrapper was glued in place forming the basic Steam Chest / Cylinder assembly. Then the Delivery Pipes were built and attached forming the completed part. Once temporarily attached to the Boiler, Crosshead Guides and later the Crosshead were built and installed. Nothing too fancy here. Just brass channel, angle, etc. to form what I needed.
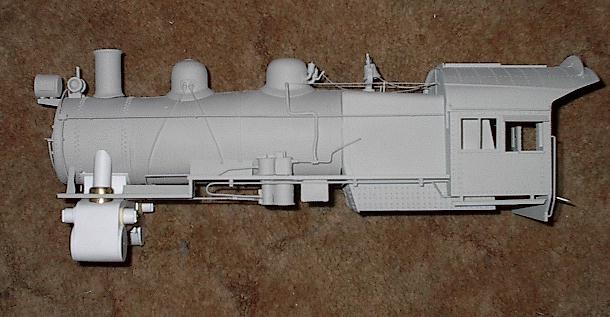
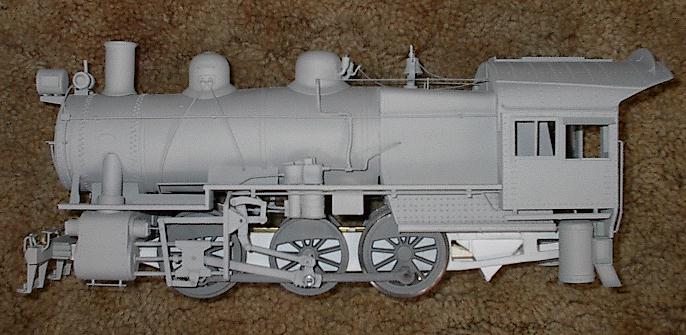
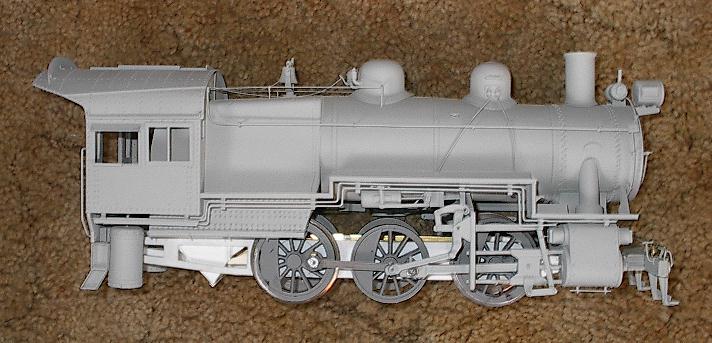
At this point with all the parts previously worked on and installed the B6sb is taking on an identity of the prototype nicely.
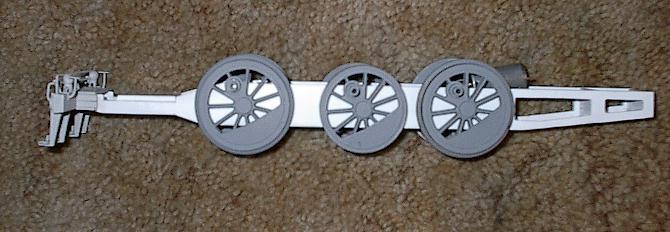
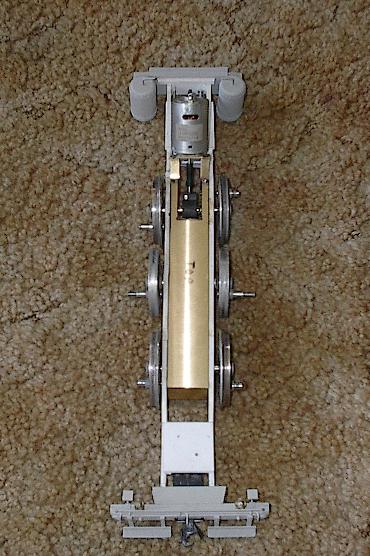
For the basic Chassis Frame I ended up using Styrene Side Frames laid over a brass block. This brass block was used basically to add the desired weight and to ensure straight and true axle slots. Thanks to a fellow named Larry Cooper and his machine shop, I have just that. The Drivers used on this model are not 100% correct. They are however very close to the 56" needed. In 1:29th Scale, with certain items, you have to settle for what is available. In this instance the Drivers are from Bachmann. To drive the chassis a NWSL Gear and Gearbox was used and for power a large Can Motor was installed. It is hidden inside the Firebox and is not plainly visible when viewing. This leaves a nice open see thru look and for the Leaf Spring details that was to be applied. Drive Rods were fabricated using a number of pieces of brass channel, strips and styrene. Valve Gear was a combination of those barrowed from an Aristo Craft 0-4-0 and scratch built from styrene. Put all this with the Boiler and it appears ready to roll.
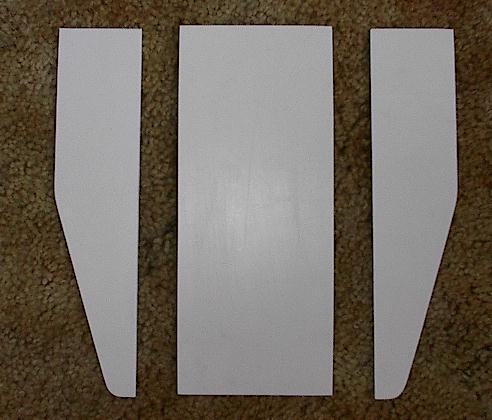
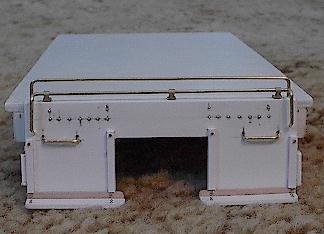
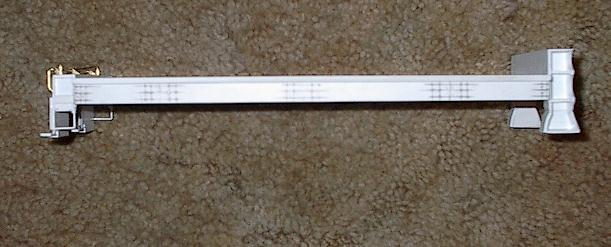
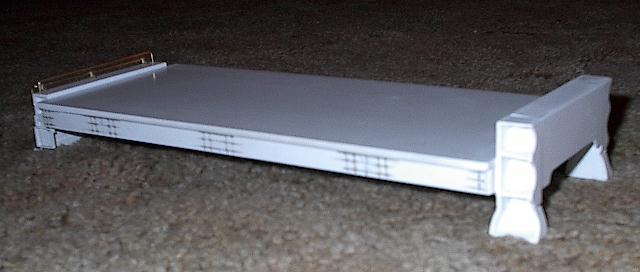
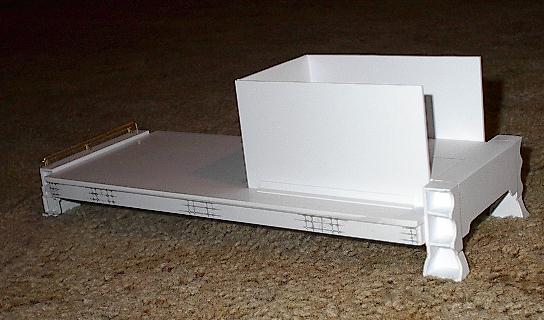
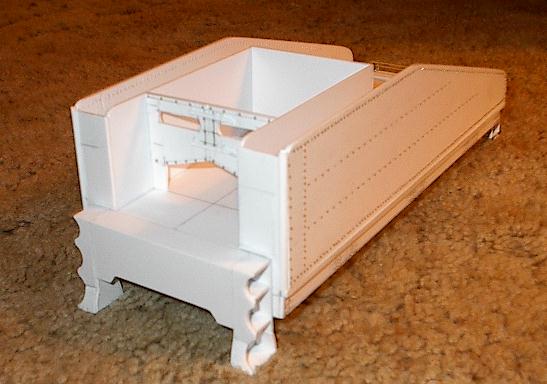
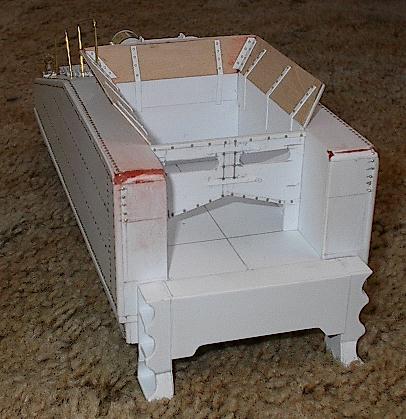
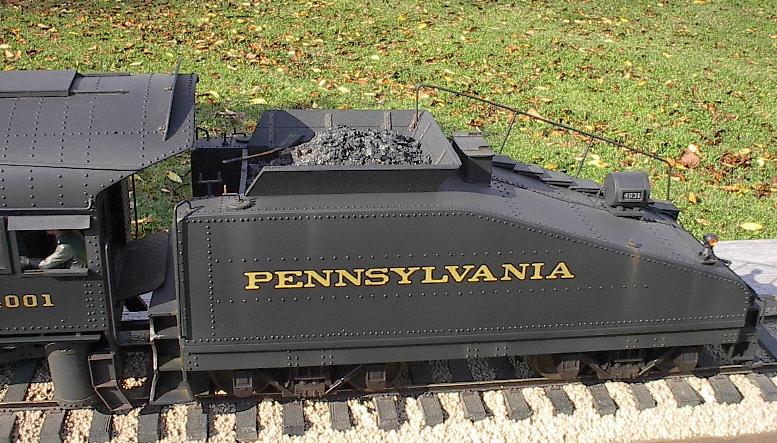
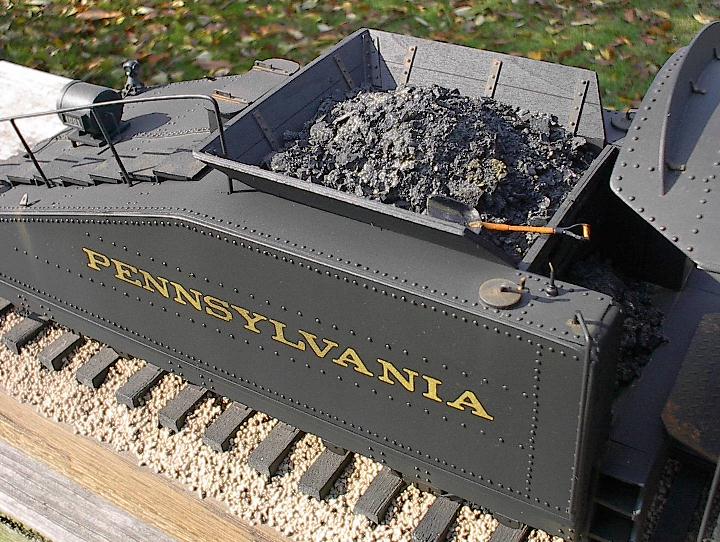
With construction of the Locomotive basically out of the way, the much easier Tender work was started. Maybe easier isn't the correct word that I should have used. There is a lot of Rivet detailing involved! All hand drilled and individually applied, just like what I did on the Cab on the Loco. Anyway, construction was straight forward on this as well. The basic side and floor measurments were taken from the HO model and the parts then cut from styrene. Once the Floor was cut I concentrated on detailing this before building the shell. All parts were again made from styrene except for the treads on the rear steps. Nut and Bolt castings and yet more rivets finished the detailing. The Coal Bunker walls were installed as was the Coal Gate, Tender Sides, Tender Top and associated details. On my particular B6sb Tender I chose to model the Coal Space with the built up wood boards that allowed the tender to carry a bit more coal. This adds great character and detail. Here is a sequence of photos that document the Tender construction.
One thing I had to settle on was the use of Bettendorf Trucks for the Tender. Most likely incorrect but again, nothing else available to use. It is beyond my talent to construct Trucks at this point.
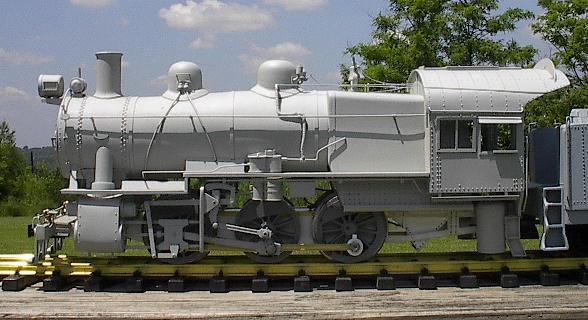
Finally, since beginning this project in December 2002, an end to the construction is nearing. All major work is done. After viewing it in Primer Paint for several months, it was time to give my new loco a paint job. I wanted the B6sb to represent something from the early 1950's time period so a beaten weathered look was needed. Not too beat up however as this Loco is to be still in service, not waiting the scrapper. Floquil Poly Scale Loco Black and their "Brunswick Green" was used for the main colors. Various other colors applied for the weathering. When all said and done, the colors blended just as I was hoping.
************************
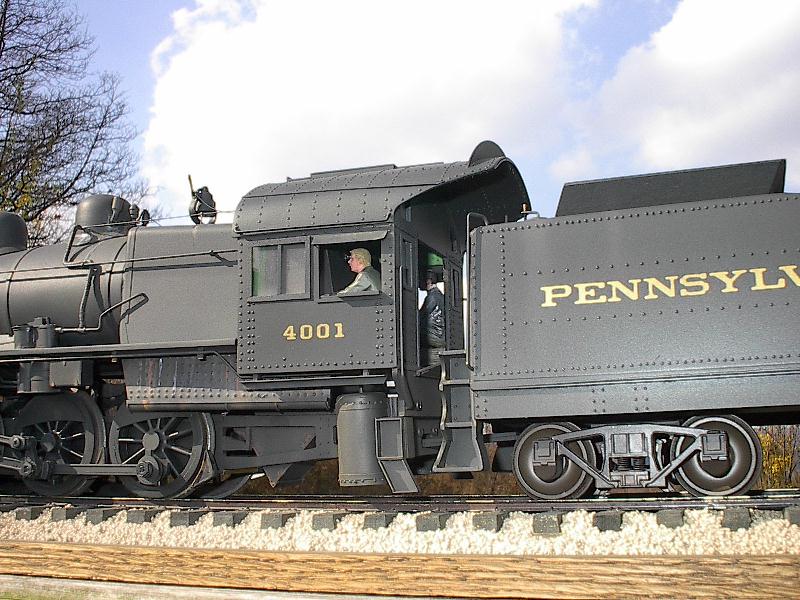
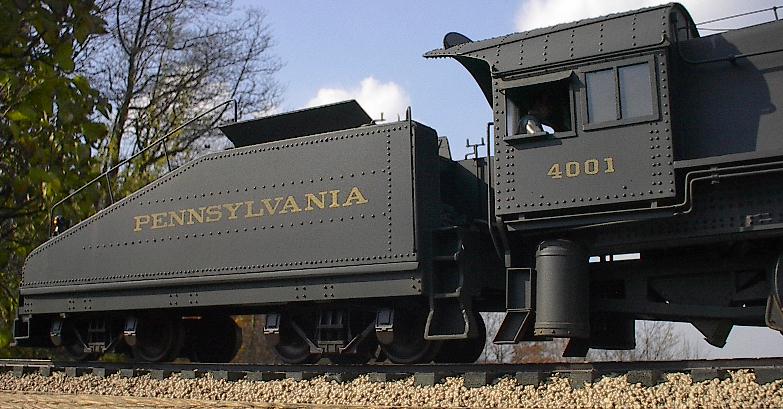
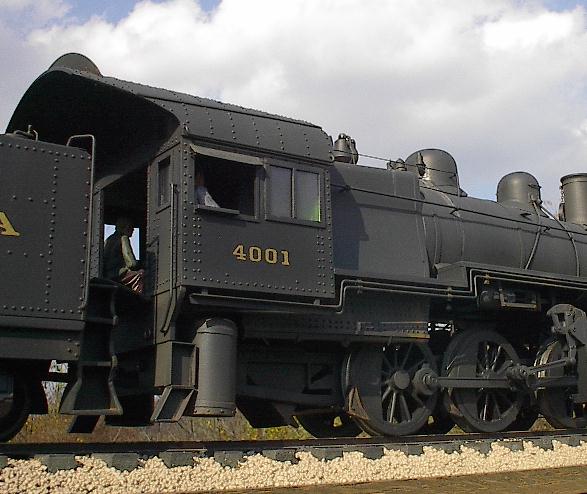
After working off and on on the B6sb for aproximately a year, I am nearing the final detailing. I have now finished the painting details and the decaling. Below is a "walk around" showing views of the nearly finished Locomotive. Details like the Cab Backhead and Tender Underframe will be in the works in months ahead. But these following photos are of the B6sb that I was after when I chose to tackle this project.
****************************
Now that I have completed this model, I need to choose another. I have an idea of what I want to do but need to look into the construction techniques to see if it is feasable. Stay tuned.......Thanks, Gary
Here are several other Links to my past Model Projects I have completed in 1:29th Scale.