An American Victory
We played this game at Covenant Presbyterian Church in North Jackson on August 21, 2010. The 15mm troops are owned by Jay stribling as is most of the terrain shown here. The roads and part of the terrain were built by Bill Hamilton. We used Arty Conliffe's rules "Crossfire."
Jay Stribling was the Game-Master for the game, but Bill Hamilton is our rules expert on Crossfire - perhaps because his eyes can find things in the rules more quickly! It would be difficult to run one of these without Bill. Several of the club members have now purchased copies of these rules.
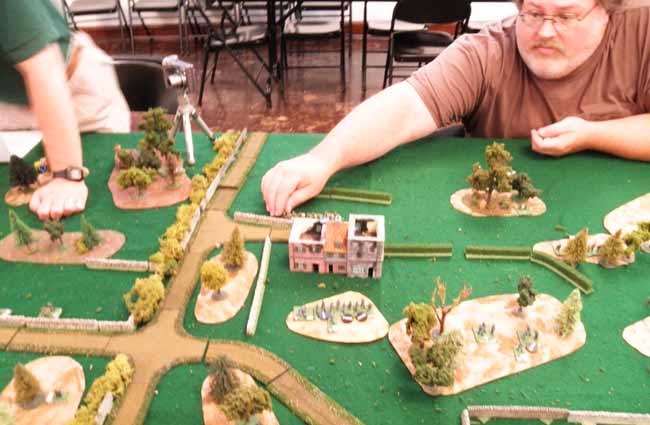
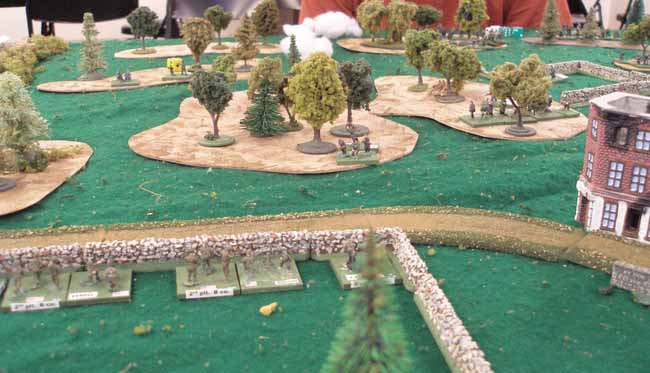
AMERICAN LEFT FLANK - Photo by Bill Hamilton
The first platoon were pinned down by fire from the building, then returned fire and cleared the enemy out. The second platoon took position in the nearby woods and are taking fire from Americans farther to the right.
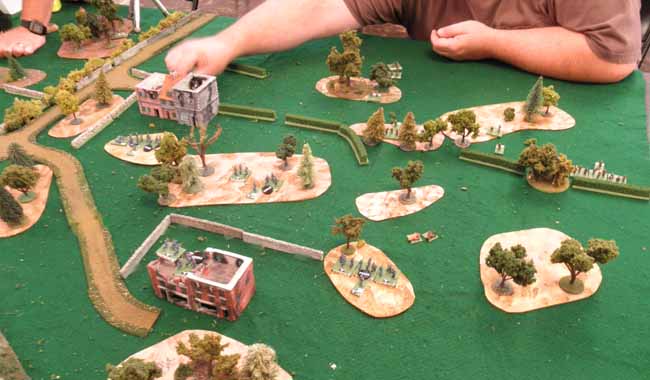
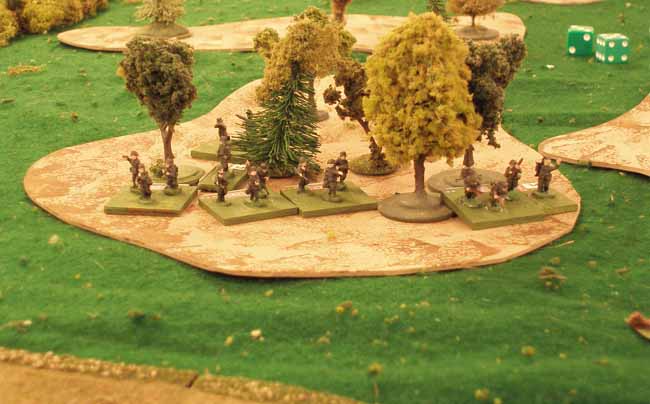
AMERICAN LEFT FLANK - Photo by Bill Hamilton
The near building is secure, but the Germans' right flank is almost unprotected.
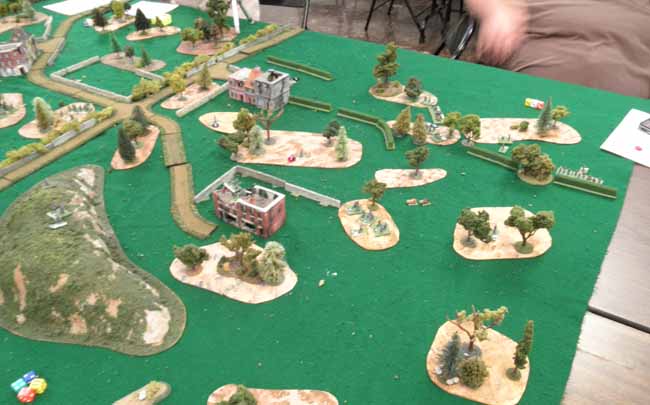
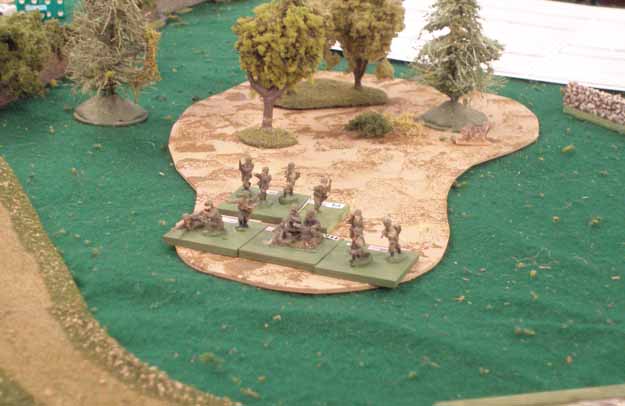
AMERICAN LEFT FLANK - Photo by Bill Hamilton
The Americans move some heavy machine guns into position to attack the German left flank. In the end this was shattering to the German 1st company.
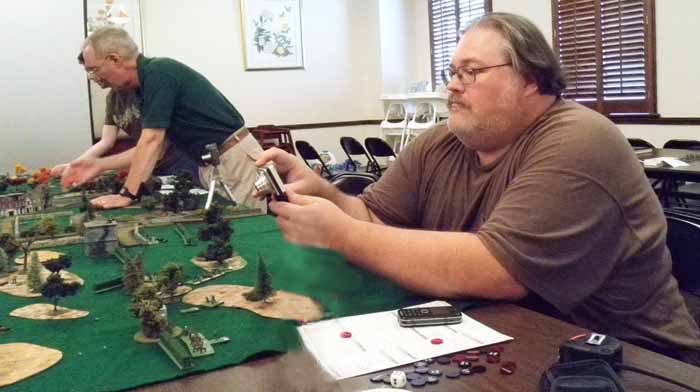
AMERICAN LEFT FLANK - Photo by Bill Hamilton
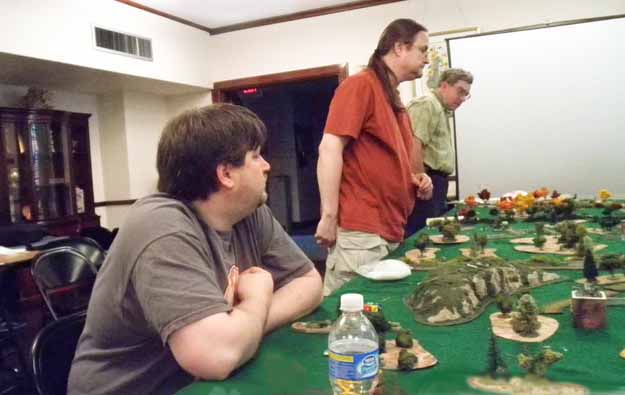
The American players (Sean hiding behind Jim).
AMERICAN LEFT FLANK - Photo by Bill Hamilton
The German players.
THE CENTRAL BATTLE - Photo by Jim Pitts
The American right flank/German left flank battle area. Here Sean's Americans attacked Ed's Germans.
THE CENTRAL BATTLE - Photo by Jim Pitts
The American and German center. Here Phil's Germans attacked Jim's Americans.
THE CENTRAL BATTLE - Photo by Jim Pitts
The American left/German right flank area. Here Bill's Germans and John's Americans had a meeting engagement.

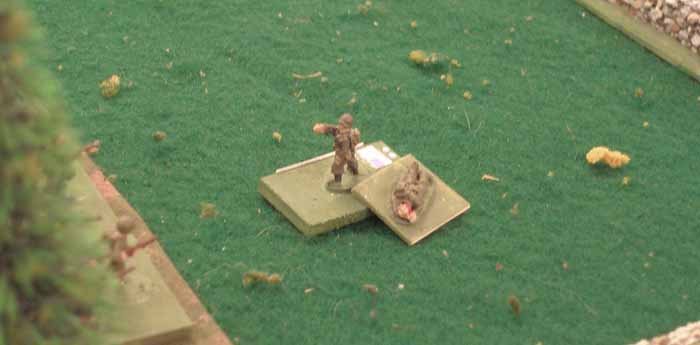
THE CENTRAL BATTLE - Photo by Jim Pitts
Jim's 2nd Platoon, B Company, with attached heavy machineguns and 60mm mortars and aided by some 81mm indirect mortar fire, has just destroyed one of Phil's German platoons, leaving only the platoon leader in the woods to the left background.
THE CENTRAL BATTLE - Photo by Jim Pitts
A short while later, the same American platoon, again aided by 81mm indirect mortar fire, has destroyed two squads of another of Phil's German platoons in the woods in the center background.

THE CENTRAL BATTLE - Photo by Jim Pitts
Over on Jim's right, a platoon of A Company caught a German platoon in the open between the stone walls and killed all but the platoon leader. That's three german platoons destroyed with minimal losses to Jim's American defenders.
But as 2/B tried to move down the wall a well-placed and aimed German heavy machinegun (located in the woods just out of the picture) suppressed and pinned the platoon leader, two rifle squads, and the heavy machineguns. Over time, the German heavy machinegun and the rifle platoon visible in the woods to the upper right would kill these suppressed troops.

THE CENTRAL BATTLE - Photo by Jim Pitts
Meanwhile, near the small village, 1st Platoon/B Company holds off two attacking German platoons, with the assistance of a platoon from A Company (in the woods to the right. But German gunfire and indirect mortar fire would soon destroy that A Company platoon.
THE CENTRAL BATTLE - Photo by Jim Pitts
A full-strength German platoon moves forward to reinforce the efforts against B Company's troops behind the stone wall and in the small village.
THE CENTRAL BATTLE - Photo by Jim Pitts
Meanwhile on the far right flank, a platoon of A Company has called in a smoke mission to conceal its move forward. But when the platoon leader can't get the heavy machine gunners to pack up in time, the smoke dissipates and the platoon is forced to stay where it is. (What actually happened was that I didn't see that the heavy machinegun was pinned until after the smoke mission was successfully fired. When I tried to unpin the heavy machinegun, I rolled too low. Drats!!
THE CENTRAL BATTLE - Photo by Jim Pitts
With all his platoon killed or wounded the 2nd Platoon leader runs back towards 3rd Platoon's positions to free up their field of fire. As he crossed the field, he drew heavy German fire, being pinned several times and even suppressed once. But he was finally successful and cleared the 3rd Platoon's field of fire. As he finally did that, the Germans all had "drawn" no-fires so the 3rd Platoon advanced across the field and into the woods, first assaulting the lone squad from the first Germans to penetrate that wood, destroying them. They then traded fire with the German platoon, finally beating them after a fierce struggle at very close range.
This action ended the German attack in this sector. There was still one American platoon (from A Company) in reserve that had not moved or fired yet. The Germans realized that they didn't have sufficient forces to continue the attack against the small village.
As dusk falls, Americans hold the town and securely hold the ground around two of the guns.
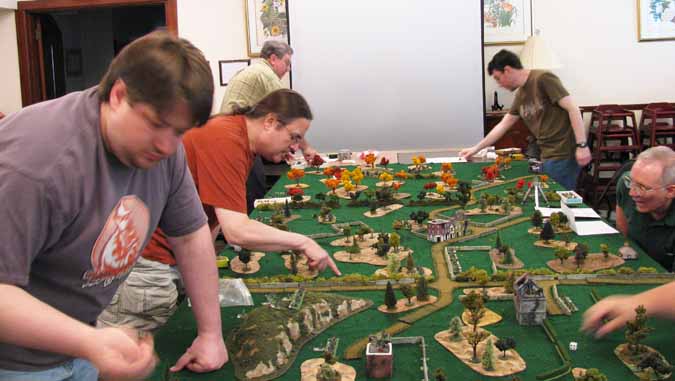
Photo by Jay Stribling
All the players, busy at work, moving, dicing, shooting and being shot at.
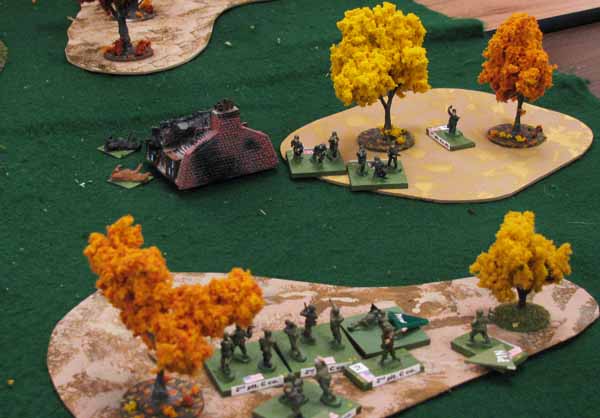
Photo by Jay Stribling
Sean Pitt's US troops in woods, firing on German troops just across the way. The ruined house was an objective. Perhaps is was a barn, note the dead cows next to it.
Although Ed Sansing's Germans seem outnumbered, they have pinned down several of Sean's US troops.

Photo by Jay Stribling
Some of Sean Pitt's American troops with a heavy machine gun section attached in the woods with brillian crimson trees.
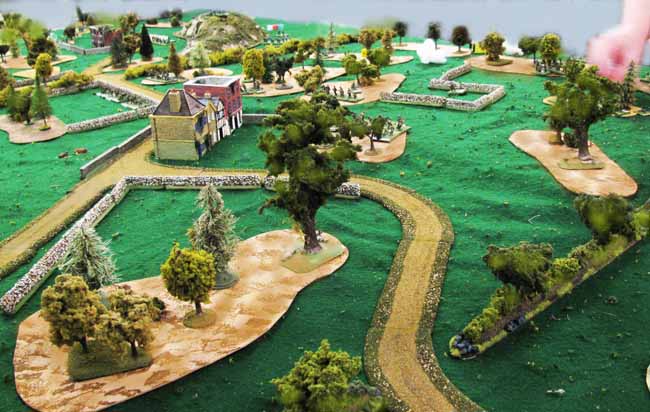
Photo by Jay Stribling
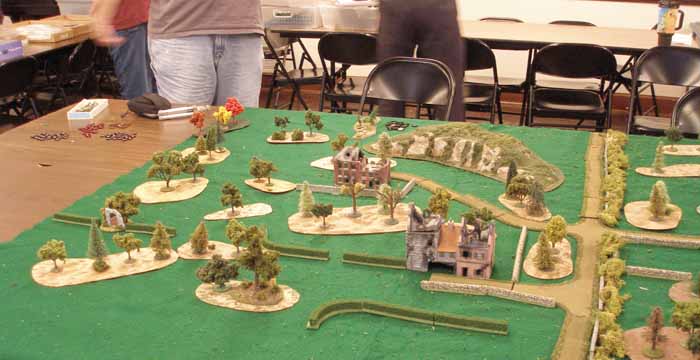
Looking from the Southwest across the "central" front to the "northern" front. The hill on the northen front is the most recognizable terrain feature. Only a very few troops visible. There is a blurry image of Phil Young's hand on the right.

Photo by Jay Stribling
Ed Sansing places some of his German troops at the start of the game, or when they are revealed by firing.
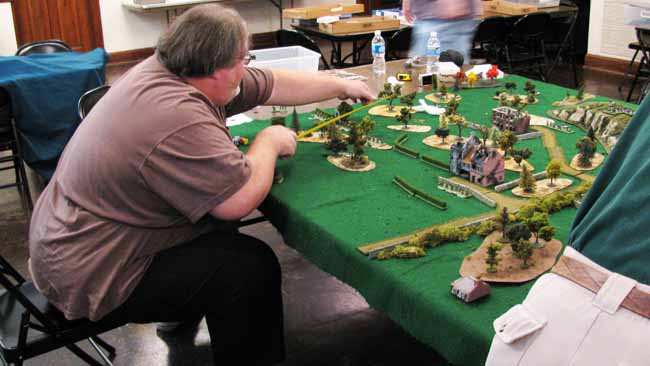
Photo by Jay Stribling
John Murdaugh in action! Also this shows a passing shot of the "Rear" of Jim Pitts position.
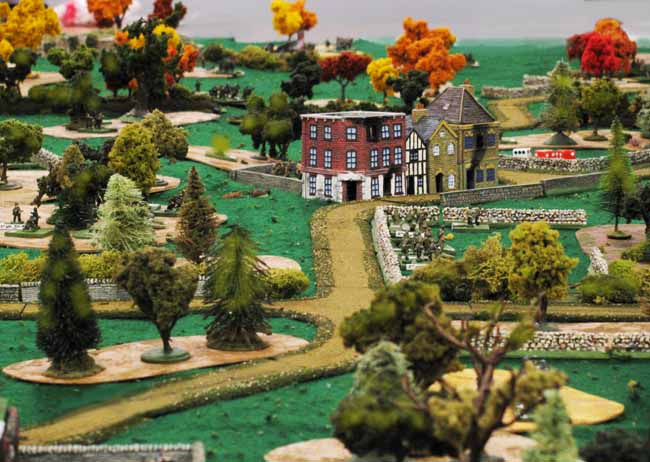
Photo by Jay Stribling
A view from the north edge of the game table, looking south.
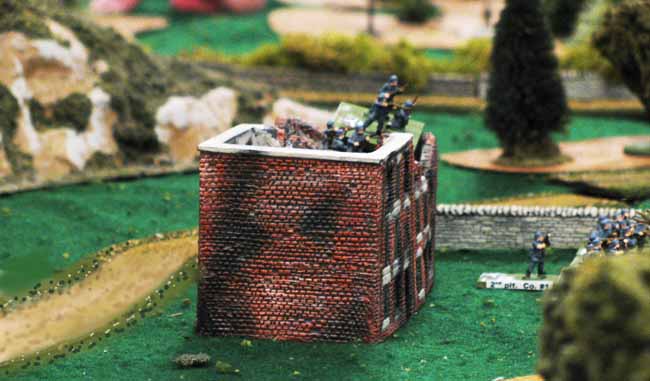
Photo by Jay Stribling
Building occupied by Bill Hamilton's German infantry on the "northern front".

Photo by Jay Stribling
Sean Pitts' Americans in the woods on the left, shooting at Ed Sansing's Germans in the woods on the right.

Photo by Jay Stribling
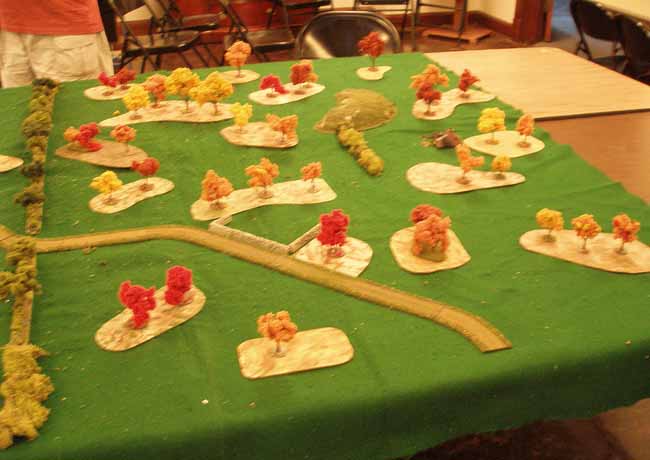
Jim Pitts rolling dice for something critical. Note his opponent watching him closely! Coming towards the camera, just past Jim's dice, the foliage colore changes to fall colors. This is the "Southern" front where Sean Pitts and Ed Sansing duked it out.
The Players, Forces, Objectives, and the Outcome
On the Right Flank, Sean Pitts' American infantry was attacking against two German infantry companies commanded by Herr Major Ed Sansing. Sean maneuvered his infantry forward, taking losses, but he was more able to sustain them tha his opponent Ed Sansing.
Jim Pitts led the American troops, defending against Phil Young's Attacking German forces on the front. At the game's end there was still one American platoon (from A Company) in reserve that had not moved or fired yet. The German player realized that they didn't have sufficient forces to continue the attack against the small village.
On the left, John Murdaugh had the mission of advancing and occupying a deserted road-house close to the German side of the table. He had two comp.anies of paratroopers.His opponents was Bill Hamilton, also with two companies of paratroops. This 'Northern' front featured forces which were almost even on both side.
John had never played Crossfire before, but Bill was an expert at it. The game-master believed that this would give an advantage to Bill Hamilton. The game-master was wrong!
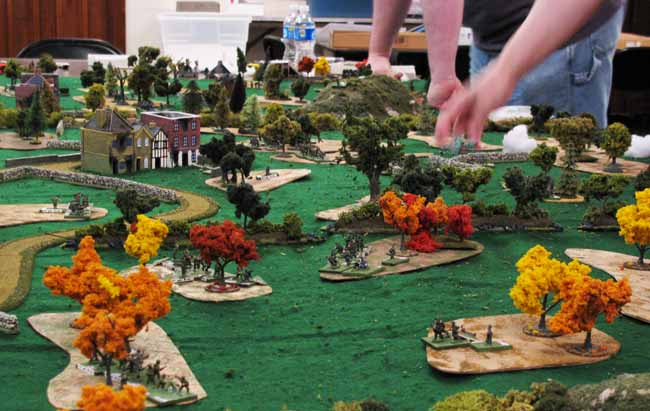
Photo by Jay Stribling
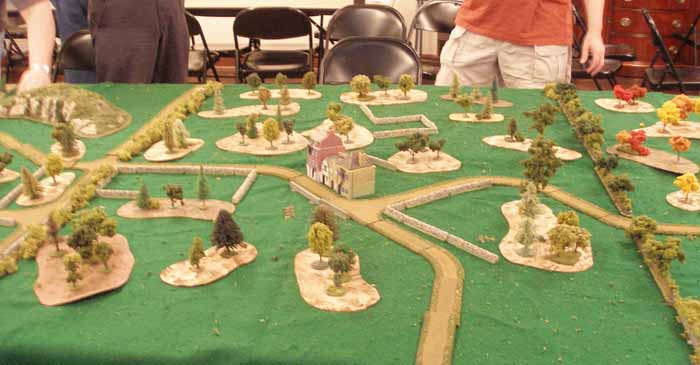
A view of Pretty much the entire game table's terrain.
Notes & Misc.
We were playing this game on a 12-foot table which allowed each pair of opponents had only four feet of frontage. This seemed to be enough so that the complaints of the previous Crossfire game (If I had only had another little bit of room, I could have...) were not heard.
Return to the Master Index of Photos and Games
Return to the Jackson Gamers' Homepage
Angelfire - Free Home Pages
Free Web Building Help
Angelfire HTML Library
htmlGEAR - free polls, guestbooks, and more!
Thank you for visiting The Jackson Gamers' pages at Angelfire. Please come back and visit again!