Page 2 of
The Attack on the Center
As on the first page of this battle report, it was written by Jay Stribling, from notes provided by Jim Pitts (the game-master) and Ed Sansing, one of the photographers. We used our Brom Napoleonic rules, adapted from Larry Brom's "Standard Rules" on this web site.
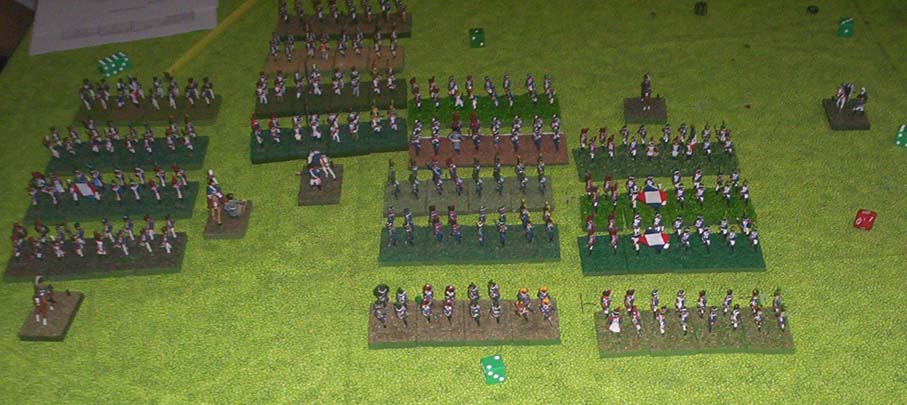
Photo by Robert Whitfield
An overhead view, from a Montgolfier balloon possibly, showing two divisions of French infantry marching up the slope towards the British position. Only a few of the black casualty rings are visible so far. No stands seem to be missing, so the allied artillery has not had a decisive effect - yet! Each battalion was composed of four stands for this game.
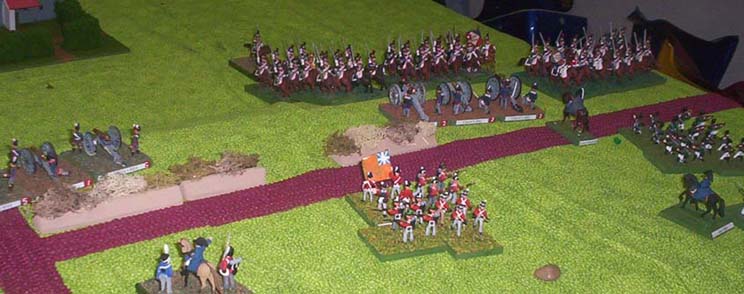
Photo by Robert Whitfield
A vew from above the British center looking towards the right flank where French heavy cavalry are pounding up the slope towards the British artillery battery and two infantry squares. This attack was made by the extreme left flank French troops commanded by Jim Woodrick. It did not break the British line here.
This attack is not to be confused with the historical, and much larger French cavalry attack which too place farther to the right (it would be off this table edge shown) after D'Erlons' attack was over.
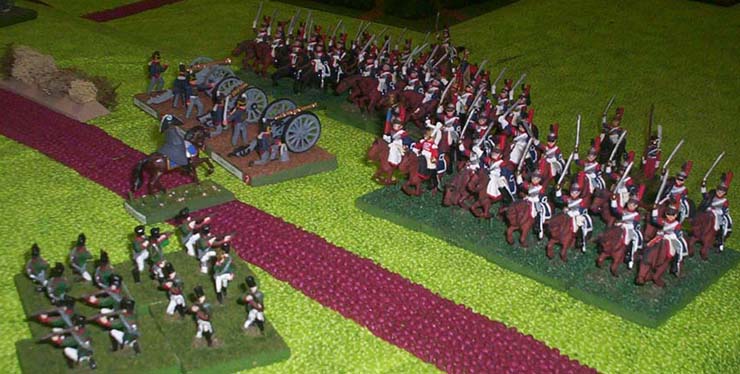
Photo by Robert Whitfield
A close-up of the attack described above. No artillery accompanied the Frenchmen, all having been used to create Napoleon's "Grand Battery" or held in reserve for later use. How the French cavalry would have loved a horse battery to pepper the enemy squares with grape and cannister.
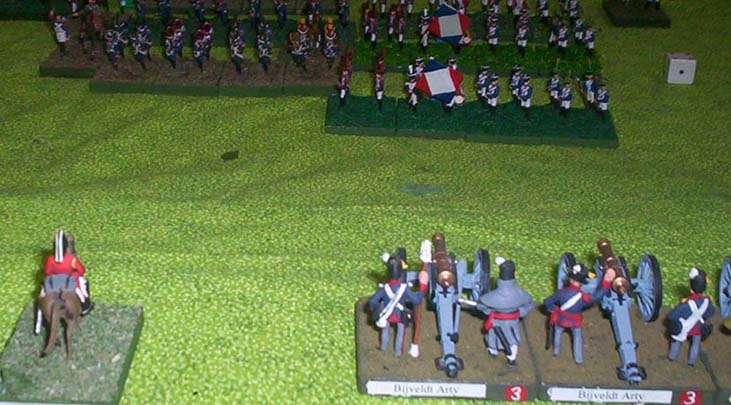
Photo by Robert Whitfield
I say - Mr. Bijveldt - or whatever your name is - Double Cannister NOW!
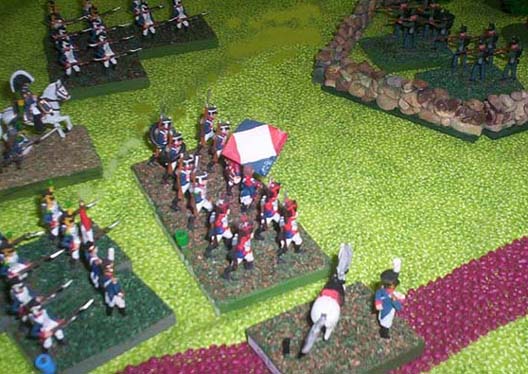
Photo by Robert Whitfield
French infantry assaults the walled orchard of the La Haye Sainte farmhouse. Unlike it's historical counterpart, the KGL infantry in this walled farm held off the French assaults.
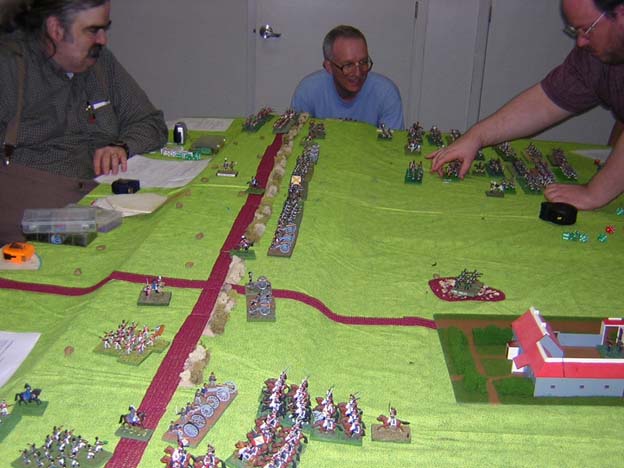
Photo by Ed Sansing
The French right continues to advance. They begin taking casualties from British cannon and muskets. Rick Loveday is moving his men forward. The game-master, Jim Pitts (in blue shirt), grins as he watches his scenario unfold. Robert Whitfield, one of the defenders, watches impassively from the left.
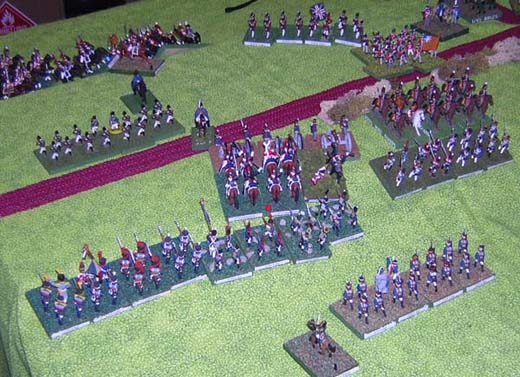
Photo by Ed Sansing
The first French cavalry charge was repulsed. This is the second and is supported by the infantry. One brigade has made it over the hill only to be hit by 2 regiments of the Household Brigade. The 3rd regiment goes head on with an infantry battalion.

Photo by Ed Sansing
The French right makes contact. The hole at the far right was due to fire combat. The lead French units fell back but the allied units, militia quality, routed.
General Whitfield (seated) reads dispaches. General Loveday (right of image) urges his men onward with a strong left arm. The game-master, Jim Pitts, is showing a card which will allow some unit to move, but the photos really looks more like he is making some sort of derogatory gesture!
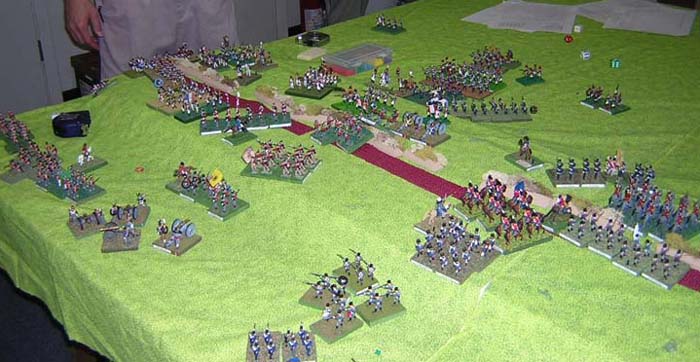
Photo by Ed Sansing
On the next turn, the Hannoverian Militia battalinons failed to rally and the following French units have gained the top of the ridge.
The Scenario
Two days ago, on June 16, 1815, the Emperor Napoleon's army drove the British/Allied army and the Prussian Army apart at the twin battles of Quatre Bras and Ligny. Lord Wellington, commanding the British and their allies has fallen back to a position near Mont St. Jean, just in front of a great woods. The Prussians under the injured Field-Marshal Blucher and his Anglophobe co-commander General Gneisenau are thought by the Emperor to be falling back towards the Rhine, after being very roughly handled on June 16th.
Now seems to be the time to crush the British. The Emperor, after some minor opening moves has ordered Marshall D'Erlon to attack the British/Dutch center of Wellington's line. Two brigades have been split off to mask the allied forces on D'Erlon's right, and the remaining five brigades, supported by part of the French Cavalry, slog through the mud and began to move uphill toward the British line. This is intended by the Emperor to be the decisive assault of the day. On this attack may hang the future of Europe.
 | The French Order of Battle For this game |
Wing commander - Marshall Ney
I Corps - General De Division: Count D'Erlon
2nd Division - General de Division: Donzelot
3rd Division - General de Division: Marcognet
1st Division - General de Division: Quiot
IV Cavalry Corps - General De Division: Milhoud
13th Division - General de Division: Walthier
I Cavalry Corps (Part - Off edge of Battlefield in Reserve)
5th Division - General de Division: Subervie
Guard Light Cavalry Division - General De Division: Lefebvre-Desonettes (Off edge of Battlefield in Reserve)
French Victory Conditions
You must break the British lines and get units off the far edge of the battlefield. Don't let British cavalry units get off your side of the battlefield. Each of their units which exit cancels the effect of a French unit that you exit.
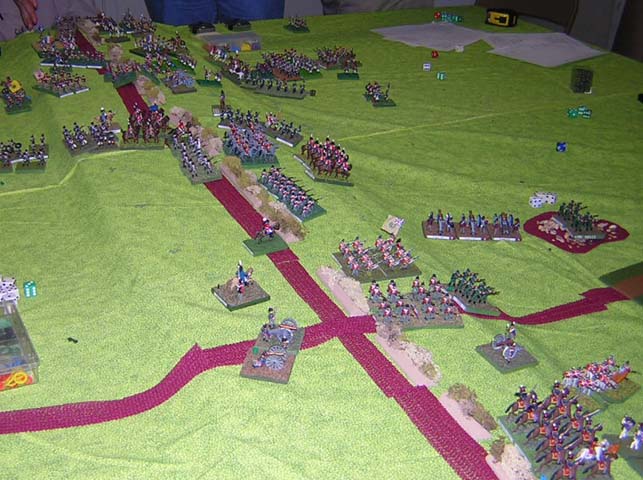
Photo by Ed Sansing
The British cavalry has destroyed one of the French units trying to get off the battlefield (note the empty area between the units). The artillery unit in the foreground had abandoned its guns after the 2nd or 3rd attack.
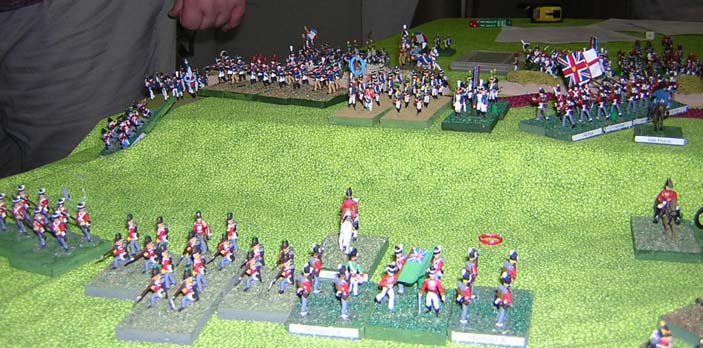
Photo by Ed Sansing
The French infantry occupies the ridge. The British in the foreground fell back from the fire and did not rally. This cleared the way for the French to get three battalions off the edge of the battlefield and into Wellington's rear.
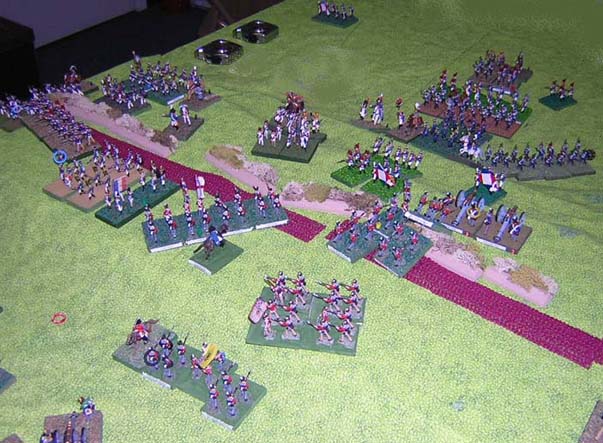
Photo by Ed Sansing
Robert Whitfield's British units in the center try to refuse a flank and hold the line.
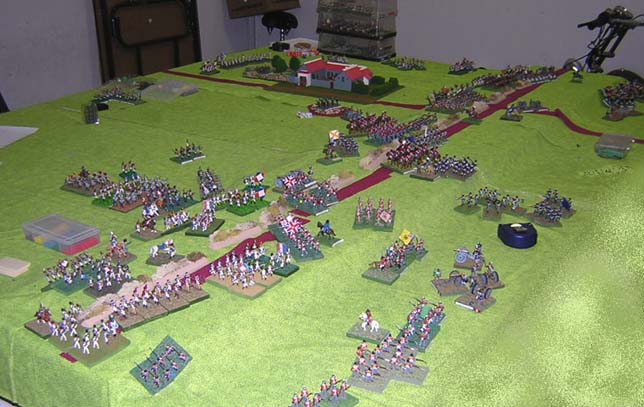
Photo by Ed Sansing
This is an overall view of the field - looking south. Note the British cavalry in the center crossing the hedge and moving toward the French rear.
 | The British/Allied Order of Battle For this game |
Commander in Chief: Lord Wellington
Division Commander: General Picton
Division Commander: General Perponcher
Division Commander: General Alten
Cavalry Commander: Lord Uxbridge - All Cavalry began off table in reserve
Artillery
Notes on units: Each battalion was represented by 4 stands each of 4 men. Each cavalry regiment had from 2 to 4 squadrons, each of one stand of 4 figures. Each battery was represented by three stands, each having one gun and two gunners on it.
SO - Who won this battle anyway?
The French won this action, and thusly the battle of Waterloo. The Prussians will not arrive in time. Wellington will fall back on the channel ports, and the Prussians, feeling deserted, will fall back east.
Flag images above are from the marvellous WARFLAG site
Return to Page 1 of The Attack on the Center
Return to the Master Index of Photos and Games
Return to the Jackson Gamers' Homepage
Angelfire - Free Home Pages
Free Web Building Help
Angelfire HTML Library
htmlGEAR - free polls, guestbooks, and more!
Thank you for visiting The Jackson Gamers' pages at Angelfire. Please come back and visit again!