Get yourself a red oak, white oak or hickory board with a straight all the way done the stave grain. 2 run ups or run outs per limb are allowed for a maximum.
Please refer to Board Bows elsewhere on my site. There you will find more information and a picture of the ideal board. The type of cut doesn't matter-1/4 sawn, rift sawn or plain sawn. The width board I have is 1.5 inches which is best for this design bow. Double your draw and add 20-25% for a length. I am shooting for a 50-55# bow at 28 inches. Those wanting a lower poundage bow of around 30-35 # or lighter may use 1.25 inches for a width. We will be making a slightly bending handle bow. This bow will not have a glued on handle. Please refer to Bowyer Directions elsewhere on my site.

This stave I cut to a length of 68 inches. Therefore, the center would be 34 in. Measure 2 inches on either side for a 4 inch handle.

I then measured 4 inches past mid limb, measured off 1/2 inch nocks and drew lines as indicated. I did that on both limbs and removed wood with a drawknife on both limbs. I removed close to the line and trimmed it up with my stationary belt sander. I believe with this style bow less set will be evident.

To obtain the belly taper, at the nock measure down 3/8 inch from the back, draw a line from that point to the 4 inch handle as shown. Do this on both the upper and lower limbs. I removed wood with my draw knife and trimmed it up with my sander floor tillering both upper and lower limbs as I went along. Be careful with the drawknife it is capable of destroying a stave in seconds.
On both limbs while the save is clamped in the vice edge up measure down 1/2 inch, draw a line, 3/4 inch, draw a line, connect the corners with a diagonal making sure the nock is in the right direction, start the cut with a hack saw going down about an 1/8 inch or a little less, and widen it with 1/8 inch file. Turn the stave over and repeat. Repeat on the other limb. Rough nock should look like the picture below. Later we will round off the edges and corners of the nocks to remove unneeded wood.

Prepare for long string tillering. I just use an old sash cord with a loop at each end. Please note the rope and pulley is described on my site under Bowmaking Directions. Also note I marked the end of the string with duct tape. I measure down 10 inches from that tape. We are shooting for nice bending limbs at this point.

She's getting there. Note the Stanley Shurform. I'm using that now for better control of the wood removal. Note that the 4 inch handle section is to be left untouched. She's looking pretty good. Nice curve. Note the handle section is slightly stiffened. I'm looking to get a string travel down to ten inches with nicely bending limbs. Also, I want target weight or 5# above at ten inches of string travel. I'm looking for 55# at that ten inches. I hook my Hanson Hand Held Scale to the rope holding it in my hand and pull. When I get target weight at 10 inches of string travel, I'll string her up for the first time. That'll put me 15# over target weight. Stringing a bow that is too heavy can result in a break or added set. She still is a tad heavy. We'll likely take care of that tomorrow. I'm still careful about pulling the stave much over intended weight even in this initial reduction.
The tiller you see starting to take shape in the next pic is a good tiller for a bow that bends in the handle. I'm aiming, however, for a bow with a slightly stiffened handle. I need more bending from mid limb to tip to accomplish this. Also the right limb is a little stiff. I worked a bit more on it. She is now pulling 57# at 10 inches. Almost ready for the string.

Shape the nocks to fit your bow stringer. I use a 4 way rasp.

Much has been written on making strings. The reader is advised to search out relevant sources dealing with string making. The Traditional Bowyers Bibles are great resources. Email me for dealers that sell them.
Round off all 4 edges with sandpaper. Sand the back of the stave with medium and then fine sandpaper to get it glassy smooth. Stave should be strung at a brace height of 2-3 inches for its first stringing. If it is bending well brace height may be increased as tillering proceeds.

Proceed slowly. Never pull the stave more than #5 over target weight. Never draw the stave if the limbs are not bending well. I do this wood removal with the Stanley Shurform tool.
With a very straight log stave or a board stave a neat way of checking tiller at brace is to mark off the stave in 6 inch increments down each limb. Measure the distance from belly to string at the corresponding point on each limb. Also measure the belly to string distance one each side of the limb. remember with character staves it is the full draw distance that counts. Pic shows the limb measured and numbered.


Stave is pulled to 22 inches and 55# in this photo.
This is the time when the bowyer really has to go slowly. I even count the scrapes with the scraper. I do 20 on each limb. Then I string the bow up and check the tiller and weight. I'll pull until I get 55# or so. Hopefully the draw weight will increase with each scraping session to achieve the 55-57#. Make sure the limbs are bending well before pulling to target weight. Takes a bit of time but patience is important at this point. I also visually inspect the belly taper to guard against uneven wood removal on each side of the limb.
Here she is at just a little less than full draw. Full draw of 28 inches has been reached though picture taking with one hand is difficult.

After shooting the bow around 36 times, I sanded it with medium (100 grit), and 220 grit paper. I then moistened the wood with a wet paper towel and after the wood dried I sanded with 400 and 600 grit paper. Moistening raises the grain and after sanding produces a nice smooth finish.
Now is the time to stain your bow. I prefer water based stains and polyacrylic sealers. Follow the directions
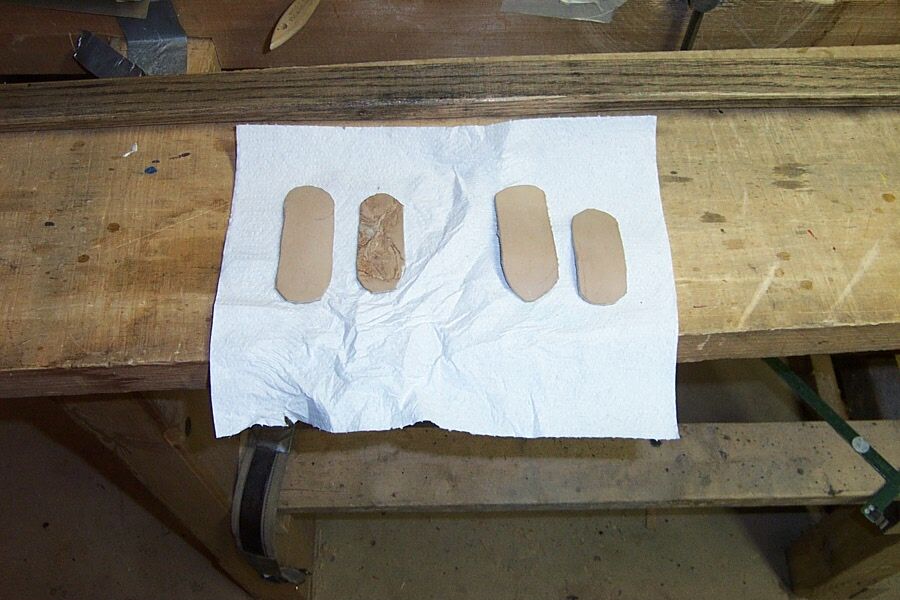
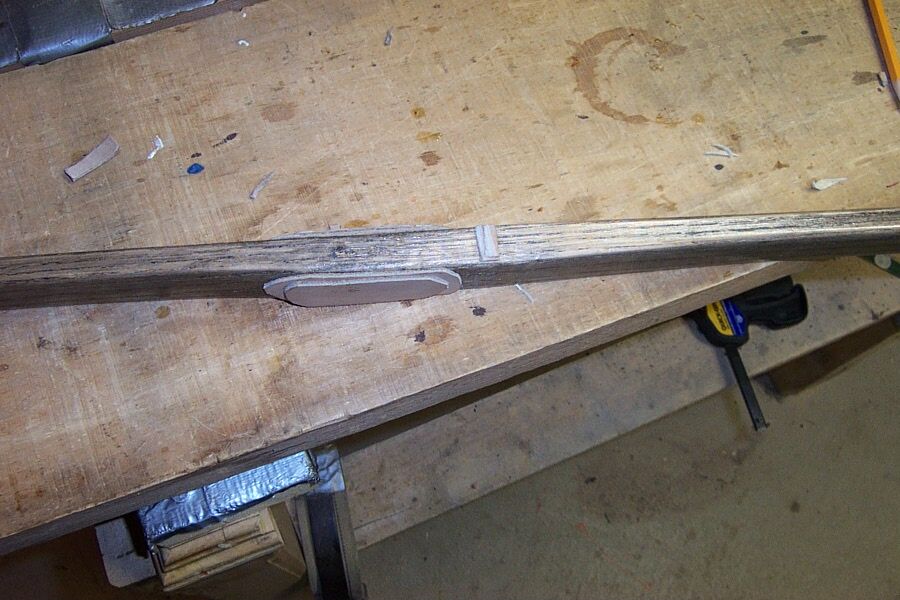
I will make the handle area easier to hold with 4 leather add ons. The large pieces are 3.5 inches long and are the width of the handle while the smaller pieces are 2.5 inches long and their width is a little less than the that of the larger pieces. Before gluing experiment with their location by putting them on dry and holding the handle. The size and number of these pieces is personal preference. Glue on the large piece and then the smaller one over it. Do this on the back and the belly.
Picture shows leather handle glue-ons.

Glue them on where the feel comfortable with Titebond II or another glue of your choice.

One set on the front and one on the back.

The above picture shows the leather arrow pass glued onto the bow and also shows the leather handle wrap. The arrow pass mis 1.25 inches above center. Wrap is a very soft doeskin cut into 1/2 inch strips. I needed 3 strips. I laid them down on my work bench and sanded both edges along their lengths. This is known as skiving the edges. Real leather people have a tool for that I believe. Anyway, I wound the strips onto the handle putting down Titebond II as I wound each on. After drying I wound some yellow B50 on the bottom around the handle and around the top of the handle purely as a decoration.

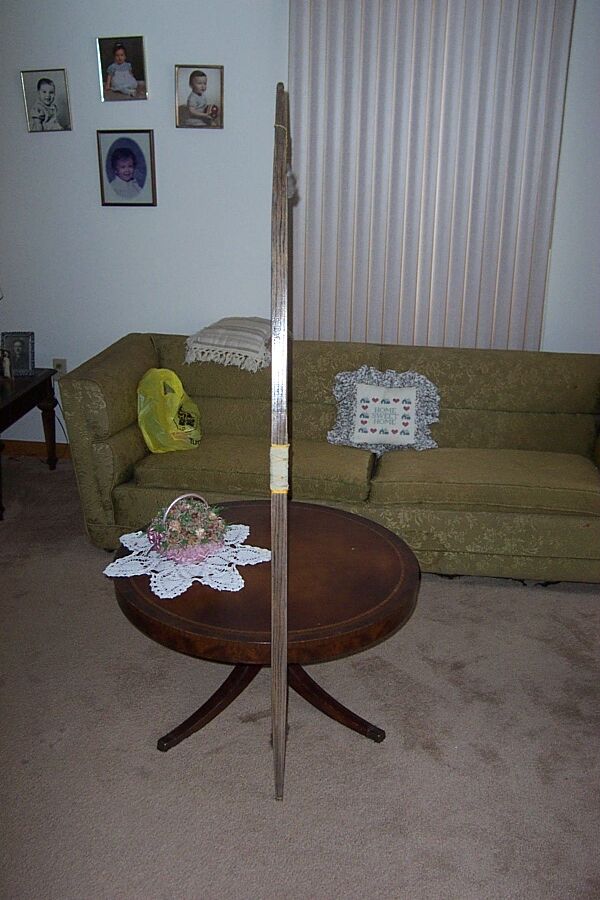
Unbraced bow is shown above

Last picture shows the nock area which was shaped with a 4 way rasp.
Here's a picture of the handle.


Above shows the bow at full draw. The tiller is good although the photo is tilted.
Have fun.
Copyright 2003 George C Tsoukalas Pelham, NH
