STEP ONE:
|
| Gather all of your materials, this includes but is not limited to: a 12v battery; at least 35 feet of lamp cord (more depending on what you are ligting); an SPST-type light switch; a push button style switch. |
STEP TWO:
|
|
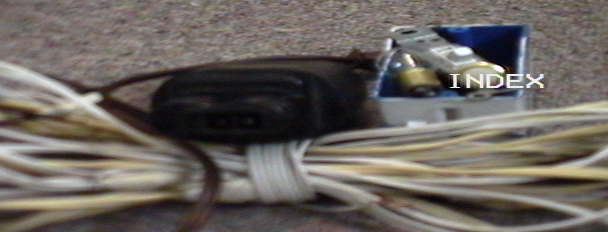
In this step you need to install the SPST
"flip arm"
switch. Since your box layout will most
likely be different than mine, I can't give
you specifics on where to cut the wires.
This you need to figure out on your own,
sorry. Anyway, there are two positions to
attatch wires to on the flip switch. I will
call them the input (where the power goes
in) and the output (where the power goes
out). Find your positive wire, and cut it in
a place that best suits your set-up. Now,
you need to connect that wire to the "imput"
position. Now, take the other end of the
positive wire, and attach it to the "output"
position.
That compleates construction of the "arm" switch, now we need to instal the "fire" switch. To do this, cut your positive wire again, in a position AFTER the "arm" switch. Now, attach the wire going from the "output" of the "arm" switch, and instal it into the input of the "fire" switch. Next, take the end of the newly cut section and attach this to the "output" section of the push-button "fire" switch. |
STEP THREE:
 | Now that you have everything connected, put it together. Now with your set up, you may need to put everything in the box, then conect it all, as said above. I didn't say how to connect your ematches yet, but that can be done with a pair of alligator clips on the end of your ematch leads. |