Site hosted by Angelfire.com: Build your free website today!

*~*~*~*~*~*~*~*~*~*~*~*~*

DIRECTIONS FOR MAKING VICTORIAN BOXES


*~*~*~*~*~*~*~*~*~*~*~*~*

MATERIALS LIST:


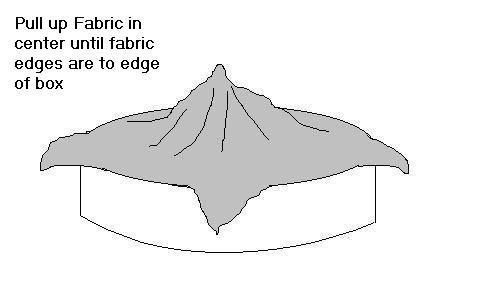
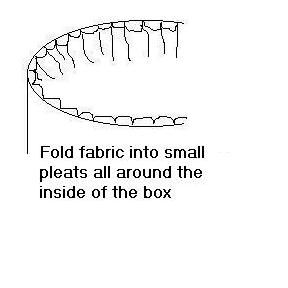
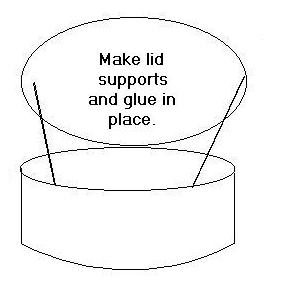
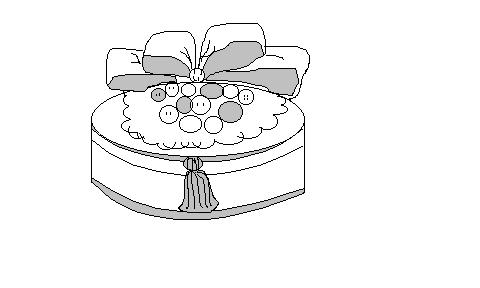
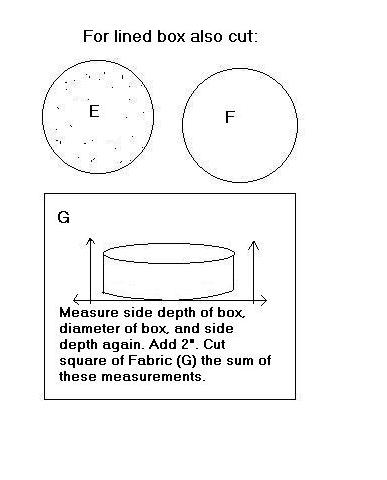
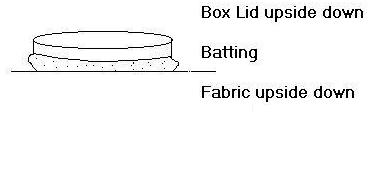
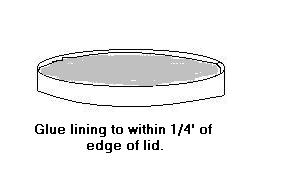
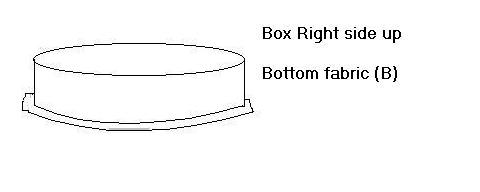
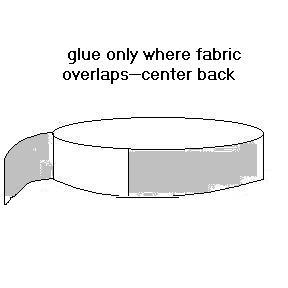
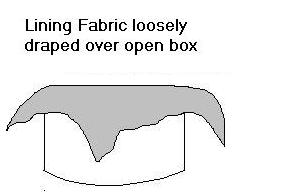
A 5"-12" diameter BOX with lid:
May be made from cardboard, paper mache, wood, plastic or metal. (may be any shape; round, oval, heart, octagon, or square)
YARDAGE:
light to midweight upholstery fabrics, moire, heavy satins, taffetas, velvets, crushed velvets, brocades.
(If lightweight: also purchase corresponding amount of iron-on interfacing to stiffen the fabric)
Box diameter
(widest point)
------------------ Yardage*
under 5" ------------------------- 1/4 yd.
5"-8" ------------------------- 3/8 yd.
8"-12" ------------------------- 1/2 yd.
12" & up ------------------------- 3/4 yd.


EMBELLISHMENTS:

CUT:


FOR A LINED BOX YOU WILL ALSO NEED:


**Note: references to ‘gluing’ are talking about using an electric glue gun except where otherwise noted**

BEGIN:
The Lid:
1.Lightly glue batting (A) to outside top of Lid
2.Place Fabric (B) face-side down on work surface
**Small straight pins can help to anchor pieces in place while gluing.**
3.Place Lid batting-side down (upside down) on top of Fabric, centering on Fabric

4.While pressing down with one hand to compress the batting, pull fabric up and glue to sides of Lid at 4 spots, North, South, East, and West.
(I like to call this technique “Divide and Conquer”)

5.Continue in like manner, gluing between these four points and so on until you have distributed the fabric evenly all around the lid (you will have tiny pleats or wrinkles)

6.Trim excess Fabric even with the bottom edge of Lid.


FOR LINED BOX: (if not lining box, skip to step 10)
7.Lightly glue batting (E) into inside of box lid

8.Glue Lining fabric (F) into inside of Lid, pushing fabric edge down to within a ¼” of the edge of the Lid. Divide and conquer! Trim off excess fabric


9.Glue Gimp or Braid Trim over the bottom edge of the lid to cover it. If you have lined the box lid, either fold the trim in half lengthwise and glue over the edge, or use two layers of trim, one inside and one outside to cover the edges.
**Remember to start and stop all trims at the same place, this will become your center back**

COVERING BOX BOTTOM:
Method 1:
10.If desired, cut an additional layer of batting the size of the box bottom, glue this to bottom of box.
11. Using same technique as in step 2, glue fabric (B) to box bottom, pulling fabric up only ¼” onto sides of box, trim excess fabric

Method 2:
10. Using fusible web, cut a piece the size of the box bottom--fuse to fabric (B), then peel the backing and iron into place on box bottom.
11. Pull fabric up only ¼” onto sides of box, glue in place, trim excess fabric

Method 3:
10. Glue Fabric (B) onto box bottom, being careful not to glob the glue on. This method works best with thicker fabrics.
11. Pull fabric up only ¼” onto sides of box, glue in place, trim excess fabric

Method 4:
10. Glue Fabric (B) onto box bottom using white craft glue. Spread an even layer on the box so as not to make it seep through the fabric. This method works well for thinner fabrics.
11. Pull fabric up only ¼” onto sides of box, glue in place, trim excess fabric


COVERING SIDE:
12. Glue Side Fabric (D) to box beginning at your center back, and overlap the fabric edges ½”, pulling fabric taut and gluing only in the overlapped area
13. Trim any excess fabric.

LINING INSIDE OF BOX: (if not lining box, skip to step 17 )
14. Drape lining fabric (G) loosely over open box. Pull up the center of the lining fabric until the edges of the fabric are almost even with the outside edge of the box. When finished, this lining lays in soft folds in the box. That's why you pull up the extra and glue close to the edge of the fabric.

15. Glue fabric (G) to inside edge of box, using "Divide and Conquer" method. You will have a lot of excess fabric which you will need to form into small pleats around the box, distributing the fabric as evenly as possible, and cutting off any excess corners. Using small pins to anchor the pleats will help.

16. Starting at center back, glue gimp or braid around inside top of box to cover raw edges of pleated fabric.
FINISHING:
17. Glue gimp or braid along center back seam of box, where fabric was overlapped.
18. Cut 2 pieces of gimp or braid 1 1/2" longer than the measurement of the depth of the box. Glue these on either side of the center back of the box 1/2"-3/4" away from the center back seam. Start gluing at the bottom of the box and leave the longer ends sticking above the top of the box for the "hinges".

19. Starting at center back, glue gimp or braid around box at top and bottom edges. This will cover any raw fabric and trim edges that may be visible.

20.Glue "hinges" to top of box, matching up center back of box and center back of lid. Trim excess gimp.
21.Starting at center back, glue gimp or braid around side edge of lid, and/or on top outer edge of lid, making sure to cover the raw edges of the "hinges".

22. Use thin ribbon, braid, or even teeny strands of pearls to make lid supports.

23. Decorate top of box with buttons, beads, old jewelry, stones, carbachons, chains, pearls, doilies, silk flowers, dried flowers, bits of pottery, silverware, and miniatures of all kinds. Glue a tassel to the center front of the lid and finish with a large wire edged ribbon bow.

**See color pictures for ideas:
My Victorian Page**

back to top