 |
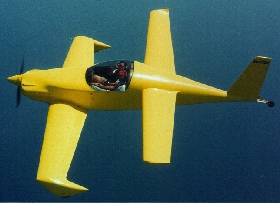
Matt is a Dragonfly Mark III owner and A&P mechanic. Although his first love is wrenching on war birds, he is skillful in repairing canards, having repaired his own. In addition, he successfully completed a static stress test of his canard, loading it to 3.8 g's by piling sand bags on the jigged canard.
Matt arrived on October 30, 1998. The next day he inspected the damage and determined that it was old damage, but probably due to the pilot's heels bouncing on the canard while in flight, compressing the foam core, and allowing the fiberglass buildup to pull loose. The airplane sitting on it's gear in the heat, then caused the fiberglass to begin to buckle.
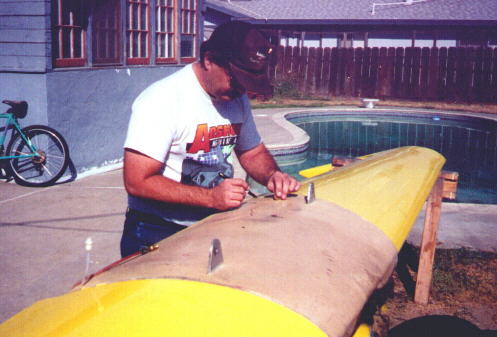
Here Matt is using the "coin tap" test
|

A sample cut was removed from the
|
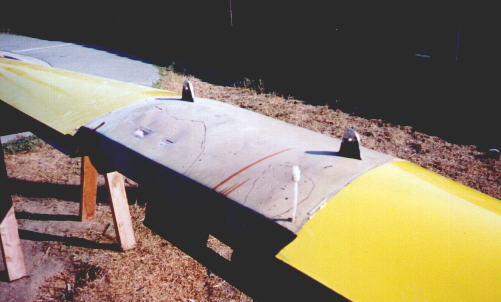
This photo shows the area that Matt
|
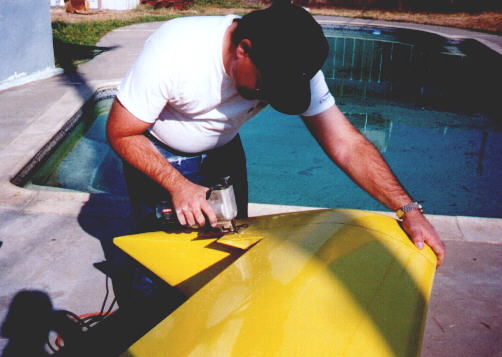
Since we'll be converting the Dragonfly
|
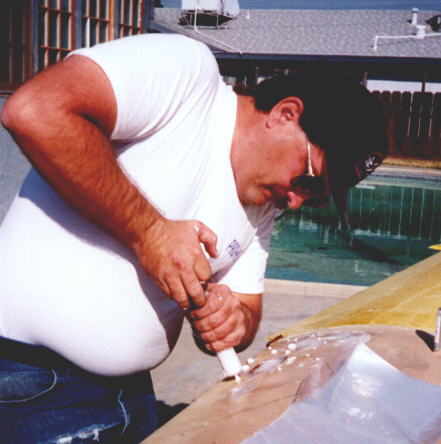
1/8" holes were drilled through the layers of buckled
fiberglass.
|
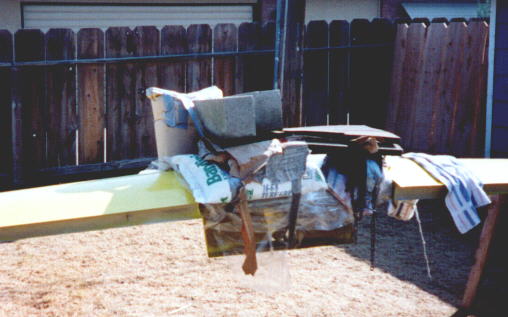
Not the most professional looking, we
|
After almost a week of curing, the weight
|
This is when I noticed what I consider to be the real cause of the buckling. This canard had the plans built rudder system installed at one time. Someone removed the glassed in place phenolic blocks from on top of the canard, and in doing so, removed quite a bit of the unidirectional cloth which makes up the last layer of the glassing schedule.
In addition to replacing the glass from the areas where Matt
took the samples,
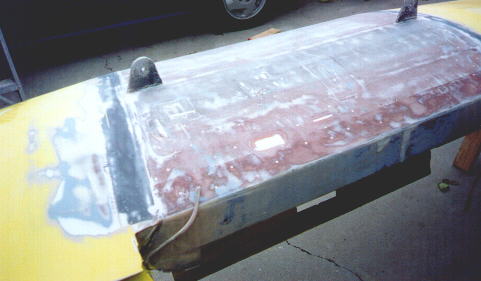
I laid 2 layers of unidirectional glass cloth over the entire
center section.
Here are the 2 layers of uni just after
|
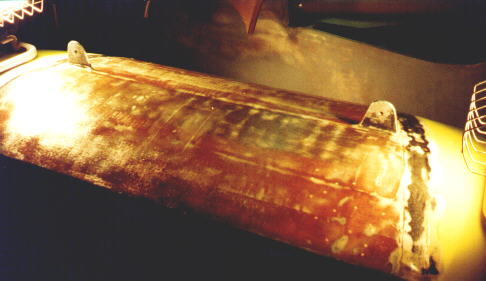
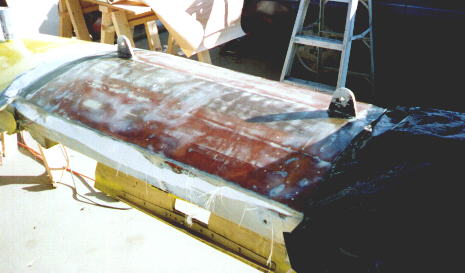
Since it gets cold here in October, I set
|
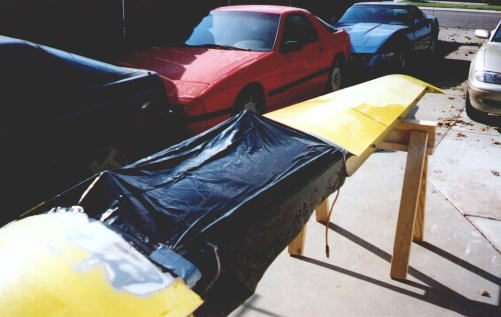
The following day, I used a bit of solar heat to help the
process.
The surface temperature never got more than 90 degrees, either
in the sun
|
Esse site foi ideia de Patrick Panzera de Hanford California EUA.