The Jackal's Knightmare Page
LEVEL 3

LEVEL 3 START ROOM - This was always the room that the dungeoneer would start in on level 3. It had two doors at the far end and was sometimes haunted or had ghosts present that would try to inflict life force damage.
FEAR FACTOR:              60%
MENTAL POWER REQUIRED:    30%
PHYSICAL POWER REQUIRED : 40%

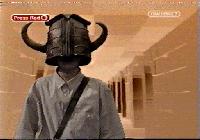
THE LEVEL 3 CORRIDORS - The good old corridors were still present even in level 3 only this time they were yellow. These corridors usually gave chance for the team to collect their thoughts after being chased etc.
FEAR FACTOR:              10%
MENTAL POWER REQUIRED:    5%
PHYSICAL POWER REQUIRED : 5%

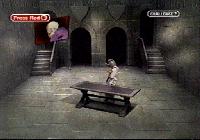
LEVEL 3 CLUEROOM - Objects and food were once again on hand here, and the former would be required later to assist you in your quest. This room was another favorite of Mogdred who would now be getting angry with your existance.
FEAR FACTOR:              65%
MENTAL POWER REQUIRED:    50%
PHYSICAL POWER REQUIRED : 25%

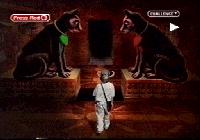
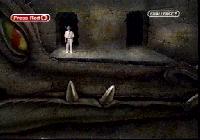
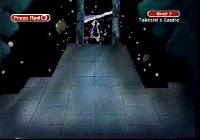
THE CATS - These nasty creatures would fire lasers down on a platform which would disappear and then reappear to offer a crossing for the dungeoneer. Timing was crutial here as a fall or a hit from the laser beam would be instant death.
FEAR FACTOR:              70%
MENTAL POWER REQUIRED:    20%
PHYSICAL POWER REQUIRED : 55%

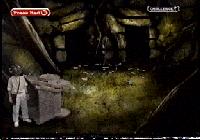
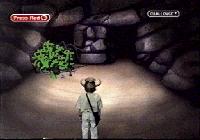
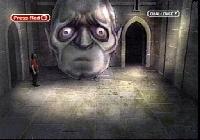
THE CAVERN - This was a place that usually had some form of food in it. One exit was always blocked and the room was normally either haunted or roamed by Goblins. Again, the dungeoneer would have to be guided out quickly to avoid death.
FEAR FACTOR:              70%
MENTAL POWER REQUIRED:    20%
PHYSICAL POWER REQUIRED : 60%

MERLINS CHAMBER - This was probably the safest room on level 3. Once again, Merlin would normaly cast a spell to gift you energy and possably give you some advice for the last stages of your journey. The dungeoneer would then continue.
FEAR FACTOR:              10%
MENTAL POWER REQUIRED:    5%
PHYSICAL POWER REQUIRED : 5%

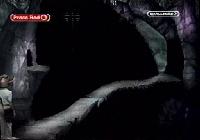
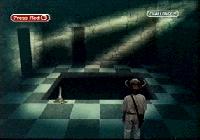
THE PASSAGE - This was a nasty narrow ledge, and the team would have to guide their dungeoneer across quickly. It was also haunted by an axe which made things even worse and would also feature Morghanna who was just plain evil.
FEAR FACTOR:              85%
MENTAL POWER REQUIRED:    30%
PHYSICAL POWER REQUIRED : 65%

MADUSA - This was the room of Madusa. Without magic of some sort or an object like a shield to help you, you would be turned to stone. It was a fearful room, and one that has claimed lives over the years. Teams needed to tread carefully.
FEAR FACTOR:              90%
MENTAL POWER REQUIRED:    65%
PHYSICAL POWER REQUIRED : 60%

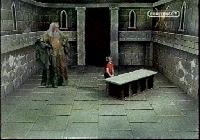
THE GARGOYLE - This room was very basic, but had a large Gargoyle on the far wall. He would usually ask a question and depending if you got it right would offer either advice or magic. Without his clues or advice, your quest was over.
FEAR FACTOR:              60%
MENTAL POWER REQUIRED:    90%
PHYSICAL POWER REQUIRED : 25%

THE DRAGON ROOM - Here, the Dragon (Owen), would ask the dungeoneer a question. If they answered correctly they would be gifted a spell. Without this spell was certain death later on in the final stages. Mogdred liked this place too.
FEAR FACTOR:              70%
MENTAL POWER REQUIRED:    80%
PHYSICAL POWER REQUIRED : 30%

QUEST PIECE ROOM - This room had another piece of the quest object that the dungeoneer needed to collect in order to complete the game. Other than that, a snake sometimes appeared in the centre or Mogdred would be on hand to do some sort of damage.
FEAR FACTOR:              80%
MENTAL POWER REQUIRED:    40%
PHYSICAL POWER REQUIRED : 70%

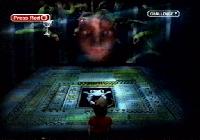
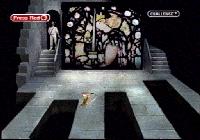
THE STAIN GLASS ROOM - Without prior knowledge of the path to take, or magic to stop the opposition in this room would be fatal. Out of all the teams featured in Series 3, no one ever made it passed this point to complete their quest.
FEAR FACTOR:              90%
MENTAL POWER REQUIRED:    80%
PHYSICAL POWER REQUIRED : 70%

THE END ROOM - Never used in series 3, but one glimps of this room was shown in the end credits. It was the same end room as in series 2, where two teams managed to beat the dungeon. Basically, jump through the door and cast your final spell.
FEAR FACTOR:              100%
MENTAL POWER REQUIRED:    10%
PHYSICAL POWER REQUIRED : 10%
