April 15-30
Multiple things for this update.
More on the Fuel tank mounts,
Dent repair on the backend,
And a new welder.
<--Click here to view the previous page|
Home|
Click here to view the next page-->
[
1][
2][
3][
4][
5][
6][
7][
8][
9][
10][
11
][12][13][14][15]
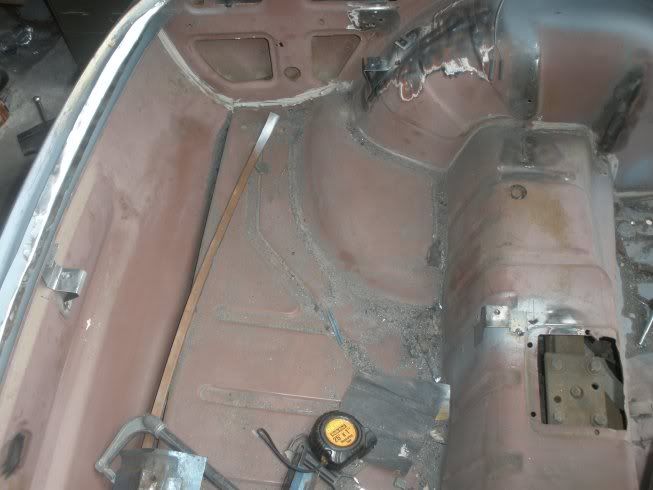
New brackets tack-welded.
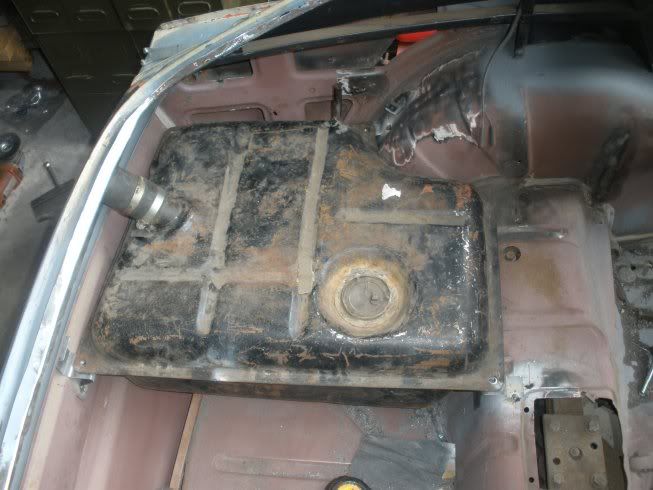
Test fitting the fuel tank. So far so good.
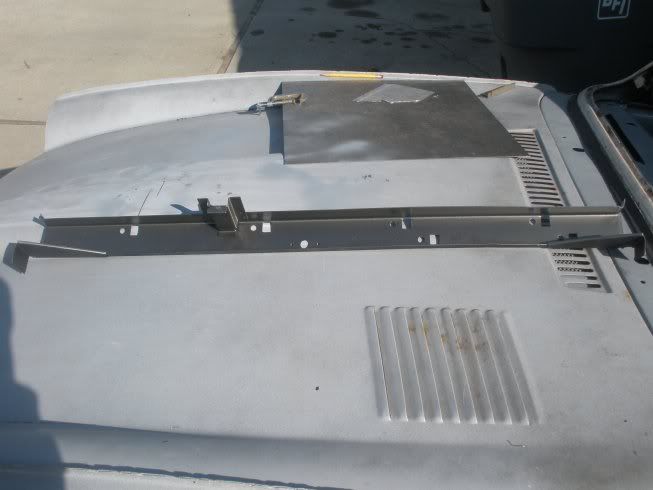
Trunk decking support bracket, cleaned up. Painted the new color on the inside.
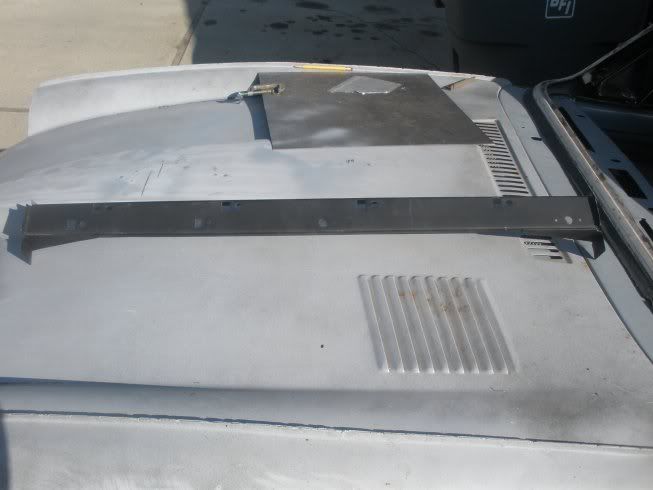
Just primed on the outside.
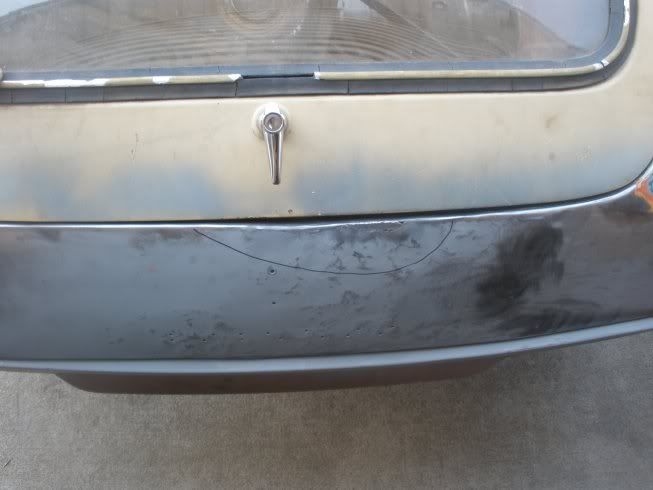
I was rear-ended years ago, and from bondo excavation it would appear to have been rear-ended at least one time before that.
There is a big gap between the hatch and the lower valance right in the middle. There should only be about 3/16" of a gap.
This shot allows you to see just how dented and uneven it is. There is also a small area that rusted through.
You can also see how bumped and dented it is around the emblem mounting holes. All of this was covered with bondo, in one area 1/2" thick.
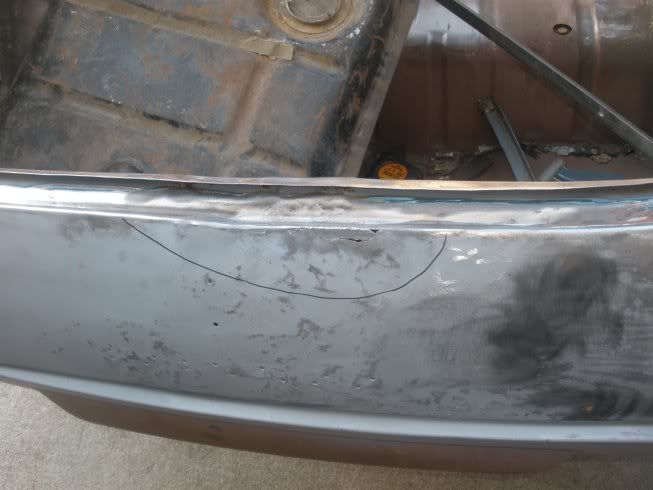
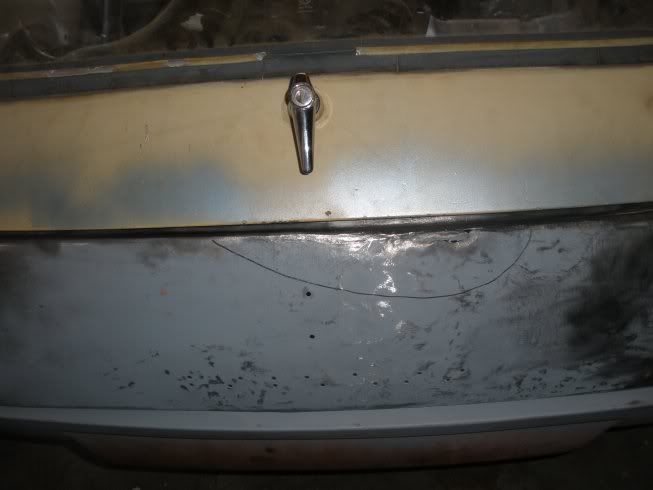
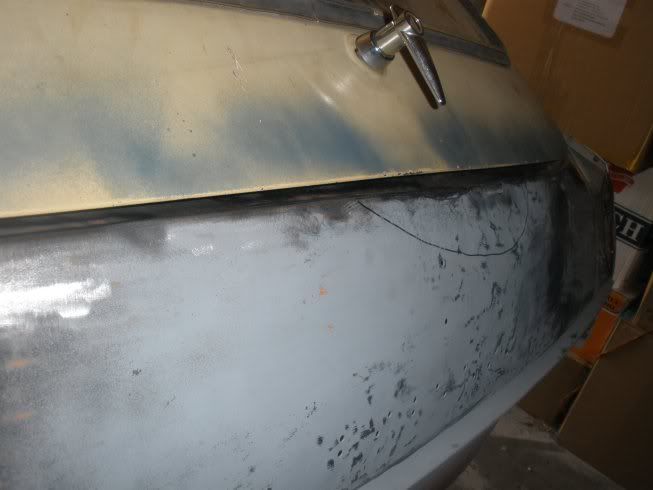
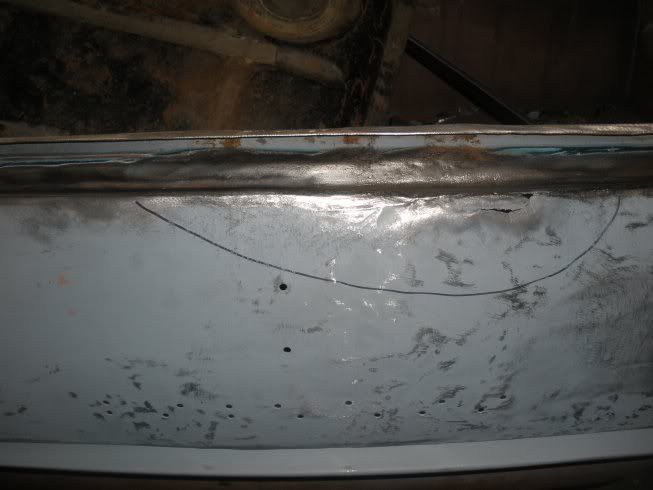
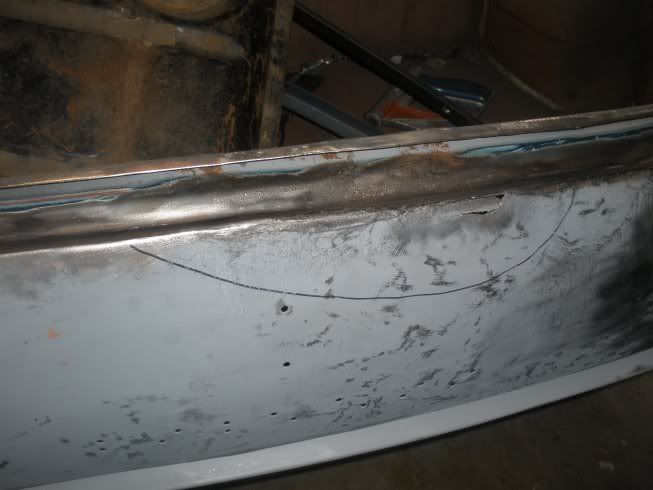
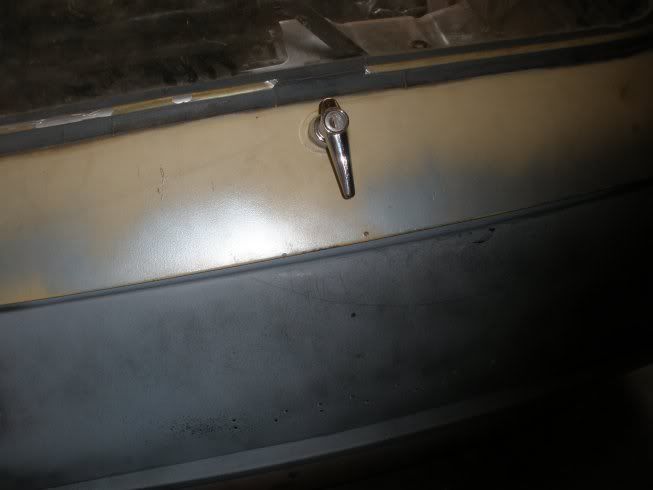
You can see the progression of my progress as I have worked the metal out and straigtening the body lines, and that nasty hole is still there. The dents around the the emblem holes are still there too, though I have knocked some of them down, they are just tough to see in this shot as I have a guide-coat of dark primer srayed over the light grey.
I still have a little way to go yet.
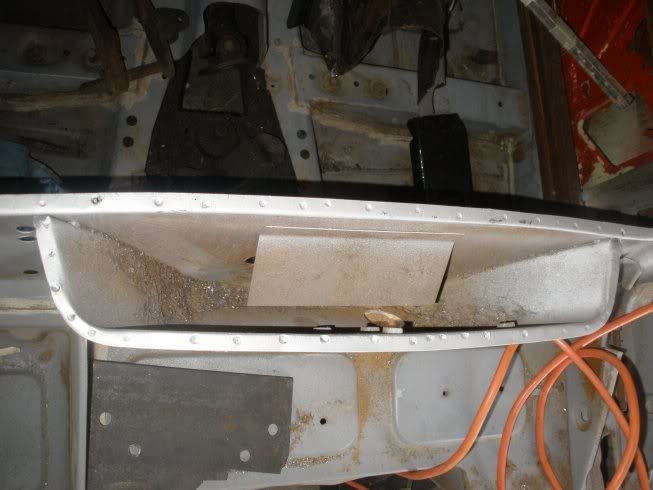
Inside view of the air intake. It's full of dirt, dog hair and other crud. There's a bit of rust in there too.
Seeing there are only just a few more spot welds left, this is coming off. I cleaned up one from the old GT6 tub, so I will put it back on instead.
I figure now is a good time to do this as there is easier access without the dash-top in place.
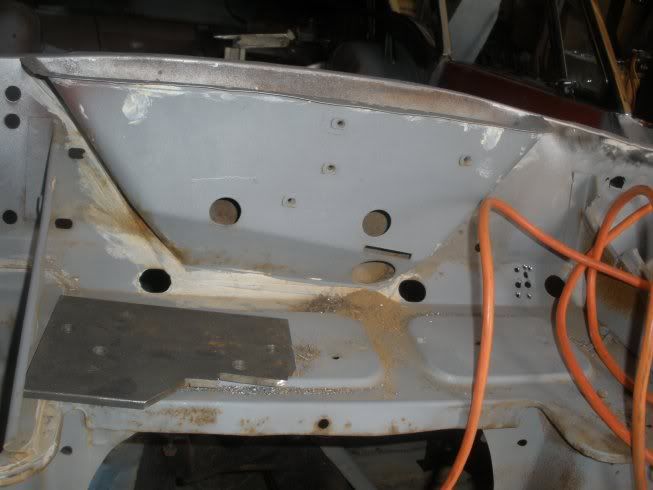
Front view of the air intake. the PO schmeared caulking around all of the seams. A good idea, but he trapped rust behind the joints.
You can also see the pile of rust and dirt that has fallen through the weep-hole.
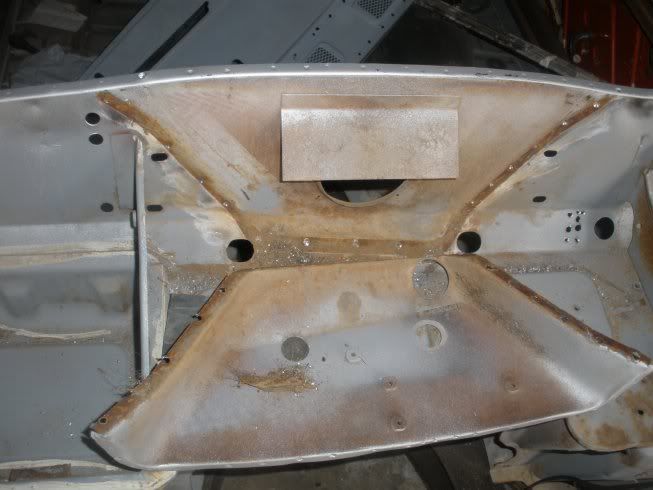
With the air intake cover removed. See the rust lines from behind the joints where the two panels were welded?
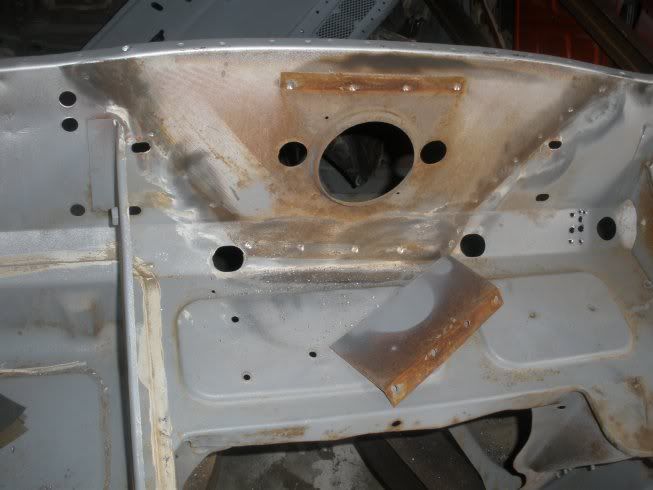
With the water defelector removed. The backside of this is heavily rusted. The one from the GT6 tub will be going back on here as well.
Also, I will probably weld up those two 1" holes to the sides of the air intake hole as the GT6 did not have them.
I'll get these welded back on and sealed properly, Weld the dash top back in, and then I will be able to get the coupe top and the windsheild frame correctly positioned. Only then will I be able to weld the top to the lower tub.
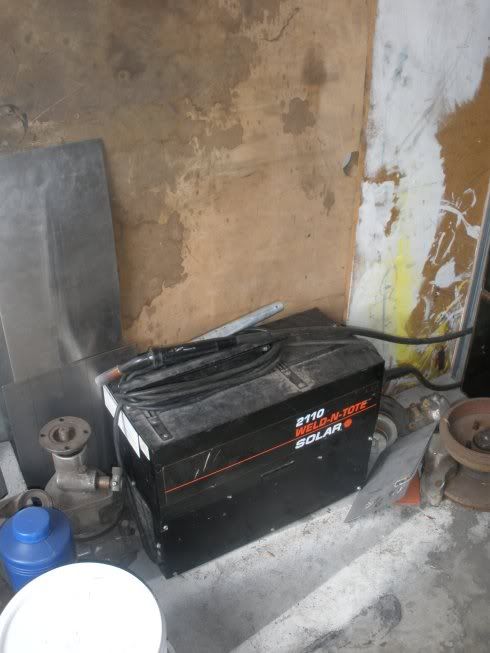
This is the old welder I have been using up to now. It's a Solar brand flux core model, I think built by Century, or the company was purchased by Century. If you know welders, you can only imagine what it was like. In fact, the beast did not keep an arc going long enough to get a good bead, most of the time.
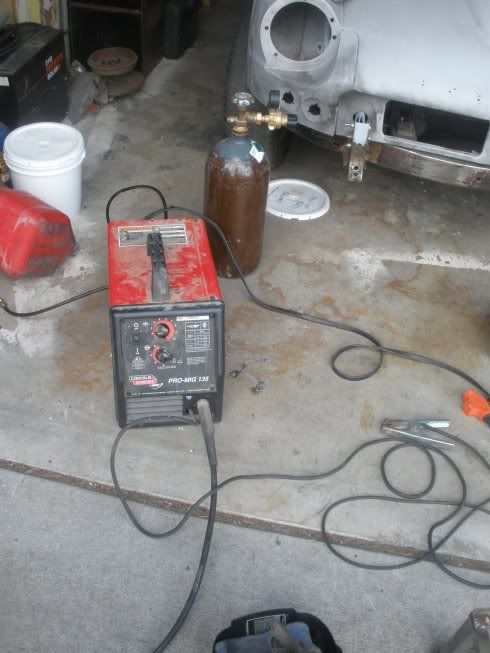
This is the Lincoln Pro-Mig 135 I picked up for a steal. It came with guages and a bottle, though the bottle barely had any gas left. Time for a refill already.
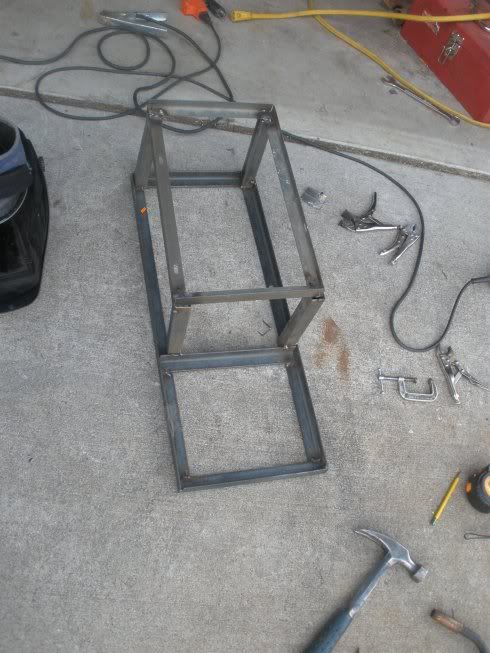
First project:Build a welding cart. I was only able to get it tack-welded before the bottle ran out.
Ok, that's it for now. You can click the link below and go to the next page if you want, but it is under construction. I'm just warning ya. All you'll get is a picture of some construction equipment.
<--Click here to view the previous page|
Home|
Click here to view the next page-->


