Our 15mm Game, October 16, 1813
Lindenau
This battle report was written by Jay Stribling. Larry Reeves was the game-master for the game. We used Larry's 15mm rules If only we could all be Napoleon, and his very nice armies.
What happened Historically
The Austrian III Corp under the command of Gen. Gyulai was sent north to the rear of Napoleon's army. With the forces available to him and in the terrain in which they would have to fight, it would be impossible to win a decisive victory and occupy Leipzig. Instead, his strategy was to threaten the French line of retreat and draw as many of their forces upon himself as possible. Bertrand's Corps, so desperately needed by the Emperor on the southern front, had to be detached to secure Leipzig itself.
Gyulai began his attack at 8 o'clock A.M... He succeeded in driving the French out of several villages around Lindenau before the appearance of Bertrand's IV corps. The IV Corps was made up of Italians, Wurttemberg's and French. Bertrand began his counter attack at 11:00 A.M... This where are battle begins.
Game Notes from the Game-Master
This is a river crossing. By the end of the game if the Austrian's are across the river they win. This will force Napoleon to send more troops to the south to secure his line of retreat and communications. If the French can keep control of the river they will win. The game will end when one army is unable to continue to fight due to losses.
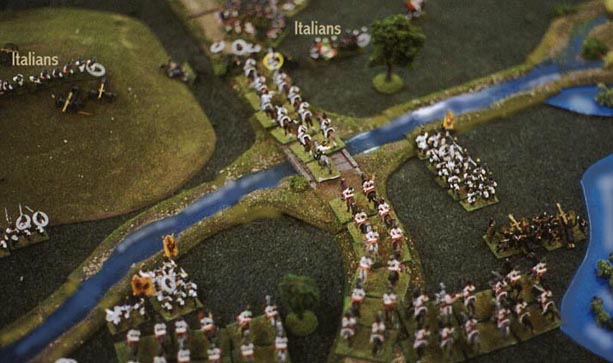
Photo by Jay Stribling
An overhead view of the center of the battle, near the end of the game. Austrians under the command of Rick Loveday fill the image! They are all in motion towards the stream, following a cuirassier regiment on a "death or glory" ride to wipe out the remnants of an enemy battery.
Game-master's additional notes for set-up and other.
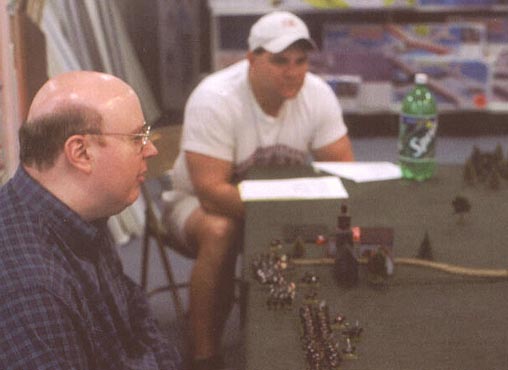
Photo by Jay Stribling
Bill Estes (on left) who was one of the French commanders, studies the Austrians (out of view to the right). At the end of the table can be seen Larry Reeves who was game-master for this affair.
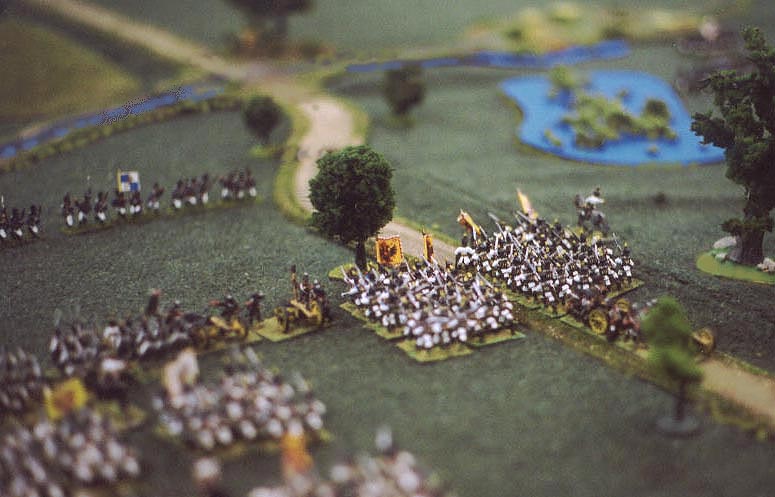
Photo by Jay Stribling
An atmospheric study of the Austrian center, moving forward early in the game. Note only one battalion of German ally troops opposes them. I would like to say that this "soft focus" shot, and any others that are "soft" was an attempt at "artsy" images by Jay Stribling, the photographer. The real reason is that aging eyes, a dark green ground cover, and not quite enough light can make 15mm troop photography a nightmare for this writer/photographer.
I only use my 35mm camera these days, when all of the other Jackson Gamers, who have splendid electronic cameras, did not bring them!
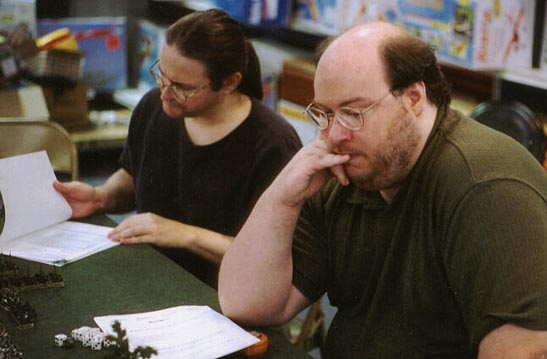
Photo by Jay Stribling
Phill Young, in rear, studies the rules while Rick Loveday, closest to camera, worries over his troops. Phil commanded the Austrian right, while Rick had the center. Jay Stribling (not shown) commanded the Austrian left.
The French Order of Battle
French IV Corps. (Bertrand Commanding)
12th Division (Morand Commanding) (French)
Brigade De Belair: 4 line Bns. and 4 light Bns.
Brigade Baron: 7 line Bns.
Divisional Artillery: 2 medium Btry's (16 guns)
5th Division (Fontanelli Commanding) (Italians)
Brigade Sant'Anrea: 1 light Bn. and 2 line Bns.
Brigade Moroni: 2 Elite Bns. nd 2 line Bns.
Divisional Artillery: 1 heavy Btry (8 guns)
38th division (Frnquemont Commanding)(Wurttembergers)
Brigade Stockmayer: 4 line bns.
Brigade Charriere: 3 line Bns.
Divisional Artillery: 3 medium Btry's (18 Guns)
Cavalry division (Briche Commanding)
Brigade Jett: 2nd Chevauxleger Reg. Prince Adam Chevauxleger Reg. (Both Wurttemberg)
Brigade Wolf: 1st Saxon Hussar"s, Westphalian Guard lancer's
Reserve Artillery: 2 heavy Btry's (16 guns)
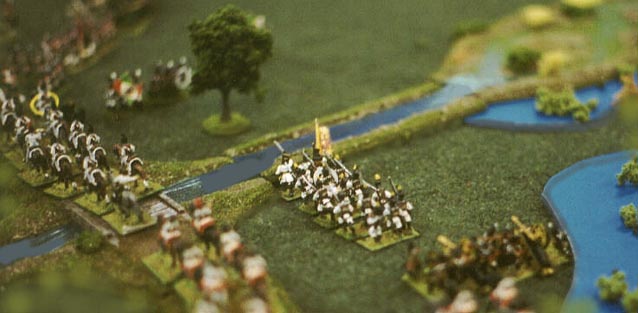
Photo by Jay Stribling
Fairly late in the game, Austrian Cuirassiers pour over the stream across the only bridge. Rick Loveday commanded these armored cavalry in their Coup de Main which finally gave the white-coats the bridge.
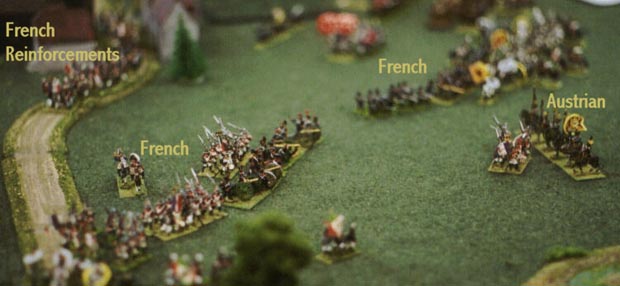
Photo by Jay Stribling
"Up" and "to the right" of the image above the French lines are shown. This is about the same time as the Austrian heavy cavalry charge over the bridge. The mass of troops intermigled above the word "Austrian" to the right is Phil Young's infantry in close combat with the French. The mounted troops below the word "Austrian" are the remnants of two regiments of Austrian Uhlans which had lead Phill over the stream.

Photo by Jay Stribling
Jim Pitts (commander of the French andSatellite troops on the French Left) stares at the dice in amazement. I cannot remember if this cast of the dice was good for him, or for the Austrians, but you can see his amazement.
The Austrian Order of Battle
Austrian III Corps. (Gyulia Commanding)
Division of Crenneville (Advance-Guard mixed forces)
Brigade Haecht: 2 Jaeger Bns.
Brigade Klenau: 2 Chevauxleger Reg.
Divisional Artillery: 1 medium Horse Btry (6guns)
Division of Murray
Brigade Salins: 5 line Bns.
Brigade Weigel: 4 line Bns.
Divisional Artillery: 2 medium Btry's (16 guns)
Division of Prince Hessen-Homburg
Brigade Csolich: 5 line Bns.
Brigade Grimmer: 4 line Bns.
Divisional Artillery: 1 heavy Btry (8 guns)
Reserve Cavalry: 1st & 2nd regiments Austrian Uhlans
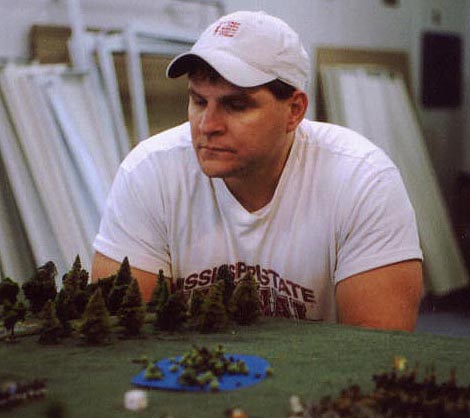
Photo by Jay Stribling
The Game-Master, Larry Reeves, concentrates on an important rules point - and wishes that the commanders would GET ON WITH IT!
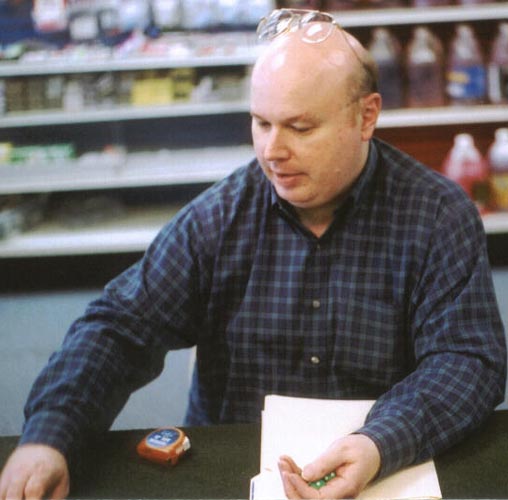
Photo by Jay Stribling
Bill Estes (commander of the French and Satellite troops on the French Right) calmly prepares to cast his fire dice.
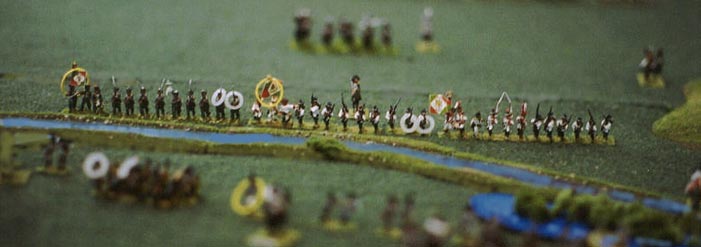
Photo by Jay Stribling
The front line of Bill Estes' troops guarding the stream which separated the Austrians and French. These are Three battalions of the Kingdom of Italy (Northern Italy - not Naples) mainly white-coated like thier Austrian Opponents. Bill, although terribly outnumbered here, put up a very good fight, delaying the Austrians for multiple turns. Dimly, you can see a cavalry regiment in support behind the infantry.
MORE PHOTOS? There were more photos, but they were not in good focus, so you will have to imagine the battle from these few! We had fun! Especially your writer who was on the winning side (for once!).
SO - WHO WON THE BATTLE?
The Austrians won the battle. They were able to cross the stream and keep the French Allies and later the French themselves from throwing them back. At the end of the game, the emperor Napoleon himself came onto the field with masses of Young Guard infantry, but they never made it into the battle.
Return to the Master Index of Photos and Games
Return to the Jackson Gamers' Homepage
Angelfire - Free Home Pages
Free Web Building Help
Angelfire HTML Library
htmlGEAR - free polls, guestbooks, and more!
Thank you for visiting The Jackson Gamers' pages at Angelfire. Please come back and visit again!