Jackson Gamers' 25mm Medieval Battle Capturing the Conclave
This game was played with parts of the 25mm armies of Jim Pitts, Robert Whitfield and Jay Stribling. During the time of Charlemagne, various Saxon lords attempted to resist the Frankish army of Charlemagne. Sean Pitts was the Game-master for this battle.
We used the "Rules by Ral" to play this game.
Franks - Bill Hamilton (left wing) and Phil Young (right wing)
Saxons - Jim Pitts (right wing) and Ed Sansing (left wing)
Situation: After destroying the Saxon's sacred Grove of the Badger King in the last game, Charlemagne advanced further into Saxonia. This time his target is a conclave of Saxon chieftains and druids. In order to capture the conclave, the Franks must exit eight units, all at least 50% in strength.
The Saxons put up a valiant fight, but when their left wing finally fell apart, there were not enough viable Saxon units left to resist the advance of the Franks. The Saxon conclave was dispersed with many of the chieftains and druids captured and brutally executed by the Franks.

Photo by Jim Pitts
The Frank right wing, commanded by Phil Young, with approximately Ẅ the army.
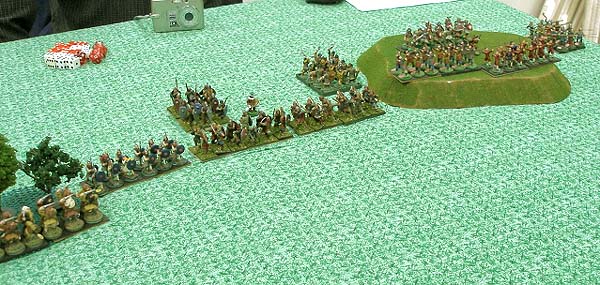
Photo by Jim Pitts
The Saxon left wing, commanded by Ed Sansing, with a little more than Ẅ the army.

Photo by Ed Sansing
The Saxon line looking from the left (Ed Sansing's) flank. The Saxons set up along the center of the table, occupying the only hill and two patches of woods. The Franks can be seen at the extreme left of the image.
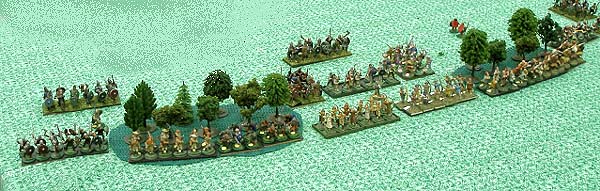
Photo by Jim Pitts
The Saxon right wing, commanded by Jim Pitts, with a little less than Ẅ the army.
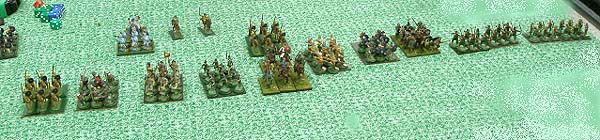
Photo by Jim Pitts
The Frank left wing, commanded by Bill Hamilton, with approximately Ẅ the army.

Photo by Ed Sansing
Bill's Franks closing on Jim's lines. The mounted Franks are attempting to ride down the Saxon archers.
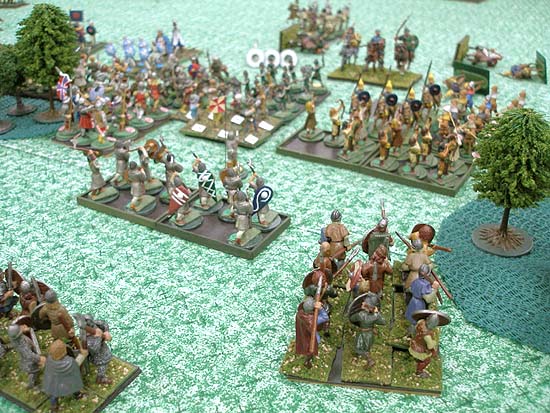
Photo by Jim Pitts
Part of the Frank left wing advance into a gap between two wooded areas and engage the first line of Saxons, two archer units.
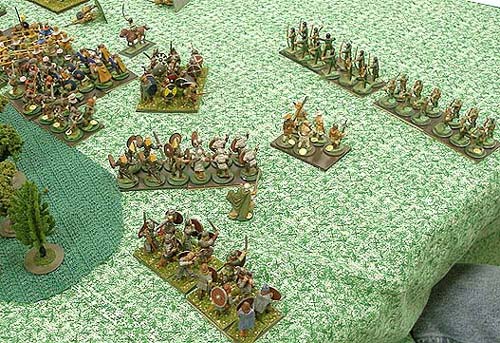
Photo by Jim Pitts
The units of the extreme right of the Saxon army sally forth to attack the Franks, sacrificing the remnants of a peasant unit so the heavy infantry can attack without becoming pin cushions from the two Frank archer units.
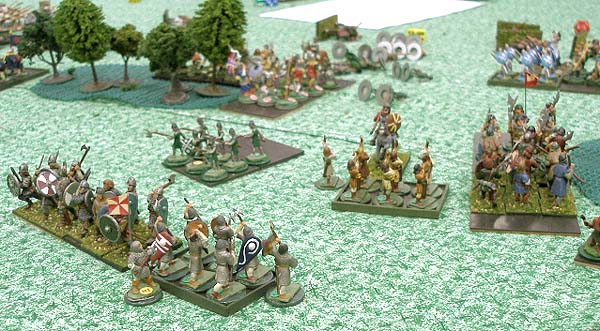
Photo by Jim Pitts
The left wing Franks make some progress penetrating the gap between the two wooded areas. The in foreground, the Saxon commander has just rallied a unit of heavy infantry but has another just to his left to rally next. The Saxon commander in this part of the battlefield spent all his time rallying broken units, but he was able to keep the Franks at bay.

Photo by Jim Pitts
Advancing from the far right a Saxon heavy infantry unit, with an attached leader, eventually ties up two Frank heavy infantry units and an archer unit, also with a mounted leader involved. This melee lasted for several turns before the Saxon unit was destroyed.

Photo by Jim Pitts
The Saxon left wing is falling apart. All the units are severely reduced in strength and are fleeing except for one heavy infantry unit and one peasant unit on the right next to the woods. But there were more than enough Frank units on this part of the battlefield to enable the Franks to meet their victory conditions.
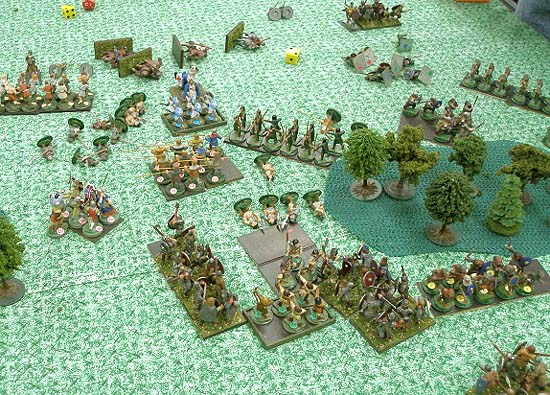
Photo by Jim Pitts
The final fighting the gap on the Saxon right results in the destruction of the second Frank cavalry unit. But there weren't enough viable Saxon units here who could march over to plug the gaping hole where the Saxon left wing was. The Saxon commanders gathered what forces they could and withdrew, rescuing a few leaders and druids from the scattered conclave.
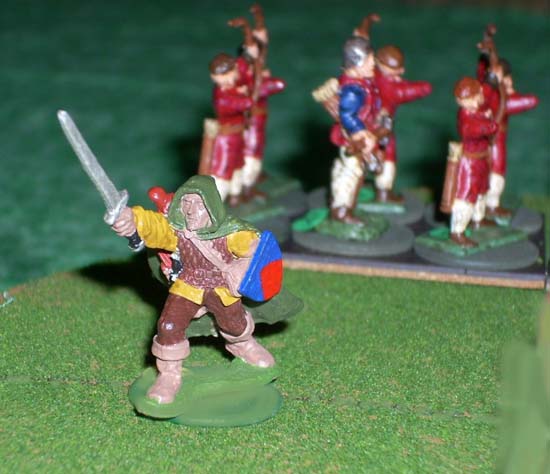
Photo by Ed Sansing
Ed Sansing's leader figure trying to exhort his men. Most of the Saxon leaders seem to have been kept busy rallying broken units, sending them back into the fray.
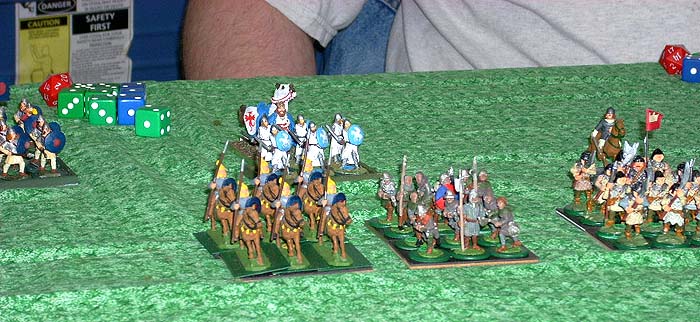
Photo by Ed Sansing
Charlemagne and his guard - in white with light blue trim - behind Bill Hamilton's lines. Bill commanded the Franks' right wing.

Photo by Ed Sansing
Phil's forces try and get around the hill on the Saxon left. If your correspondent (the web-master, Jay Stribling) sounds a little confused about who did what and to whom, this is because he is. I was unable to attend this affair, and working from these medieval parchments, it's is sometimes hard to tell "Bill" from "Phil."
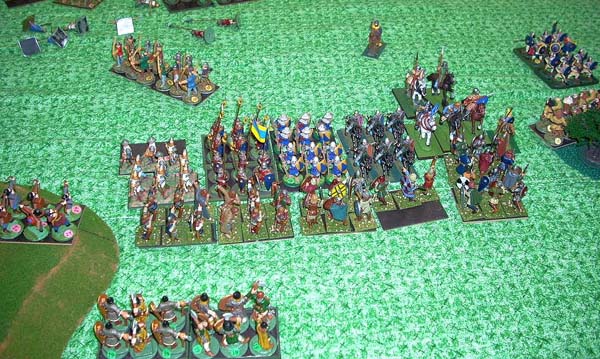
Photo by Ed Sansing
Melees in the middle. Phil is able to concentrate 4 spear armed units on 2 of Ed Sansing's units. Phil's troops caused many more casualties than Ed inflicted. Ed blames "really good die rolls" on Phil's part.
And what will happen next?
Defeated in the last two battles, the Saxons are now trying to gather more warriors to resist further Frank advances. The Saxon rally point is the Irminsul, a sacred wooden pillar and a main religious site for the Saxons. If Charlemagne can capture and destroy it, then Saxon resistance will effectively cease.
Go to the first game in this mini-campaign.
Go to the second game in this mini-campaign.
Go to the last game in this mini-campaign.
Return to the Master Index of Photos and Games
Return to the Jackson Gamers' Homepage
Angelfire - Free Home Pages
Free Web Building Help
Angelfire HTML Library
htmlGEAR - free polls, guestbooks, and more!
Thank you for visiting The Jackson Gamers' pages at Angelfire. Please come back and visit again!