Photo by Ed Sansing
Jackson Gamers' 15mm Ancients Game
The Struggle for Southern Italy
We played our third Vis Bellica game - a Byzantine army vs. Normans set in Southern Italy in 1180 AD - on May 21, 2005. We used 15mm troops belonging to Jim Pitts.
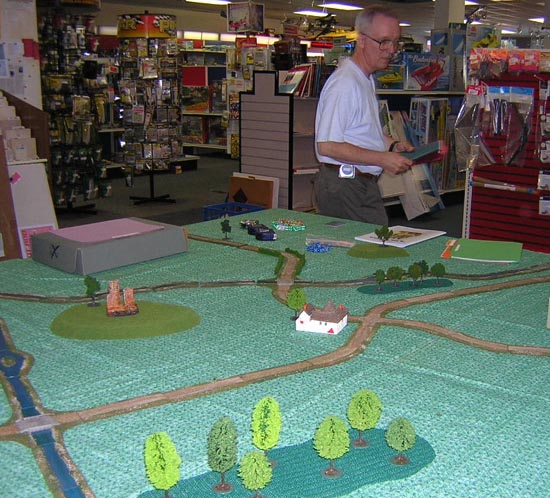
Photo by Ed Sansing
The empty battlefield. Game-master - Jim Pitts - is setting up. He is carrying some of our pre-game player's notes - a bit of light reading!
The General Situation
Gathering his forces together, Duke Robert Guiscard, fresh from campaigning against the Arabs in Sicily, turns his attention again to forcing the Byzantines from their possessions in southern Italy.
Duke Robert has allied himself with the Pope, promising riches and lands for the Papal See once the campaign is successfully concluded. Commanding the rather large Papal contingent is Bishop Rudolfo Valentino, the strong right arm of the Pope. Robert's forces slowly close upon the Byzantine provinces in southern Italy, determined to win through any defenses to take the port of Bari.
Basil, the Katopan of Langobardia, getting reports of Robert's preparations, sends to Constantinople for reinforcements. Expecting them to arrive at any time, Basil begins to organize his army to repulse Robert's attack and, hopefully, go over to the offensive himself to retake all of southern Italy for the Roman Empire.
Basil, marshalling his territorial forces, moves out to meet Robert, intent on defending as far forward as possible to give his reinforcements as much time as possible to arrive.
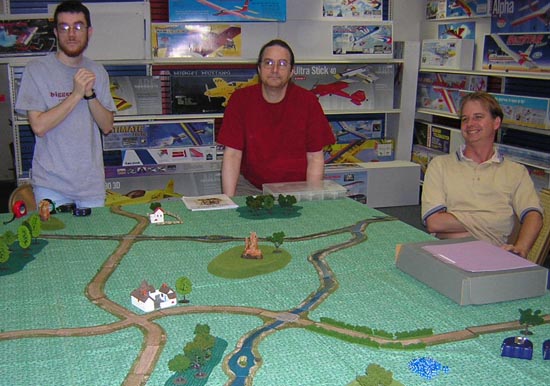
Photo by Ed Sansing
Some of the players (from left): Sean Pitts and Phil Young (Byzantines) and Travis Melton (Norman).

Photo by Ed Sansing
The enemy (Byzantine) players watching the Normans set up. Notice the Katopan of Langobardia (Jay Stribling) at center, and his intense almost-awake gaze.
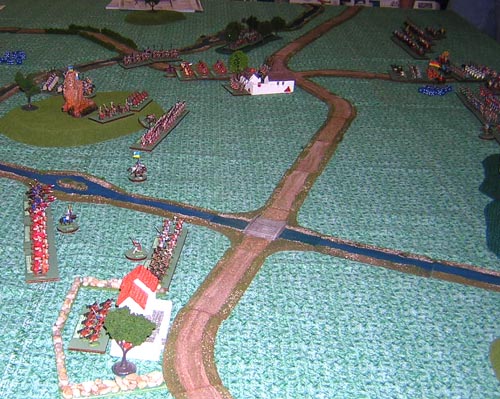
Photo by Ed Sansing
The troops in their positions at the start of the game. The Byzantines are on the left and the Normans are just barely visible on the right.

Photo by Ed Sansing
Some of Sean Pitts' psiloi archers and slingers hide in the woods on the Byzantine right flank.
Special Situation: Norman Army of Duke Robert Guiscard
As commander of an allied force, the Duke Robert has a specially delicate problem. The Papal commander, Bishop Rudolfo Valentino, is known far and wide for his contempt for anyone who does not pledge full faith and loyalty to the Pope. He has been reported as saying that he doesn't fully trust the duke to fulfill his part of the bargain (which Robert had not planned on doing anyway). Duke Robert doesn't trust the Bishop. After all, a man as gaunt and ascetic as that churchman is must be up to no good.
The Duke has a good force of Normans and allied Italians under his immediate command. With Roger, Bohemund ,Richard, and Tancred, he is completely satisfied. With Pandulf and Rainulf, Robert must have his doubts, but so far they haven't done anything obvious to incur his displeasure.
The striking power of of the Norman knights gives this army an edge in any conflict with the Byzantines. After all, what can stand against the might of a good Norman knight, blessed by the Pope himself!
The Normans' Victory conditions
Defeat Condition:

Photo by Ed Sansing
The back side of some of Jay Stribling’s Byzantine klibanophoroi cavalry in the center of the line.
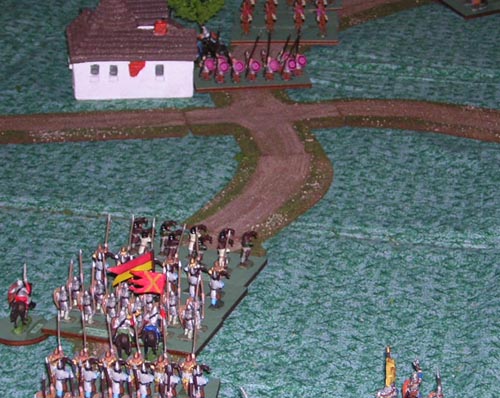
Photo by Ed Sansing
Ed Sansing’s Norman infantry heads up the road toward the waiting Byzantine enemy.
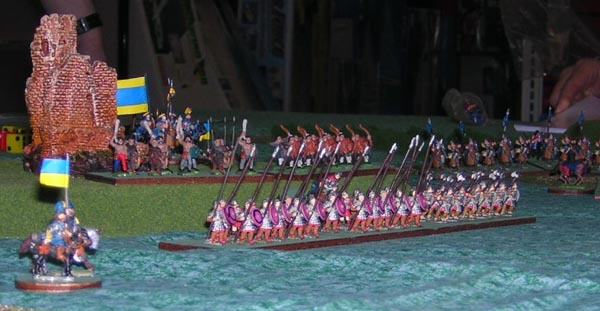
Photo by Ed Sansing
This picture shows the right center of the Byzantine line with scutatos in front backed up by psiloi slingers and archers on the hill.
Special Situation: Roman Army of Basil, the Katepan of Langobardia
Basil knows that he has reinforcements only a couple of hours away, maybe even closer. But until they arrive, he will have to make do with what you have. Still, the Byzantines solid infantry core of scutatoi and psiloi, plus thier incomparable klibanophoroi and kataphraktoi cavalry should be more than enough the hold that Italian and Norman rabble at bay.
Basil is not too sure how loyal the Russ infantry and Steppe cavalry are. But their leaders have been paid immense sums to fight for Rome. Basil can only hope that the hated Papists can't buy them out from under him.
The Byzantines' Victory conditions
Defeat Conditions

Photo by Ed Sansing
A slightly differing view of the photo above, with a bit more clarity on the supporting troops such as the slingers.
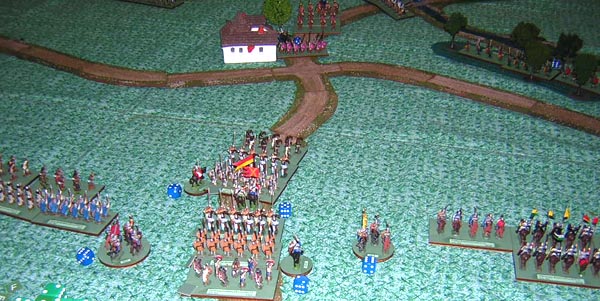
Photo by Ed Sansing
Ed Sansing's infantry moves up the road. On the left Travis' infantry. On the right Mark Gilbert's cavalry. Note the blue command point dice next to each command stand. This is a reminder of how many command points each officer received at the start of that turn. This is the number of units that he can motivate.
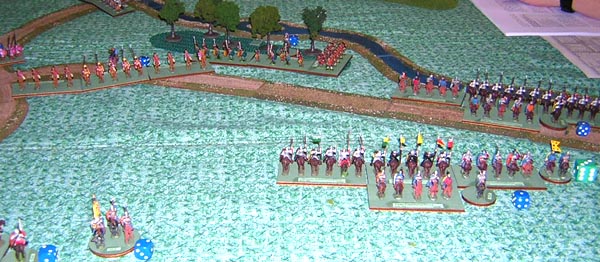
Photo by Ed Sansing
Change: Mark Gilbert's Norman cavalry moves to try and turn Sean's flank. The reserve Steppe light cavalry has been called forward by the Byzantine commanders.
A Special note from the umpire to Bishop Rudolfo Valentino
Commander of the Papal Army
You're not sure you can really trust Robert. After all, he's just a Norman barbarian, descendent of Vikings. And we all know how heathen they are!
Just in case, you've brought plenty of gold and dispensations to lure Princes Pandulf and Rainulf to your control, if necessary.
But the main threat is still those heretic Byzantines! You'd really like to capture Basil and burn his heresy out of him at the stake. You might even overlook Robert's machinations to be able to do that.
Your private Victory Conditions:
Defeat Conditions
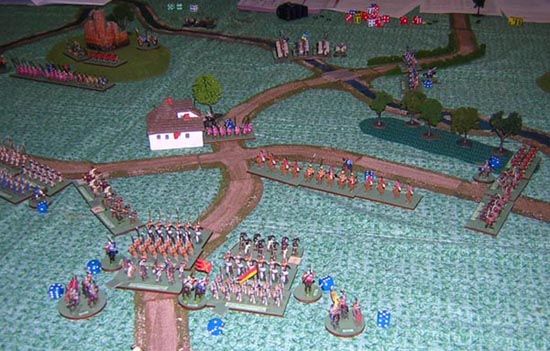
Photo by Ed Sansing
Ed Sansing has deployed his Norman infantry units. Both columns have bowmen in the front and are trading shots with Sean's Steppe light cavalry. On the left the Italian Allied infantry are advancing in support.

Photo by Ed Sansing
Travis and Bill advance slowly toward the hill. Travis' infantry head toward the town.
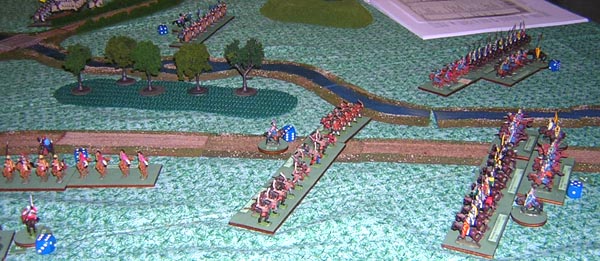
Photo by Ed Sansing
Sean deploys against Mark's cavalry.
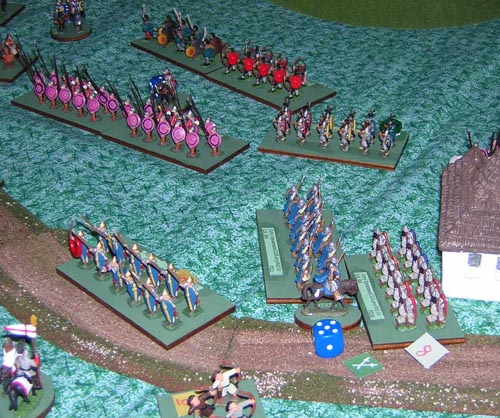
Photo by Ed Sansing
The aftermath of the assault on the town. Phil hit one of Travis' infantry units in the flank and it routed away to the left (red ring hanging on spear shows rout). The other 2 units remained locked in combat with a unit in the town. The front unit has taken casualties (small marker 8 strength points down from 11 at game's start). Also its order chit (crossed swords for attack) is displayed.
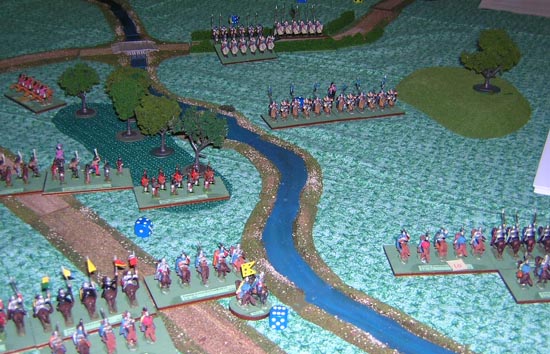
Photo by Ed Sansing
Jay's cavalry moves up to keep the flank secure.

Map by Jim Pitts
The "top" of the image is north. The Normans set up along the west (left) side. The Byzantines set up along the hills and woods that run through the middle of the map in a roughly north-south line to the east (right) of the north-south road.
The southern most town (gray square) was garrisoned by one of Sean Pitts's Byzantine scutatoi units. The road exit on the eastern (right) side leads to the Byzantine provincial capitol of Bari, the Normans' objective.
This was our third game using the Vis Bellica rules. We have the problem of not having the games often enough so that we can remember the rules or come up with tactics. I enjoyed the game, but I need more practice with this rules set.
Comments by the Game-Master
The battle itself was a draw with a Byzantine "strategic" victory. I believe that I set the forces up too far apart so we never really closed into hand-to-hand range before we ran out of time.
I may try the same scenario again with the forces deployed closer together at the start and more emphatic instructions for the Norman players. I feel that they didn't really get into the traditional Norman's aggressive mind-set.
Jim Pitts.
We hope to play more Vis Bellica games!
Return to the Master Index of Photos and Games
Return to the Jackson Gamers' Homepage
Angelfire - Free Home Pages
Free Web Building Help
Angelfire HTML Library
htmlGEAR - free polls, guestbooks, and more!
Thank you for visiting The Jackson Gamers' pages at Angelfire. Please come back and visit again!