|
START HERE START HERE START HERE START HERE START HERE START HERE
|
 |
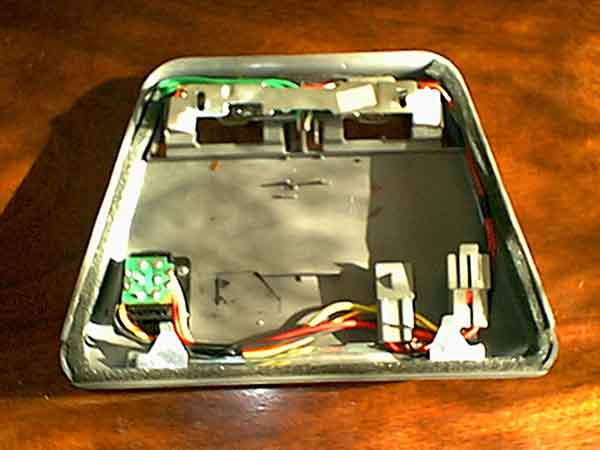
Roof Panel Console
While not the prettiest thing you will find on the SHO, it is one of the more functional points, providing easy access to overhead lighting and the moonroof control switch. Unfortuntely, the moonroof switch is know for having the button break off due to it's thin tabs that hold it to the switch. Fortuntely, there is a solution! This modification took me approximately one hour to perform. Instructions on removing the roof console from your SHO are HERE.
|
END HERE END HERE END HERE END HERE END HERE END HERE END HERE
START HERE START HERE START HERE START HERE START HERE START HERE
 |
NAPA makes it easy!
This switch is found at NAPA on their "Switch and Handle" rack, or you can ask for NAPA part #735-4539.
|
END HERE END HERE END HERE END HERE END HERE END HERE END HERE
START HERE START HERE START HERE START HERE START HERE START HERE
 |
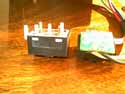
Better by Design
If you've seen an oem switch, you will quickly recognize that this switch has a better design for the button, making it stronger. The switch also requires less pressure to trip the contacts, further ensuring a much longer lifetime.
|
END HERE END HERE END HERE END HERE END HERE END HERE END HERE
START HERE START HERE START HERE START HERE START HERE START HERE
 |
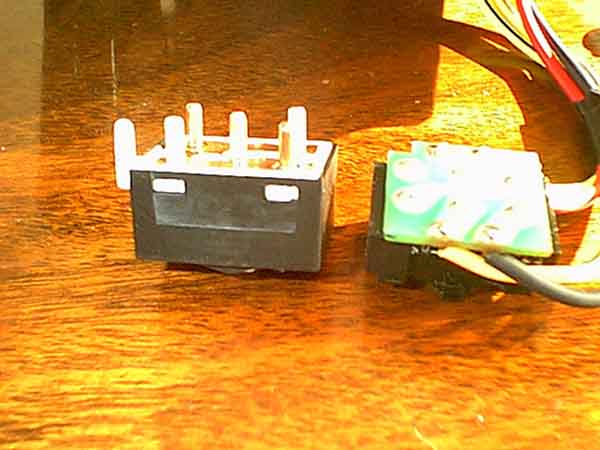
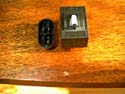
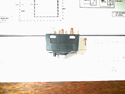
Not the Same
This image reveals that the two switches are not the same height. Do not dispair! Some easy changes to the seat allows this replacement switch to fit perfectly.
|
END HERE END HERE END HERE END HERE END HERE END HERE END HERE
START HERE START HERE START HERE START HERE START HERE START HERE
 |
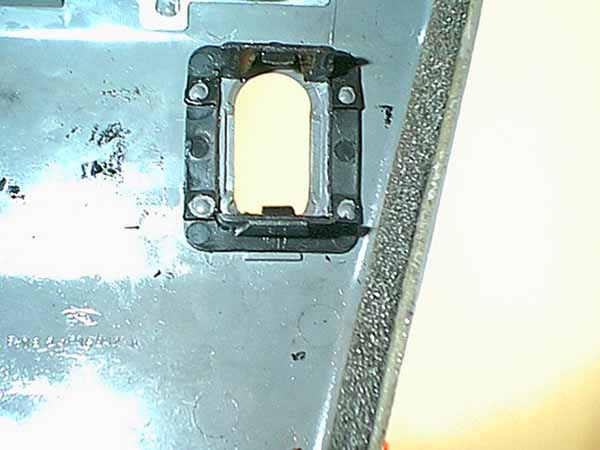
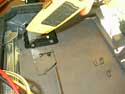
Removing the OEM Switch
Put in the screwdriver, pop out the oem switch.
|
END HERE END HERE END HERE END HERE END HERE END HERE END HERE
START HERE START HERE START HERE START HERE START HERE START HERE
 |
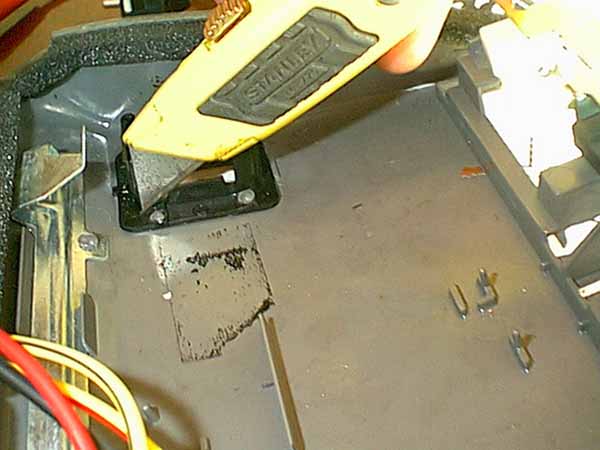
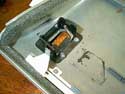
Performing the Modification
The oem switch mounts in a plastic "cage" that holds it in place with tabs on the inside, top edge of the shorter, taller sides of the cage. Our first goal is to remove the longer sides to the cage. With the entire console laying flat on a firm surface, take a very sharp untiliy or Exacto style knife to the plastic cage as shown and cut straight down into the plastic. You will need to remove the longer, shorter sides of the plastic cage to make room for the wider replacement switch.
|
END HERE END HERE END HERE END HERE END HERE END HERE END HERE
START HERE START HERE START HERE START HERE START HERE START HERE
 |
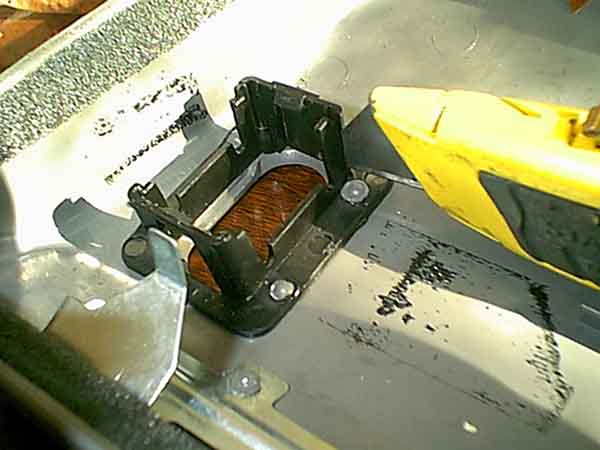
Get it Right
Another angle for your viewing pleasure. Press firmly, but take your time, making many passes, so that you do not crack the plastic cage or dig into the console panel unneccesarily.
|
END HERE END HERE END HERE END HERE END HERE END HERE END HERE
START HERE START HERE START HERE START HERE START HERE START HERE
 |
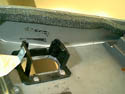
Removing the sides
Once you feel you have cut the base well enough, we will separate the longer side from the shorter one buy cutting straight down the corner. Cut parallel to the inside edge of the taller sides as we will need to make them flush anyway. The plastic is hard; feel free to shave the plastic a bit at a time to get to the corner if you feel more comfortable doing so. The end product is more important than the means.
|
END HERE END HERE END HERE END HERE END HERE END HERE END HERE
START HERE START HERE START HERE START HERE START HERE START HERE
 |
Almost Out!
Once you get the corners separated, if you cut deeply enough into the base you should be able to bend the entire side over a bit. I found I needed to go back and cut on both the base and the corners a few more times before it was willing to bend over and break off clean.
|
END HERE END HERE END HERE END HERE END HERE END HERE END HERE
START HERE START HERE START HERE START HERE START HERE START HERE
 |
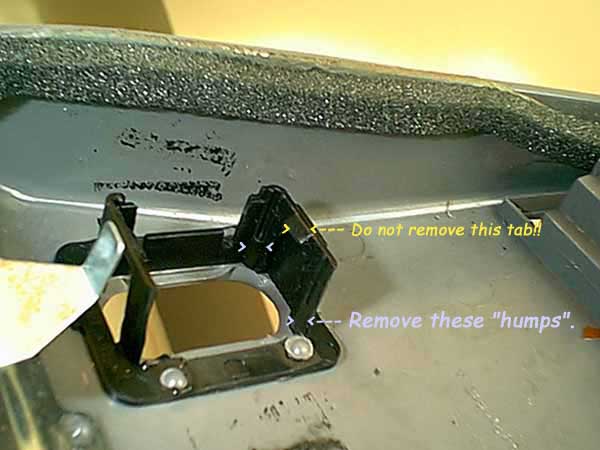
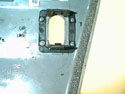
Without the Side
This is how the cage will look when you get the side removed. You will notice there is a thicker section at the bottom of each corner inside the cage. You will need to shave these off so that the entire inside surface of the remaining sides are flush, EXCEPT FOR THE RETENTION TABS. Click on the thumbnail to open the larger image, where I have pointed out what needs to go and what stays.
|
END HERE END HERE END HERE END HERE END HERE END HERE END HERE
START HERE START HERE START HERE START HERE START HERE START HERE
 |
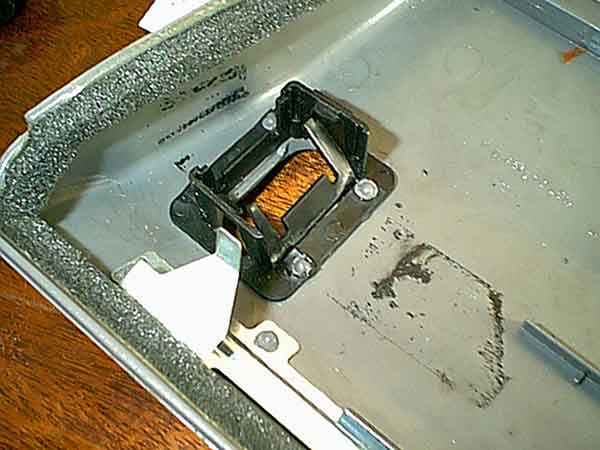
Side Two
This is how the cage should appear when finished.
|
END HERE END HERE END HERE END HERE END HERE END HERE END HERE
START HERE START HERE START HERE START HERE START HERE START HERE
 |
Preparing the Switch
Cut off the white tab and file, cut, or sand it flush with the side of the switch.
|
END HERE END HERE END HERE END HERE END HERE END HERE END HERE
START HERE START HERE START HERE START HERE START HERE START HERE
 |
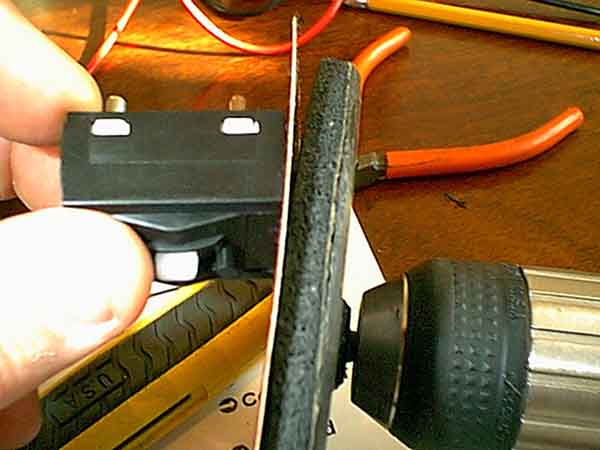
Sand it a bit.
I used my drill with 80 grit sandpaper, but use whatever you feel comfortable to sand down the edges of the two smaller ends (as the image depicts) to allow the switch to fit in the slightly tighter cage. It only take a little bit (with a power tool). Sand a touch, check for fit, sand again, etc.
|
END HERE END HERE END HERE END HERE END HERE END HERE END HERE
START HERE START HERE START HERE START HERE START HERE START HERE
 |
The Final Product
This is to illustrate what the sanding should achieve. This is necessary because the cage is thicker at the bottom, and angles inward slightly on the inside. I did NOT sand through the thin black plastic cover of the replacement switch.
|
END HERE END HERE END HERE END HERE END HERE END HERE END HERE
START HERE START HERE START HERE START HERE START HERE START HERE
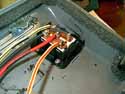 |
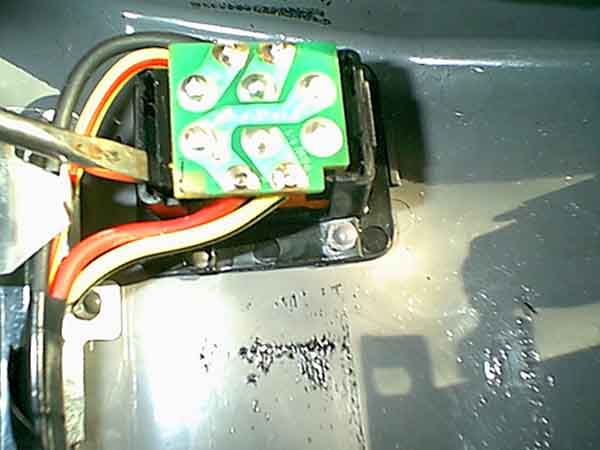
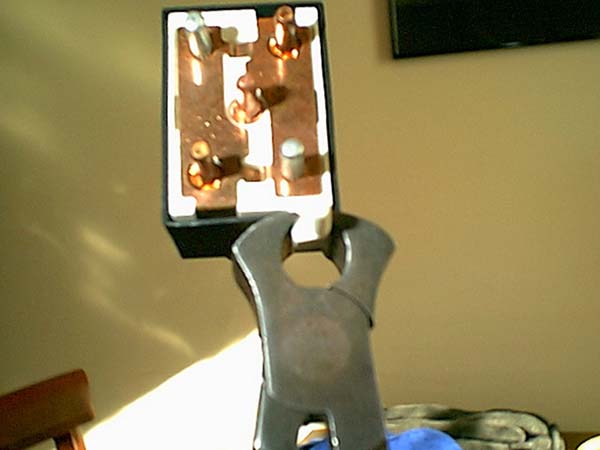
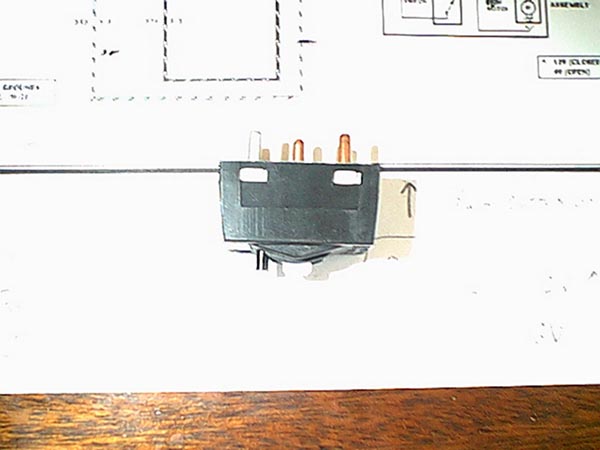
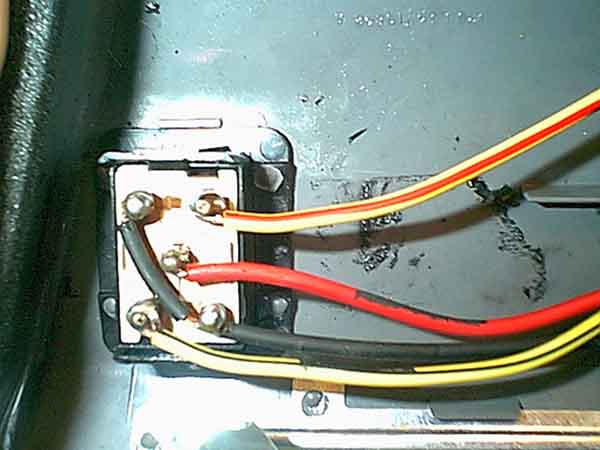
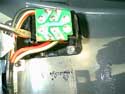
A New Connection
As you can see, the new switch will need to have the old wires soldered onto it's posts. This image best illustrates the wires and their colors and stripes, and shows which poles they should be connected to on the switch. I did this after installing the switch in the cage and checking for fit and function. If you need easy instruction on soldering, click HERE. For a blueprint of the wires and the poles, click HERE.
|
END HERE END HERE END HERE END HERE END HERE END HERE END HERE
START HERE START HERE START HERE START HERE START HERE START HERE
 |
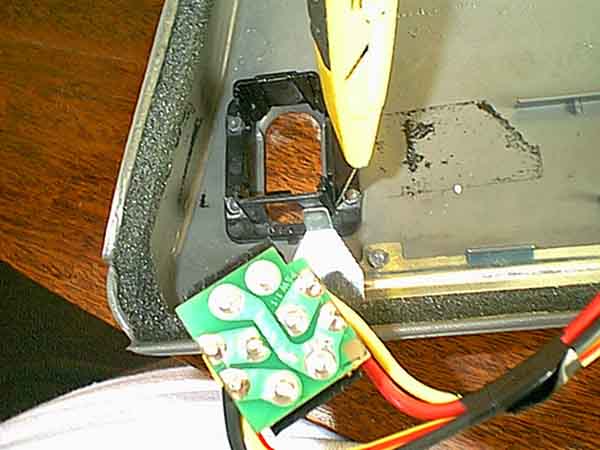
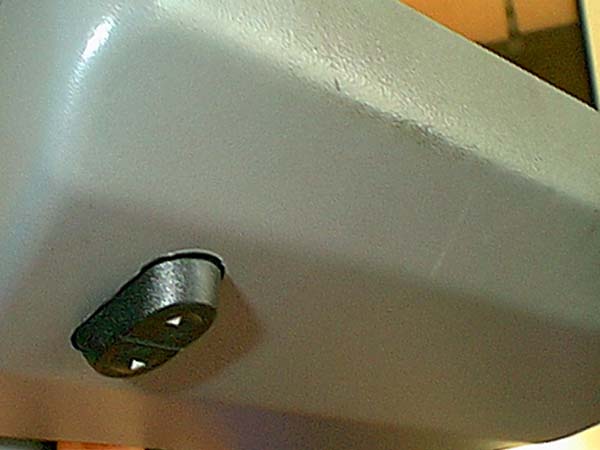
Wired Up
This is the view of the switch from the rear of the console panel The lamps are out of the image at the top.
|
END HERE END HERE END HERE END HERE END HERE END HERE END HERE
START HERE START HERE START HERE START HERE START HERE START HERE
 |
Final Product
This is how the switch looks installed. The gap between the button and the console is barely larger that with the oem switch, not enough to notice if you aren't specifically looking for it. This modification has worked well for me and I prefer this lighter feeling switch with positive contact click over the oem unit. No more broken buttons is a bonus!
|
END HERE END HERE END HERE END HERE END HERE END HERE END HERE