Clod buildup
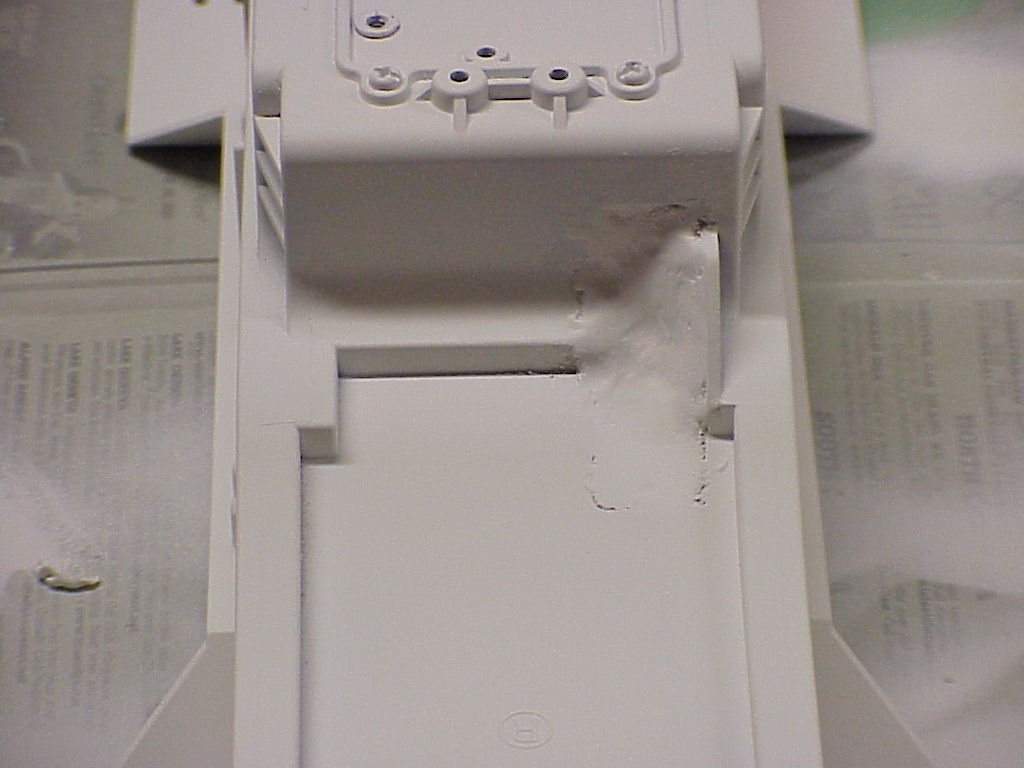
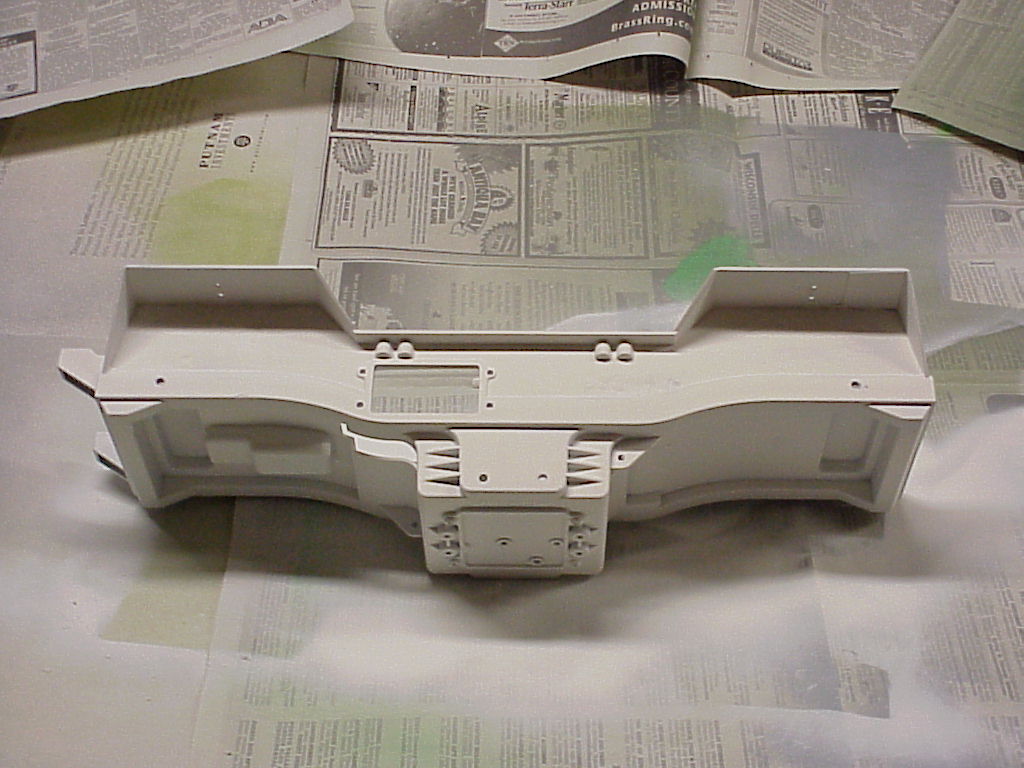
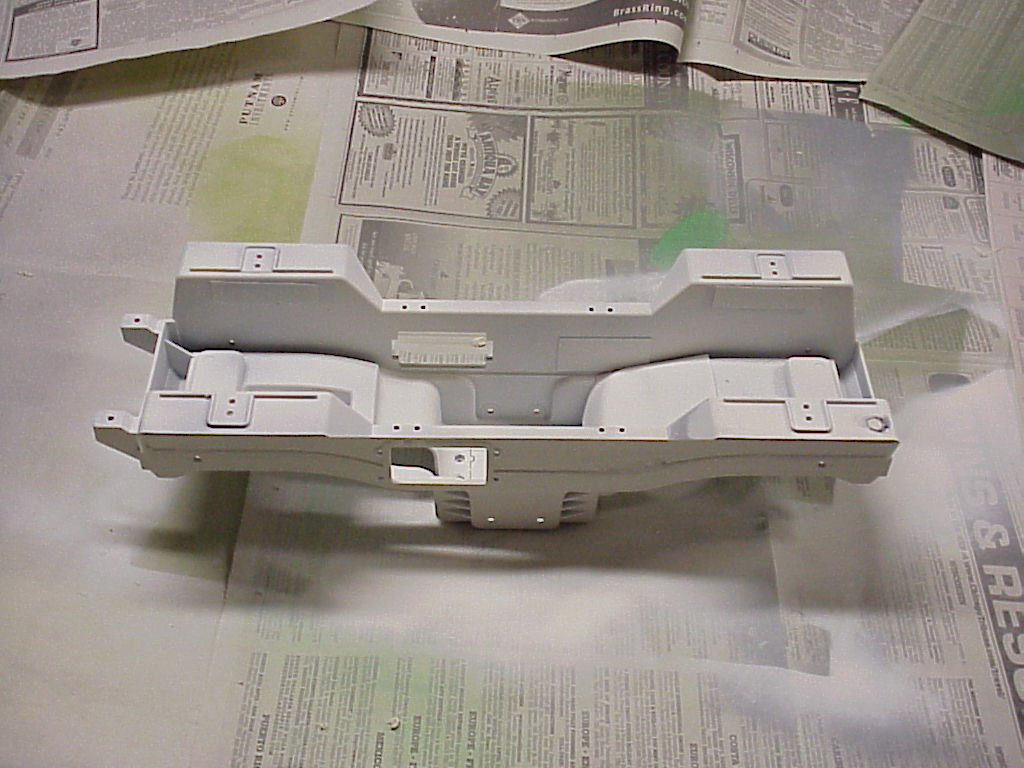
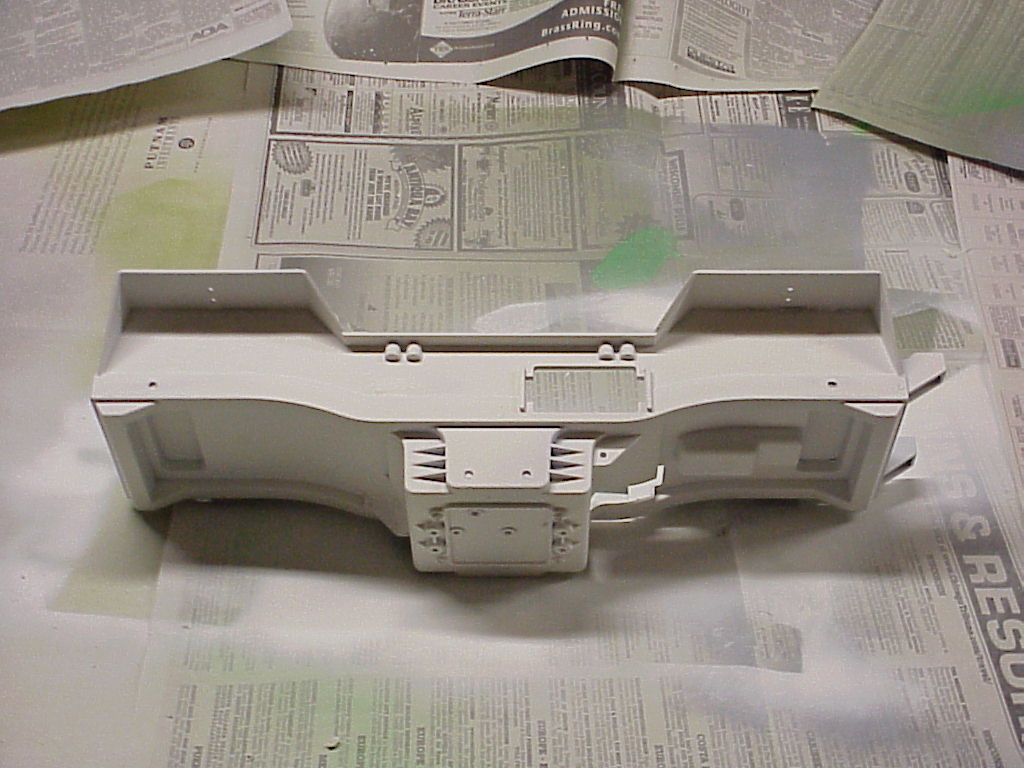
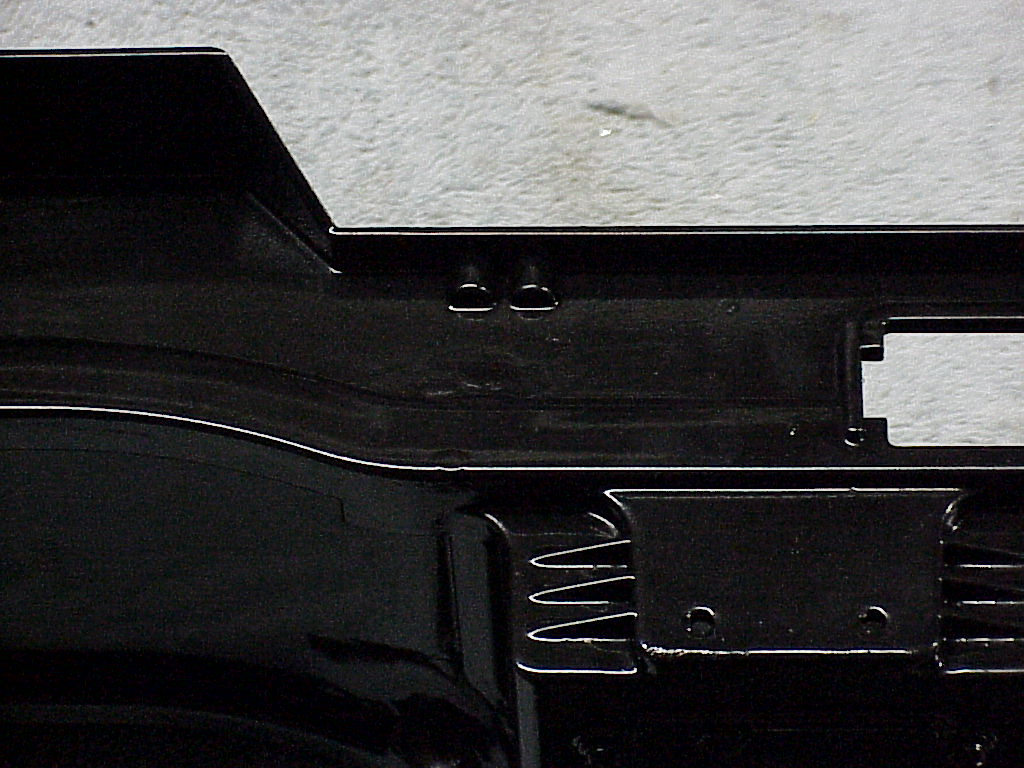
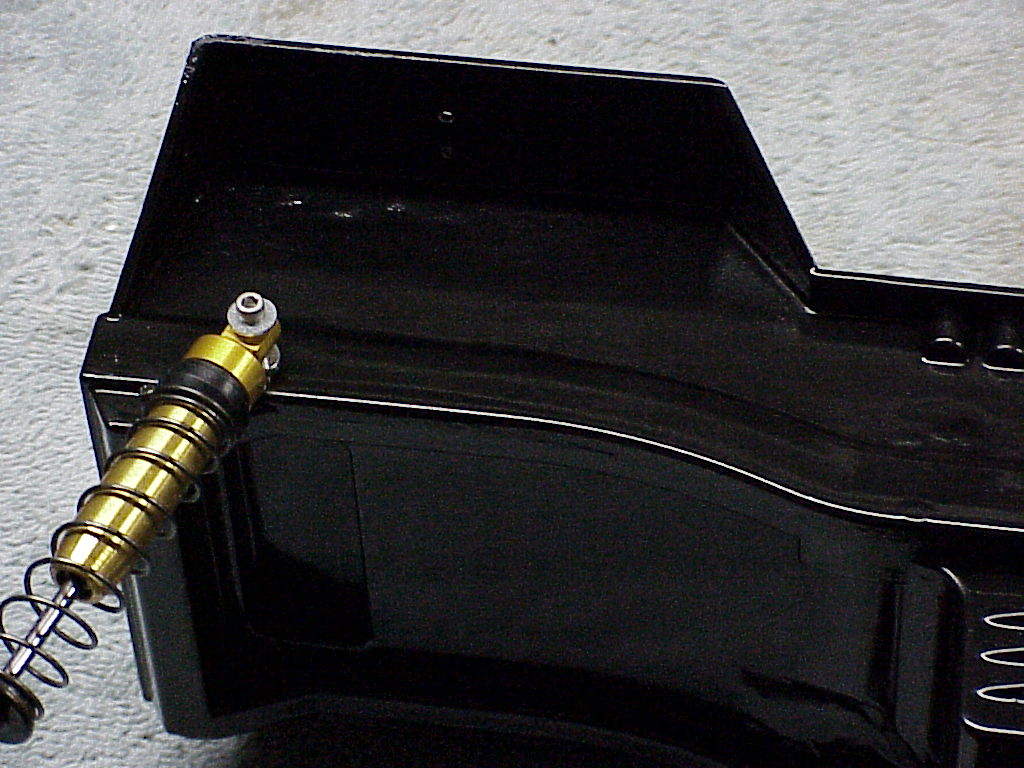
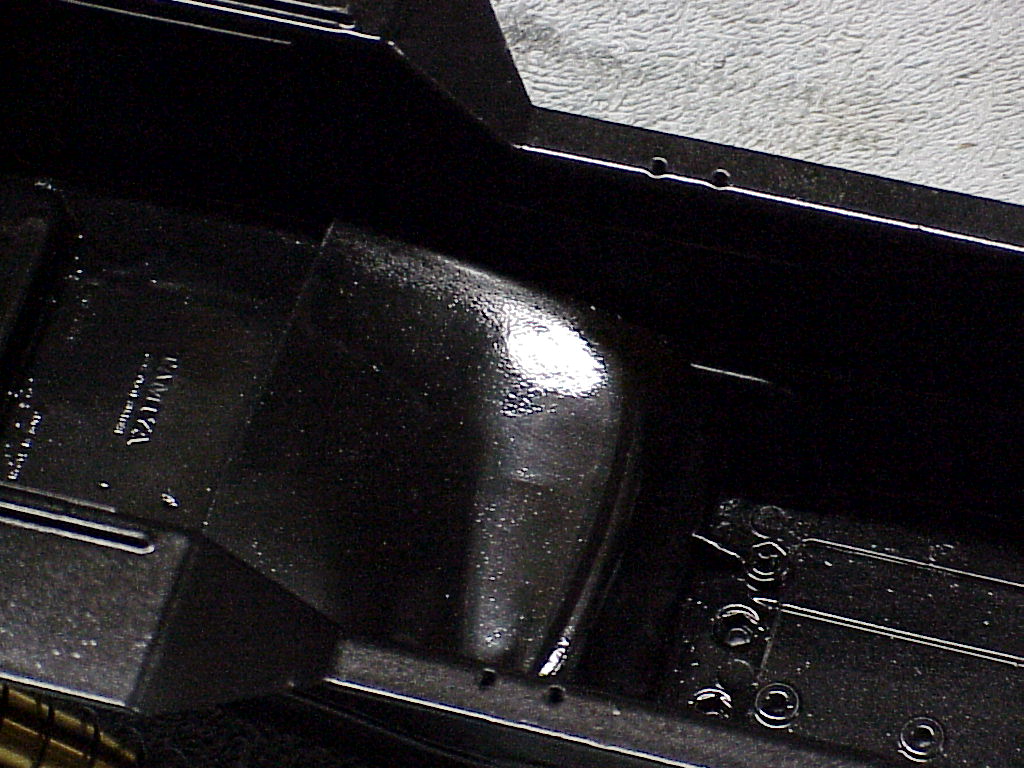
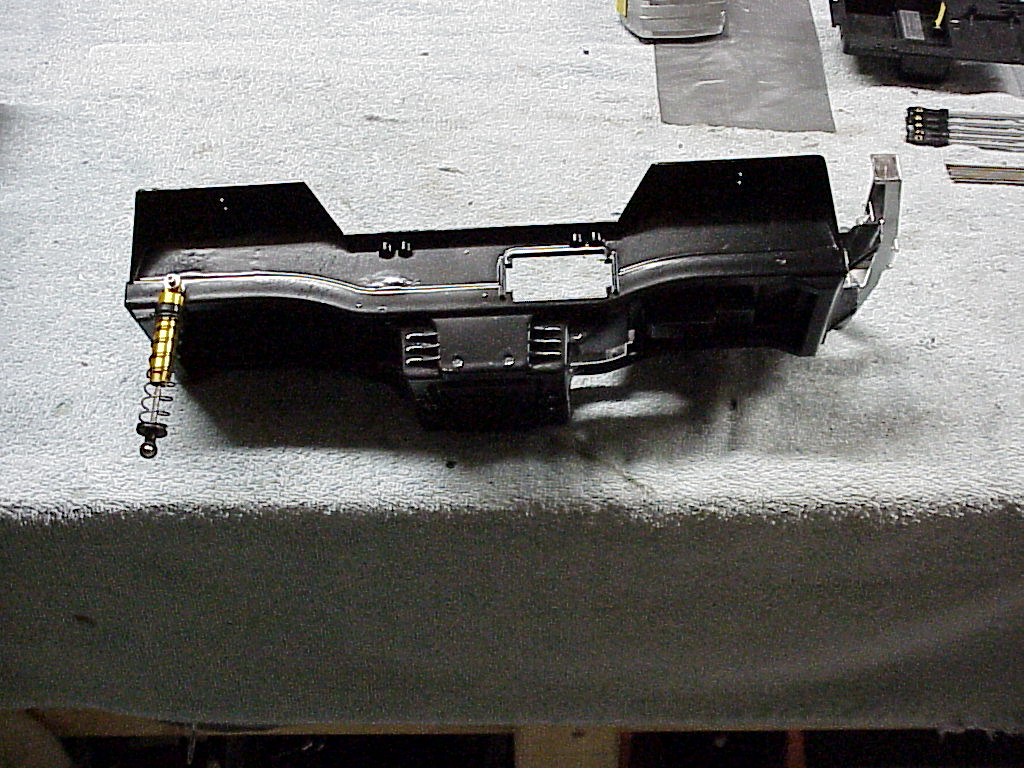
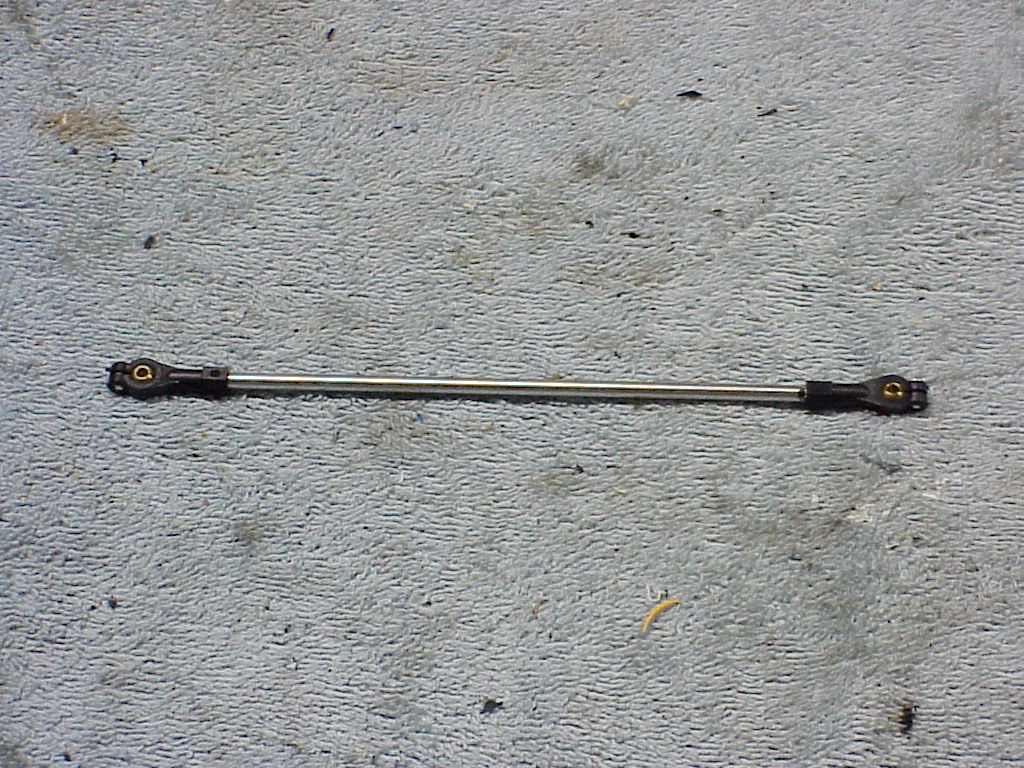
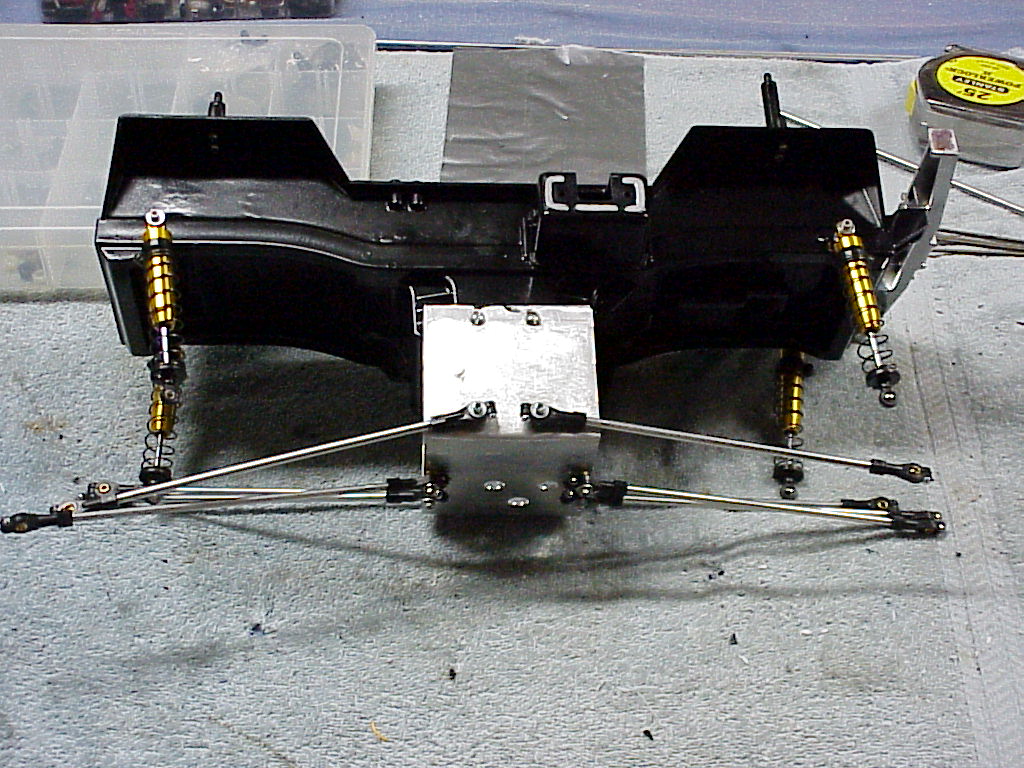
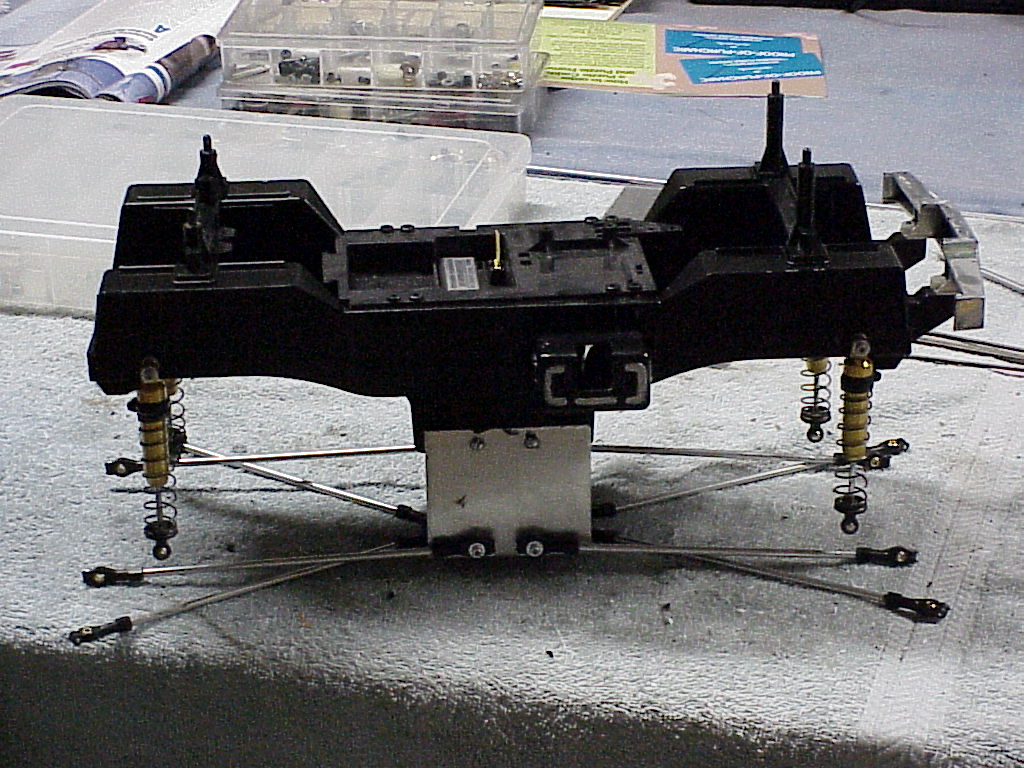
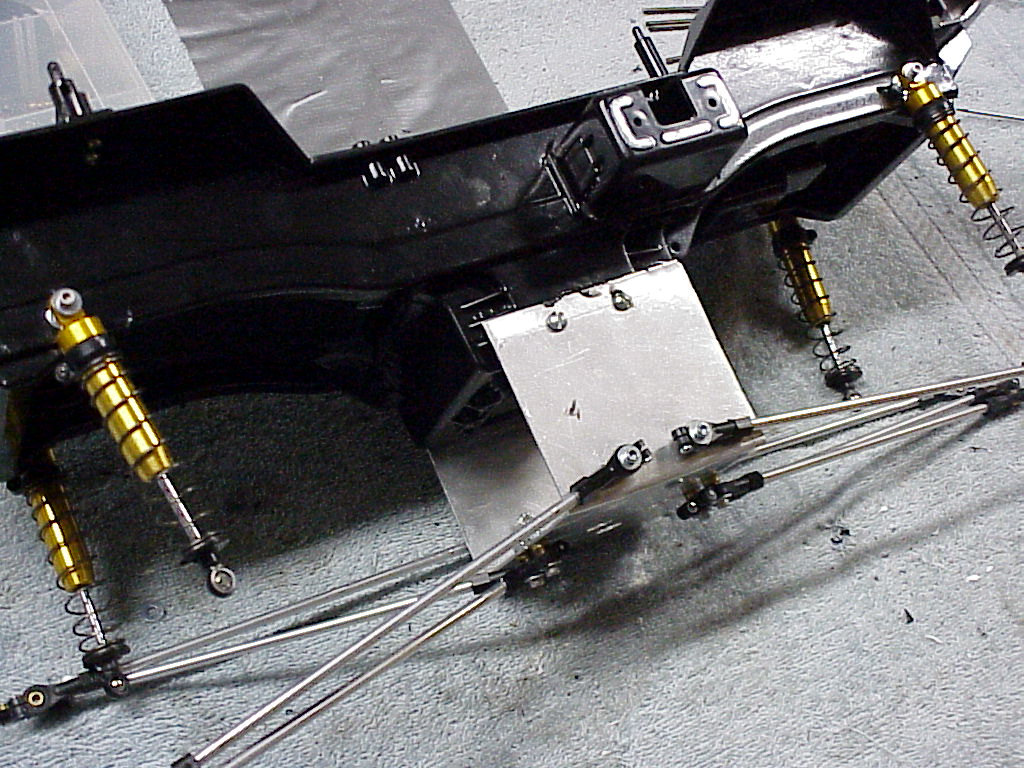
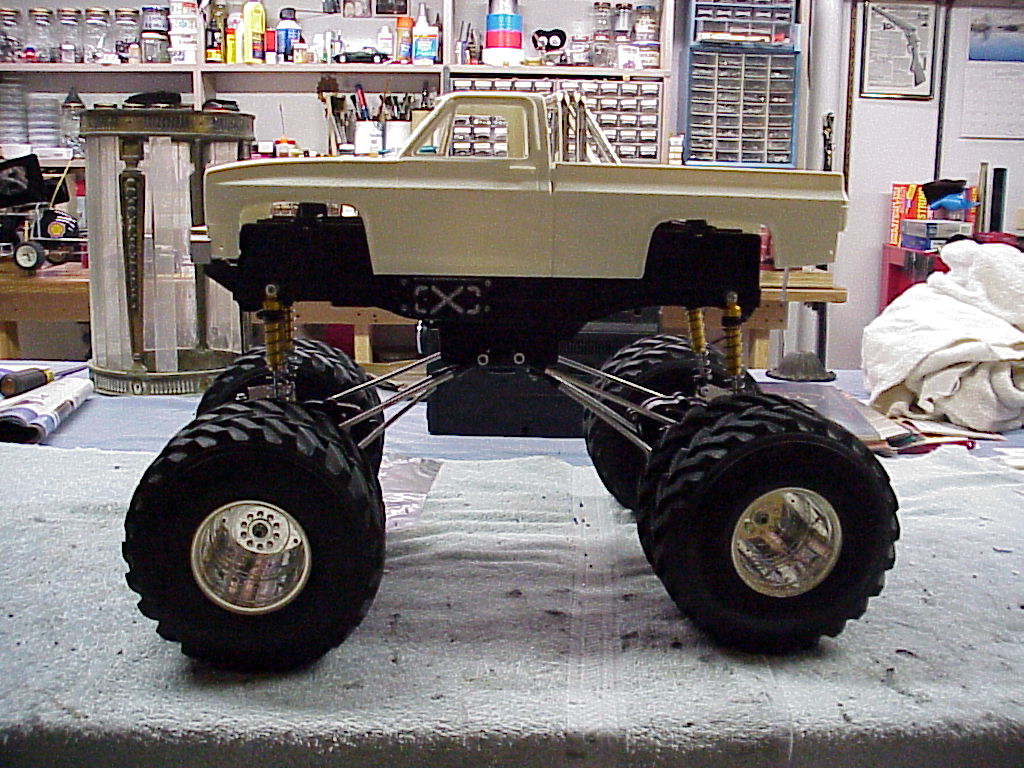
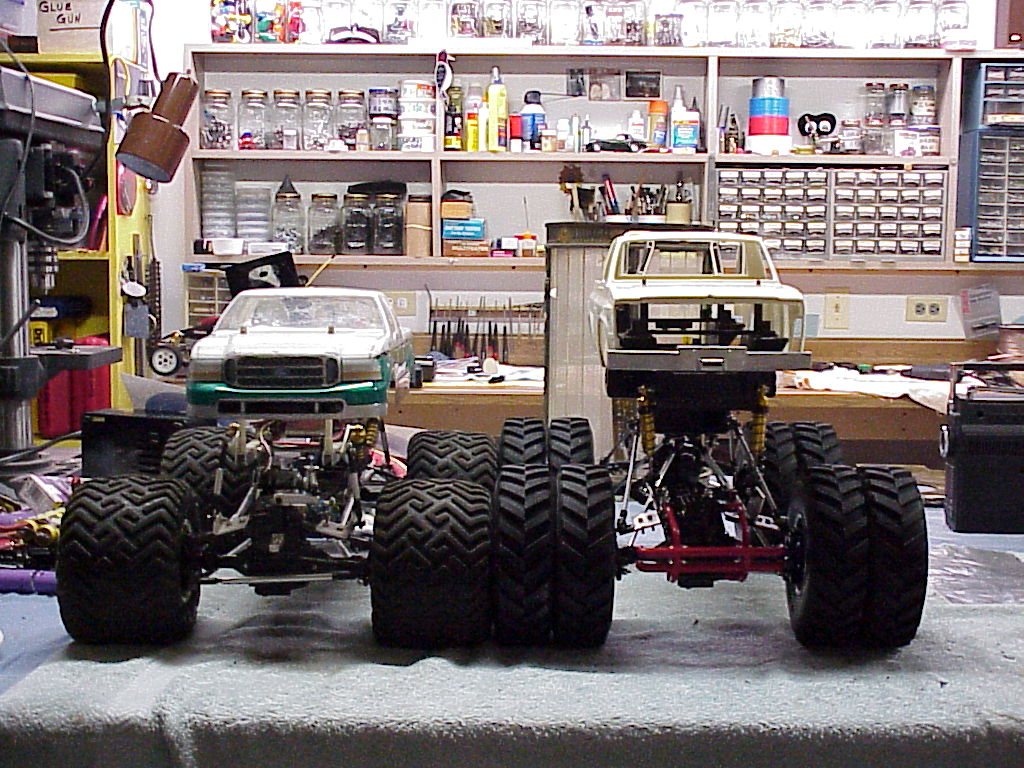
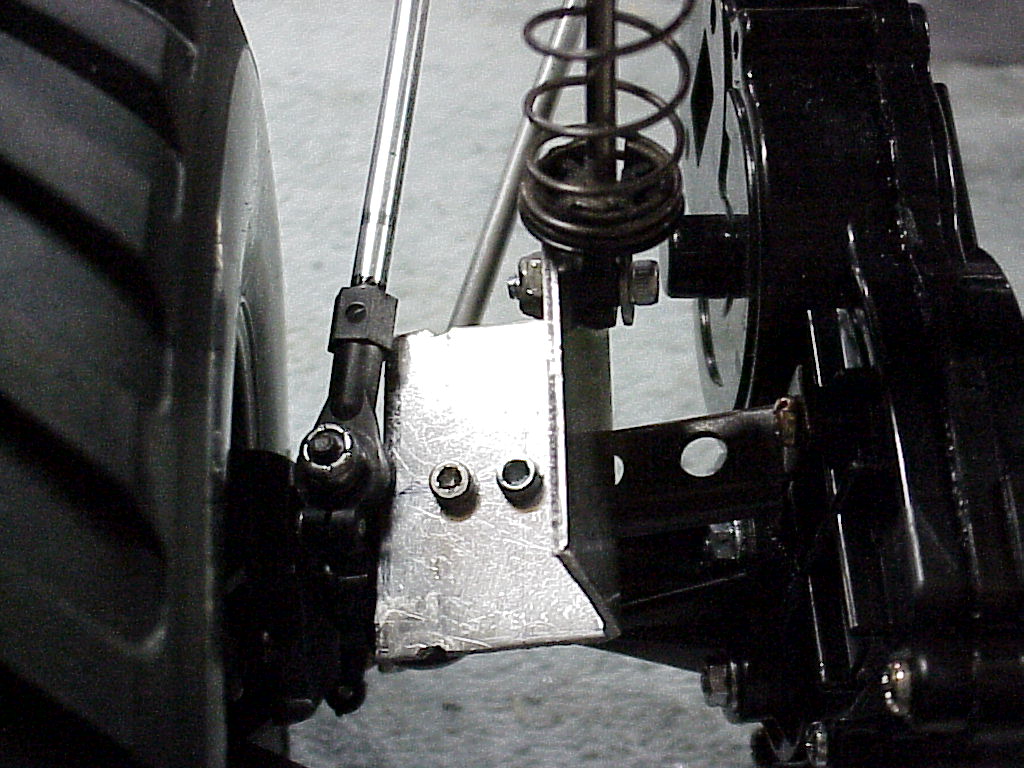
This page will show how I built my Clodbuster capable of driving in deep snow the stock chassis will be used. As you can see by the first picture the rear steering hole has been filled from the inside with a piece of a milk jug and from the outside with modelers putty. You can also see that all of the stock shock holes have been ground off and filled in and new shock holes have been drilled in a lower location. Both of the switch holes have also been filled in with a scrap piece of lexan and modelers putty. Pictured below is one of the rods I plan to use for suspension arms. It is a piece of 4-40 threaded rod and 4-40 ends, the rod is then covered with a piece of 5/32" aluminum tubing. Below you can also see the custom chassis brace I made for it. This helps to lower the links and keep the suspension geometry the same. After testing the brace will not be used. All of the mounting holes on the chassis have been filled with a black silicone from Permatex. The truck will retain the stock body and mounts. the stock radio tray will be used with some minor modifications. A few of the pictures will demonstrate the height differences between this Clod and a Clodzilla IV. A 27 turn stock motor with 5 degrees of advanced timing will be used in each gearbox. These will be wired in parallel to increase speed. A Novak Super Rooster electronic speed controller will also be used to handle these motors and a 7 cell battery pack. An external cooling fan will be used on this speed controller. For steering a single Hitec 615mg servo will be used and mounted in the stock location. Click here to learn how to paint a body like this. This project has been completed and runs perfectly.
![]()