
|
CornDog's Little Spot On The Web!: 1969 Chevrolet Restoration Page |
| Home | 1969 Chevy Truck | Dukes Of Hazzard | Links |

|
Let the restoration begin!
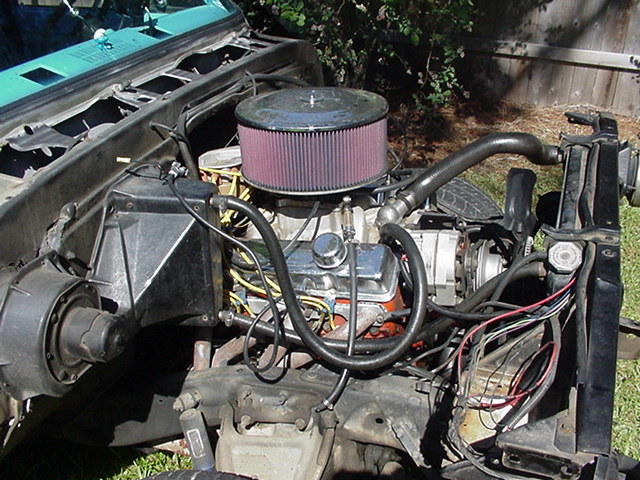
These were the steps that I took when painting the engine bay of my truck. The first step in painting the firewall was to remove everything that was in the way so that you can paint every square inch. I started tearing it down and it took a couple hours to get it all apart. |

|
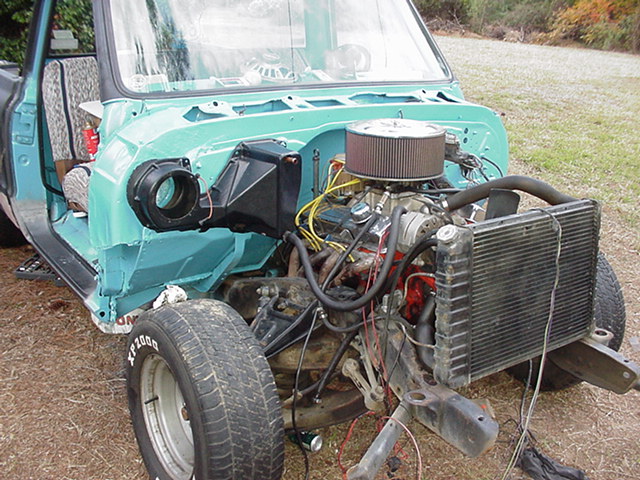
Pile 'O Parts...
This picture was taken after I finished takeing everything apart. Check out the sorry paint job on the driver's side inner fender; looks like someone just got a can of black spray-paint and tried to "clean" it up a little. |
|
Before/After Pictures of Firewall
These pictures were taken before and after I painted the firewall. I had a couple rust spots that needed patch work. I also had to replace the windsheild wiper motor mount. Due to rust, the motor was moving around and knocking when turned on. |

|
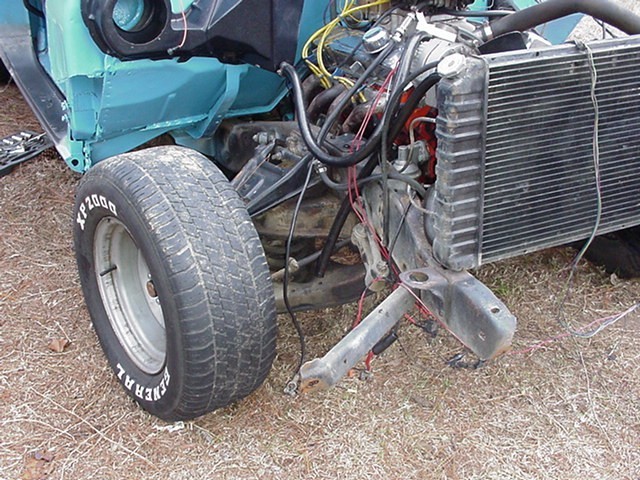
Before/After Pictures of The Frame
Here is a good set of before and after pictures of the front suspension and chassis. Even though a lot of this will be covered up by the inner fender, it is still good to clean it up. I presure washed it to get 30 years worth of grime off and then painted it was high temp engine paint. |

|
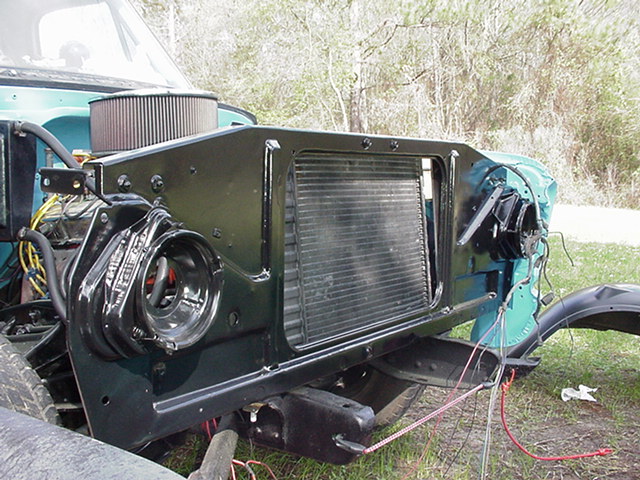
Before/After Pictures of Core Support
These pictures were taken before and after I painted the core support. I sanded the whole thing down, then primed it and sprayed it in a satin black color. |
