How to make a Hanky-Baby or a Pillowcase-Baby

This is my adaptation of a traditional toy sometimes called a "church baby". It was made for little girls to hold during church, because it was quiet and soft. I suppose it was also used in church because it didn't count as a real toy, so it was OK to play with on the Sabbath. From what I've read, the head was usually stuffed with cotton. I wanted more of a body, so I make this doll with a rolled-up core that acts as both a body and a head.
This doll can be made of either two pillowcases, or two handkerchiefs, together with two rubber bands. You can use ponytail holders or bits of string or ribbon in place of the rubber bands. It takes less than half a minute to make, and doesn't harm the pillowcases or handkerchiefs at all; they can go back to their usual functions later. It resembles a baby in a bonnet and long christening dress. If made with handkerchiefs, it's about the right size to hold in your hand. If you use pilllowcases, it's about the right size for a child to hold in her arms.
The instructions are similar for the handkerchiefs and the pillowcases, but the pillowcase is slightly easier because it is larger and because it is closed down the side like a dress. You could sew a handkerchief into a pillowcase shape after folding it in half, but it's not necessary. I'll illustrate with the pillowcase first.
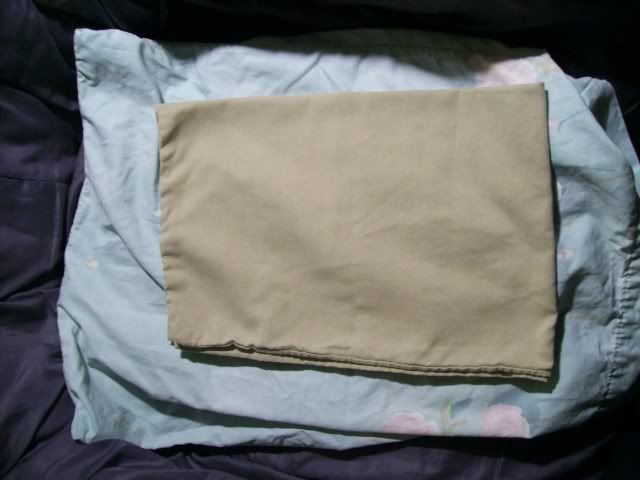
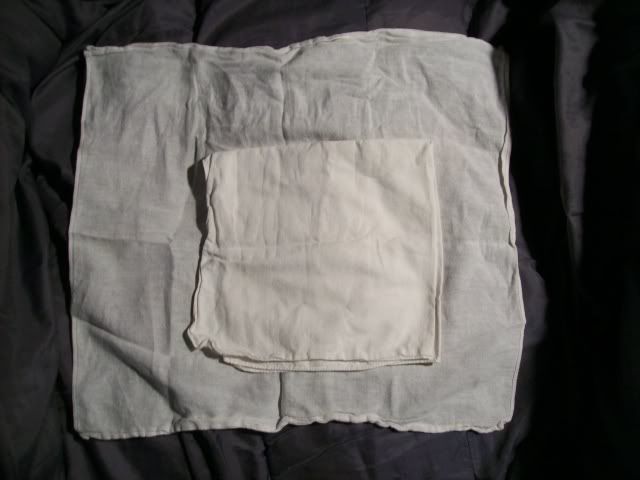
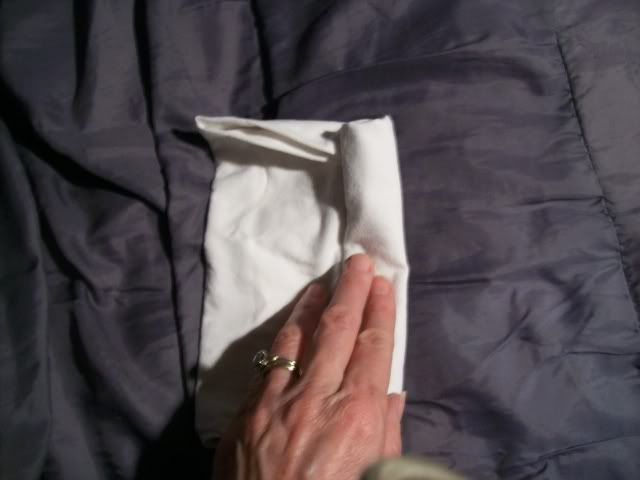
Step 1: Fold the inner pillowcase into quarters.
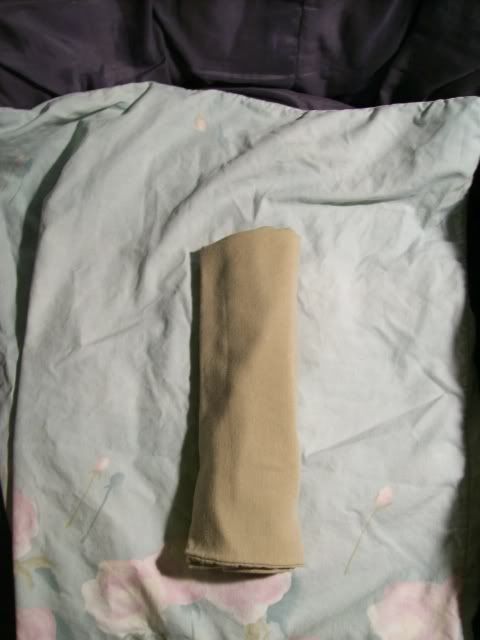
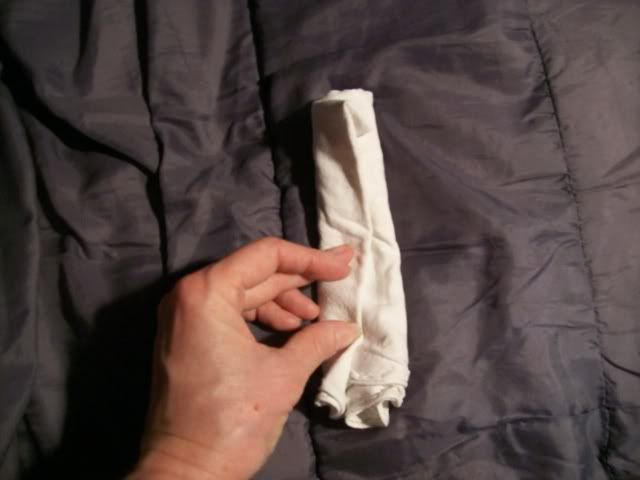
Step 2: Roll the folded inner pillow case into a roll, starting on the shorter side.
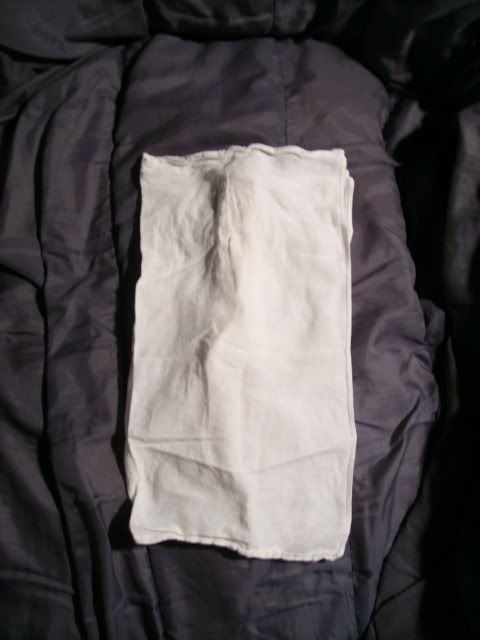
Step 3: Place the roll inside the other pillow case, so that the end of it is at the side away from the opening.
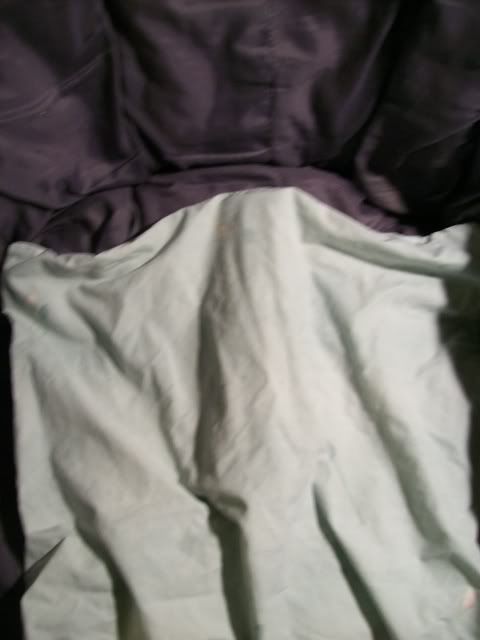
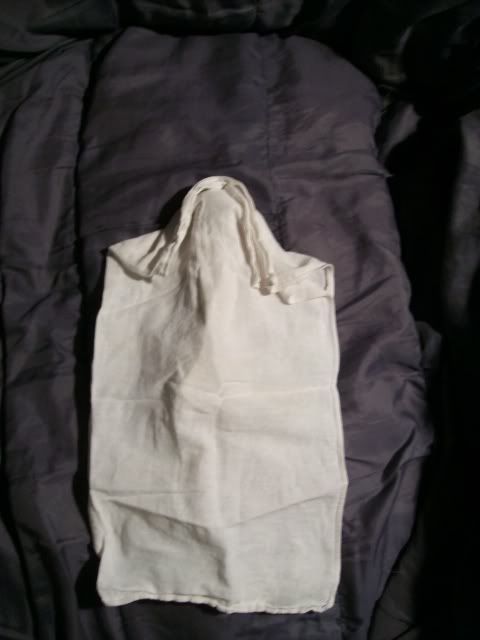
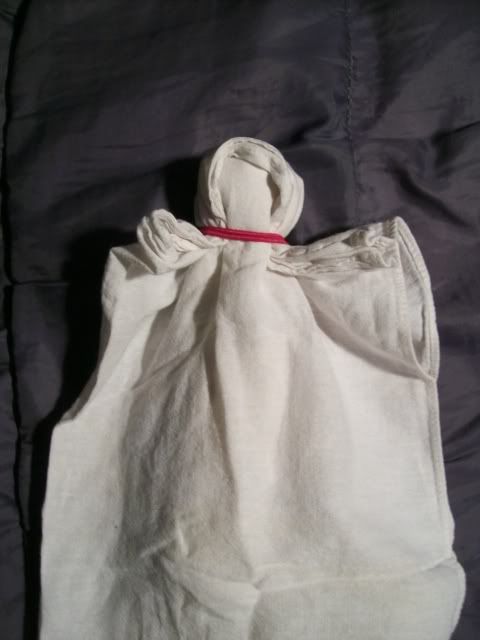
Step 4: Use your fingers to pinch just a bit of the top seam, and fold it down around the "head"
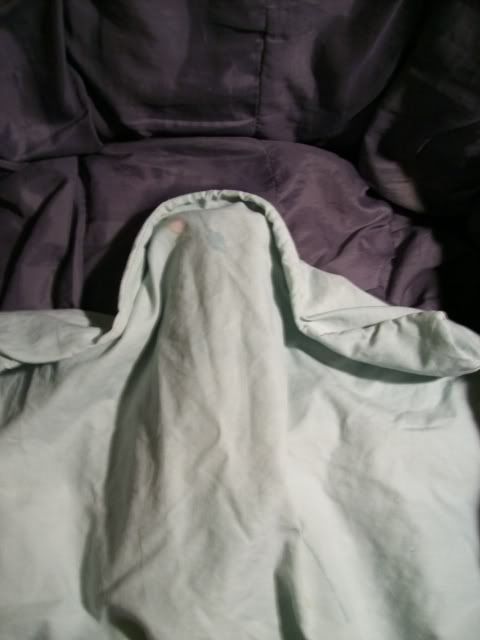
Step 5: Put a rubber band around the "neck", making sure the seam sticks forward a bit to form the edge of the "cap".
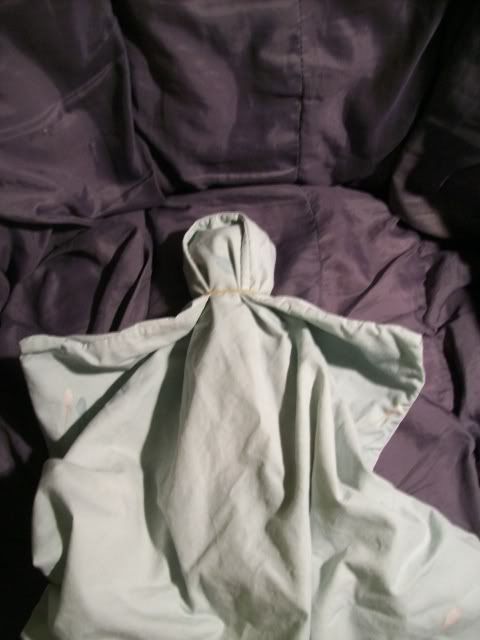
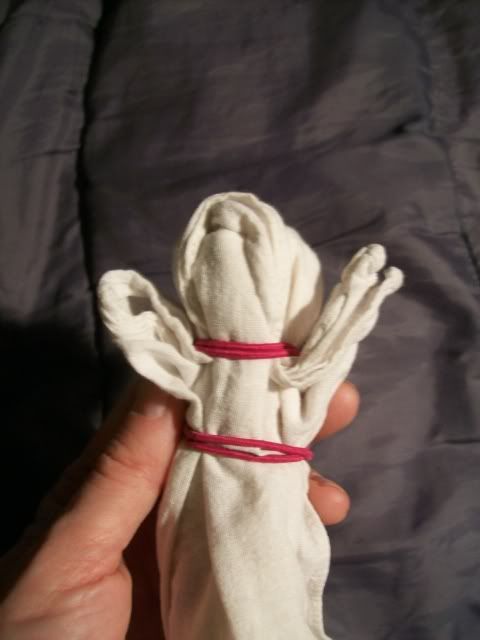
Step 6: Fold the "arms" up temporarily and put another rubber band around the "waist". Then pull the arms out to the sides. This completes the doll.
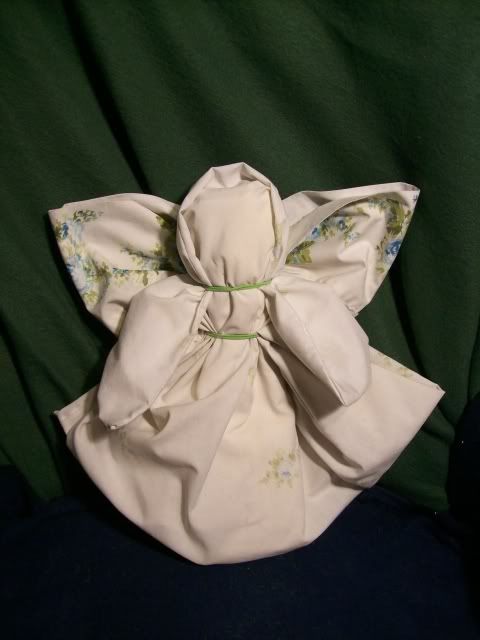
Update: You can turn the baby doll into an angel or fairy doll by bringing the bottom of the skirt up behind the head in back and poking the two outside corners through the waistband. Here are a back view and a front view:

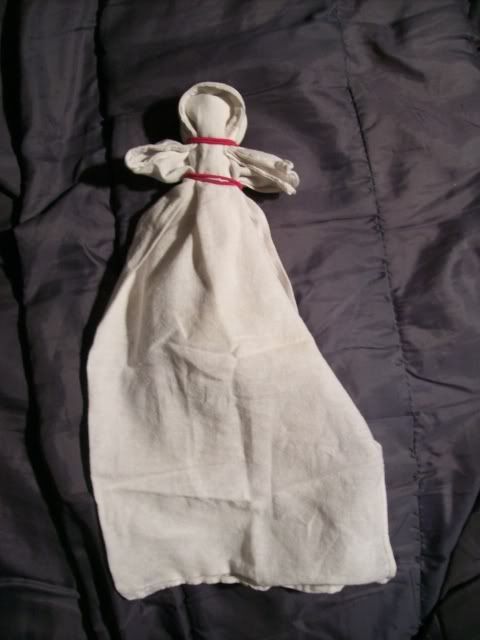
The handkerchief is a little trickier, because there's no top or side seam, but the folding and the rubber bands still hold it together.
Step 1: Fold the inner handkerchief into quarters.
Step 2: You can then fold it over one more time, so that it's twice as wide as it is tall, before rolling it. This makes for a short fat baby. I prefer to fold over just enough to make a head, and then roll it up.

Step 2: Roll the folded inner handkerchief into a roll, starting on the shorter side.
Step 3: Lay the roll on the right side of the other handkerchief, and fold the second handkerchief in half, so that the roll is inside, with the top of the roll near the top of the outside handkerchief.

Step 4: Use your fingers to pinch just a bit of the top two edges, and fold them down around the "head"
Step 5: Put a rubber band around the "neck", making sure the top edges stick forward a bit to form the edge of the "cap".
Step 6: Fold the "arms" up temporarily and put another rubber band around the "waist". Then pull the arms out to the sides. This completes the doll.
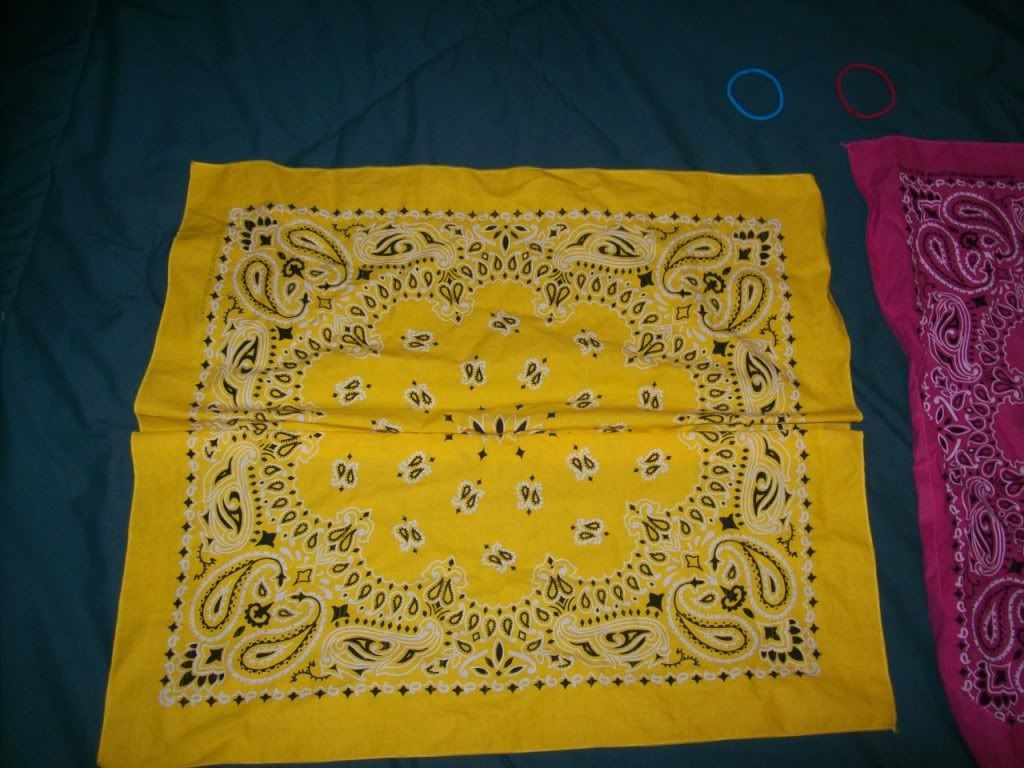
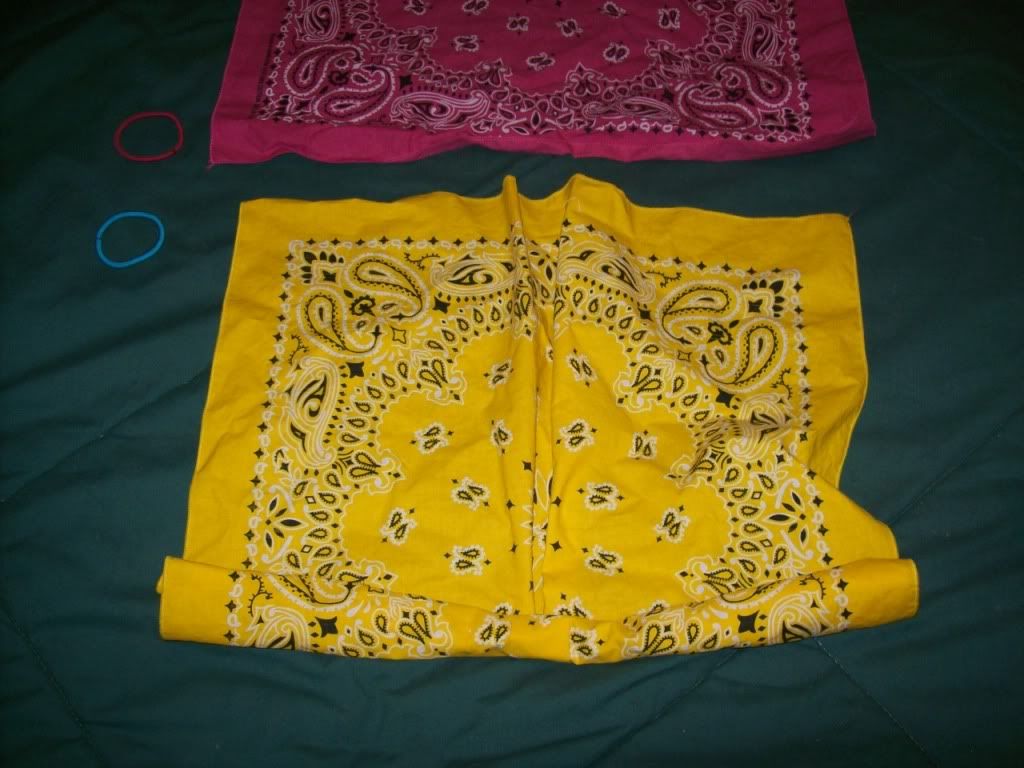
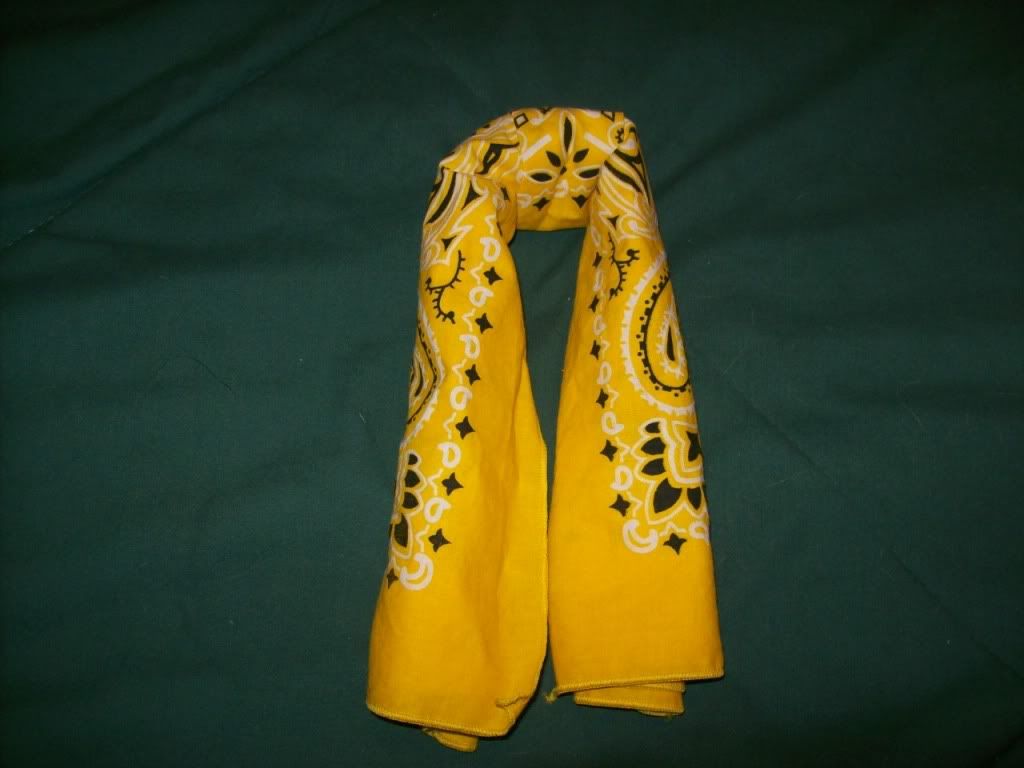
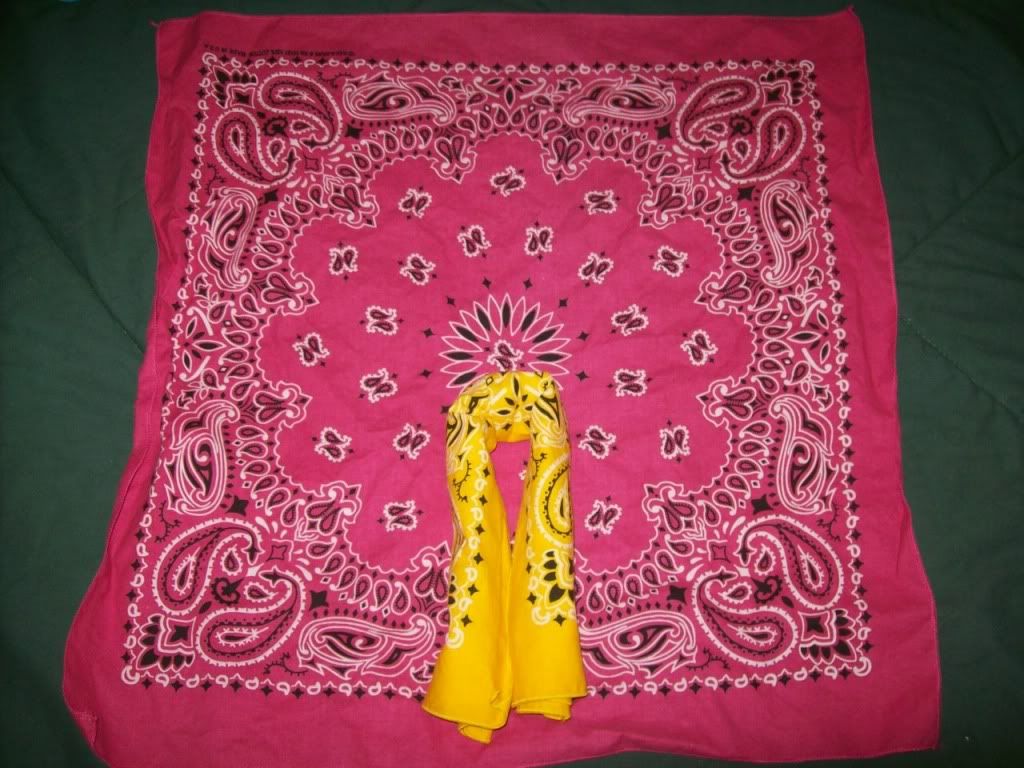
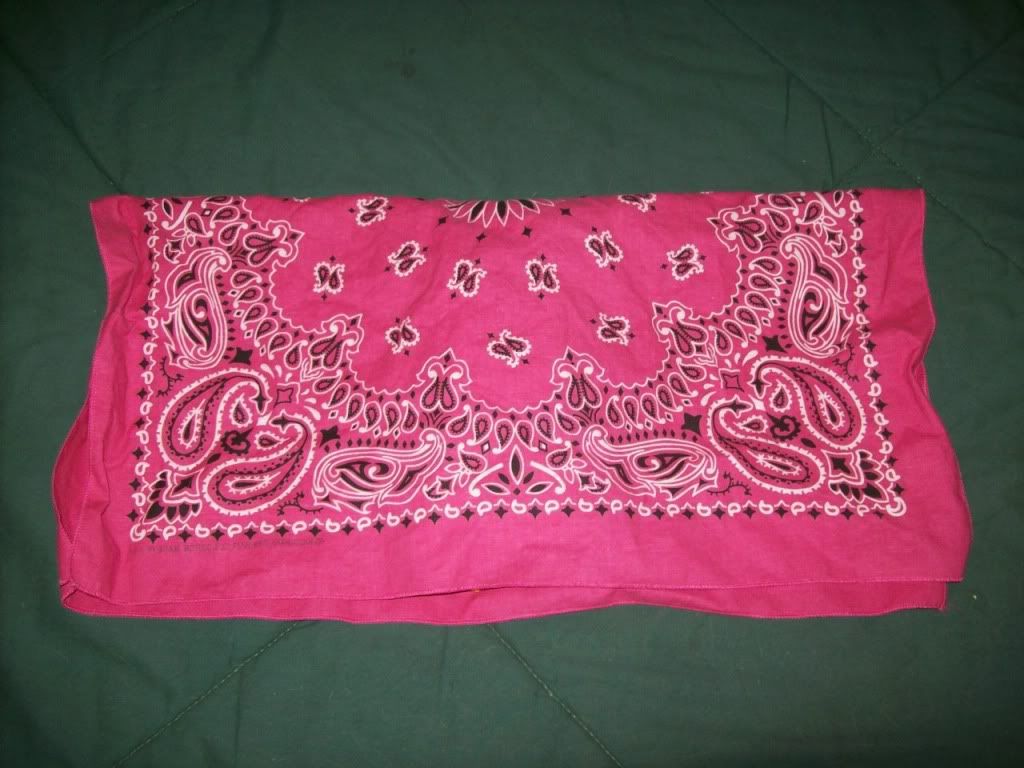
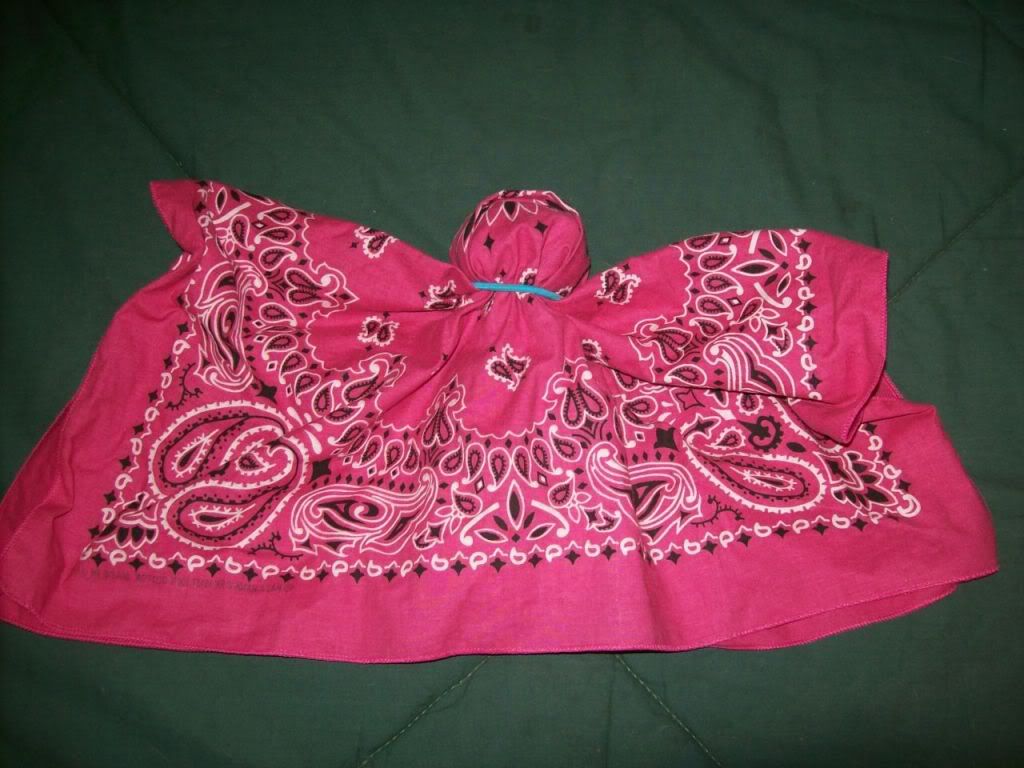
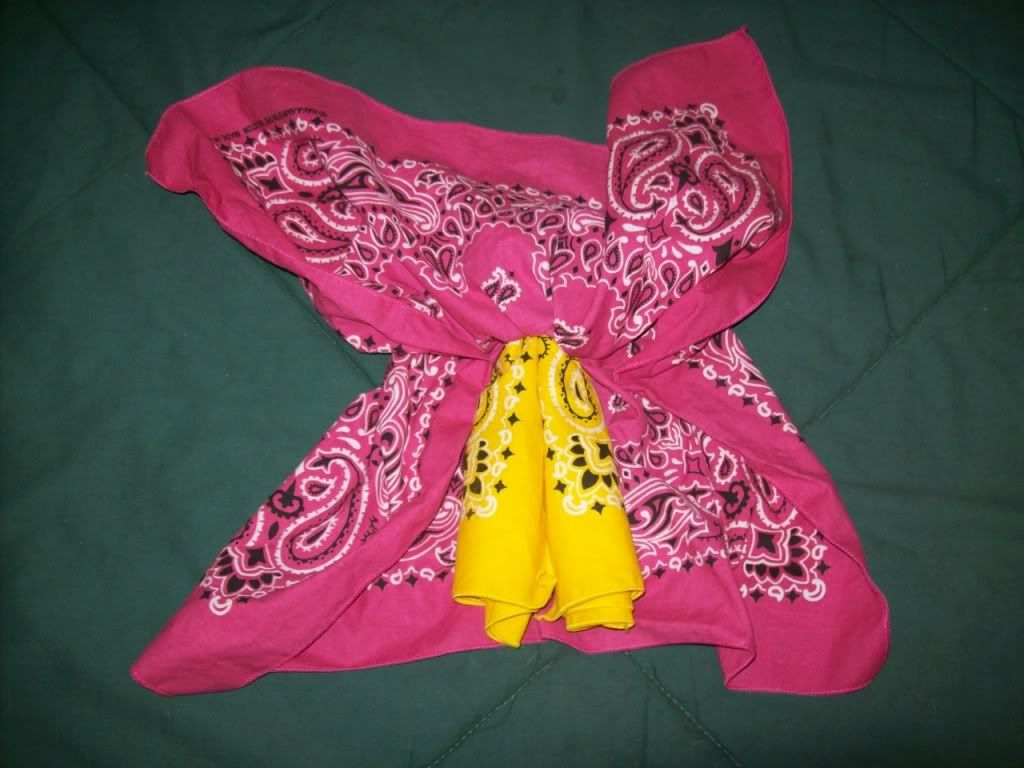
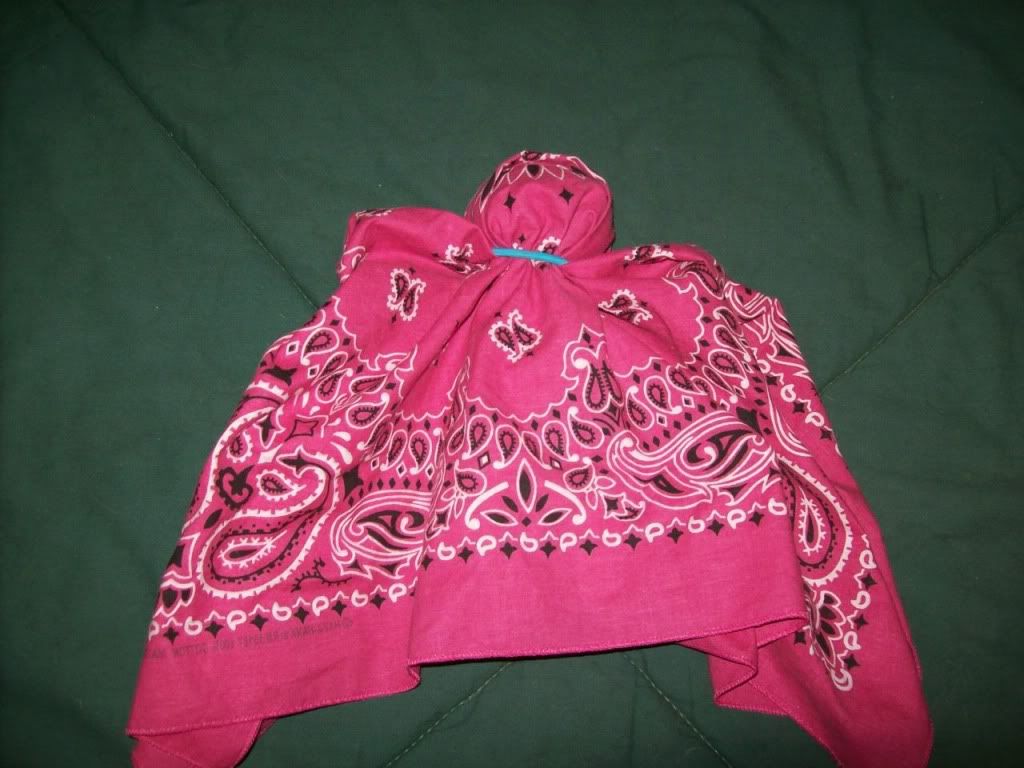
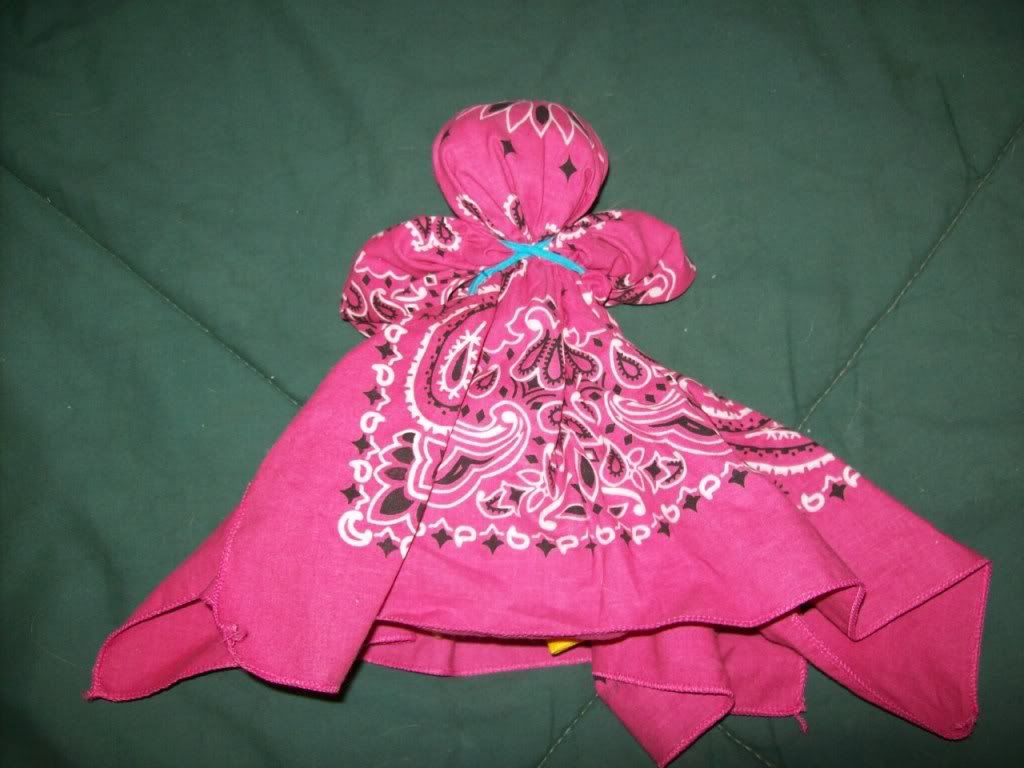
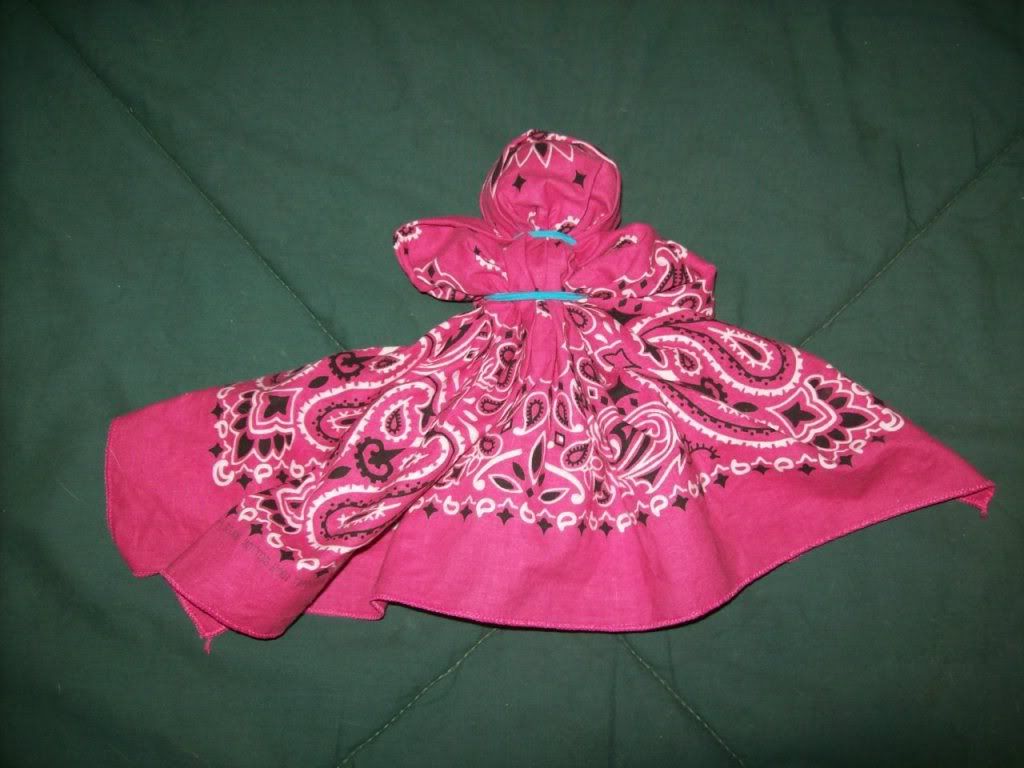
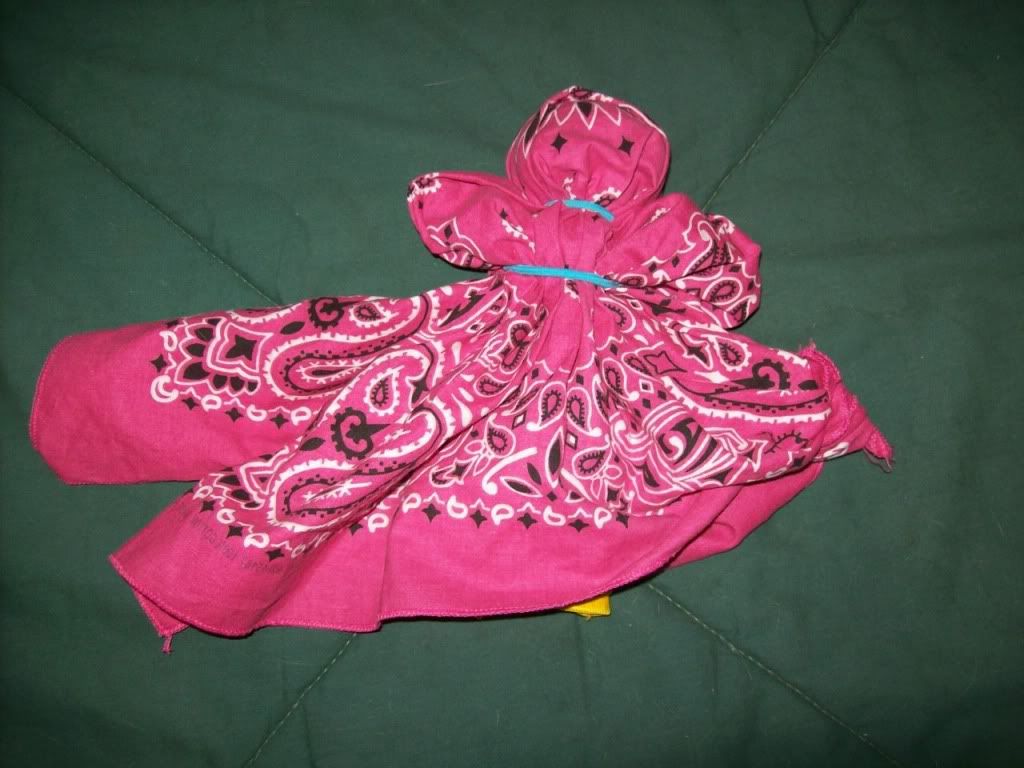
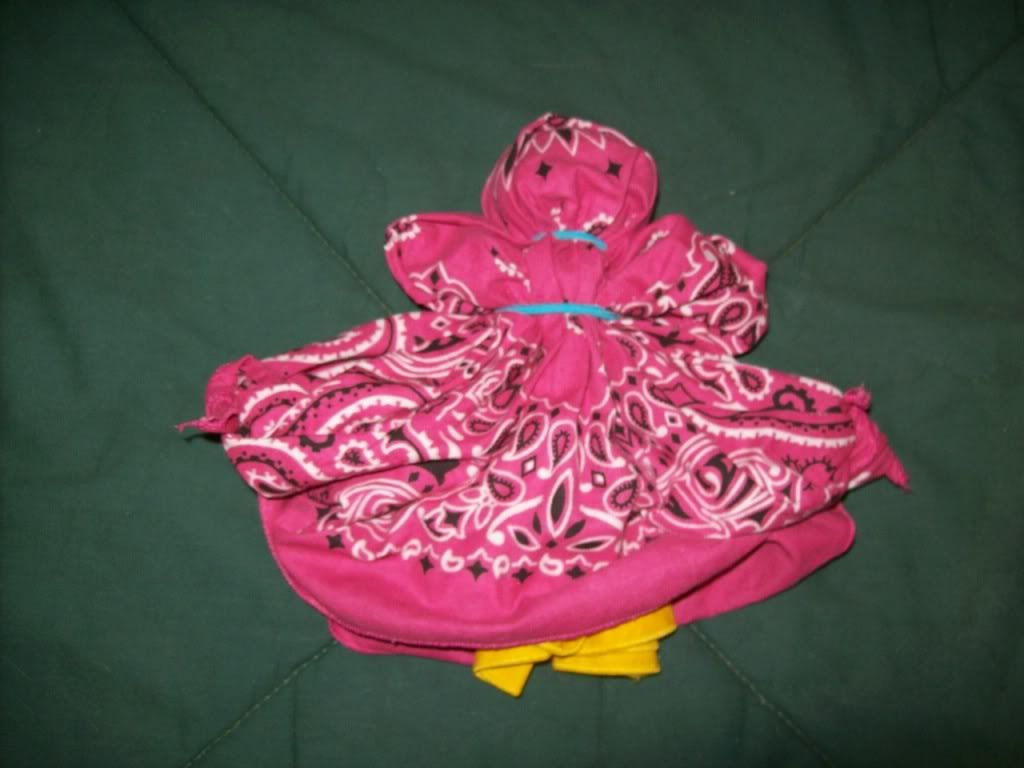
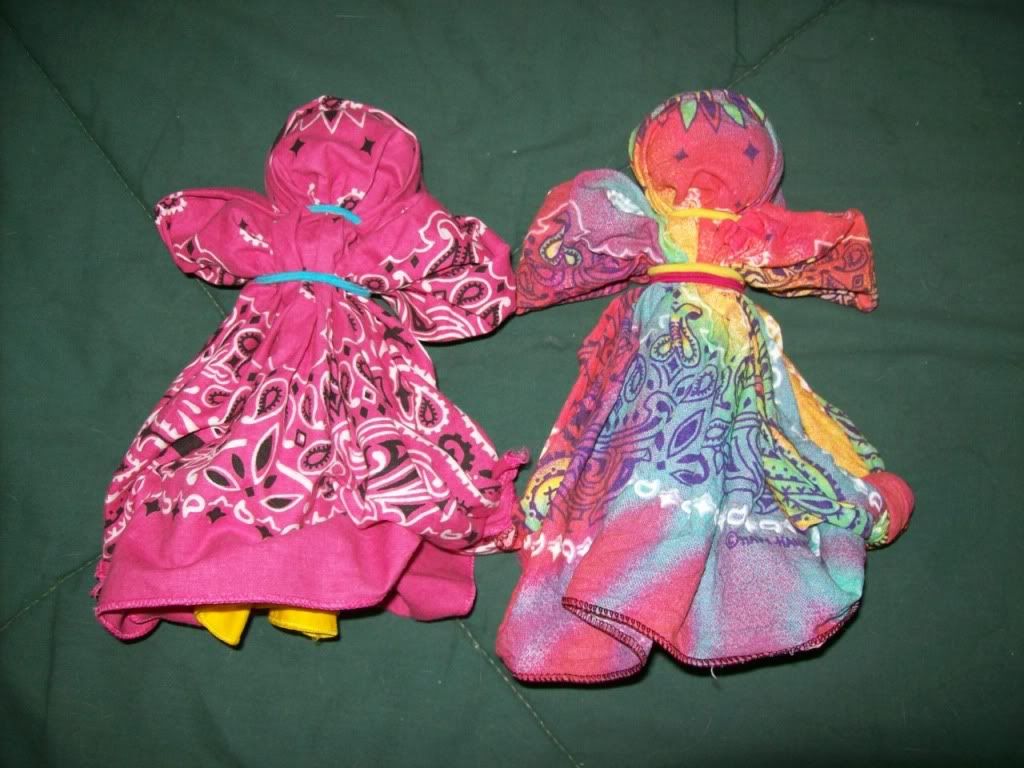
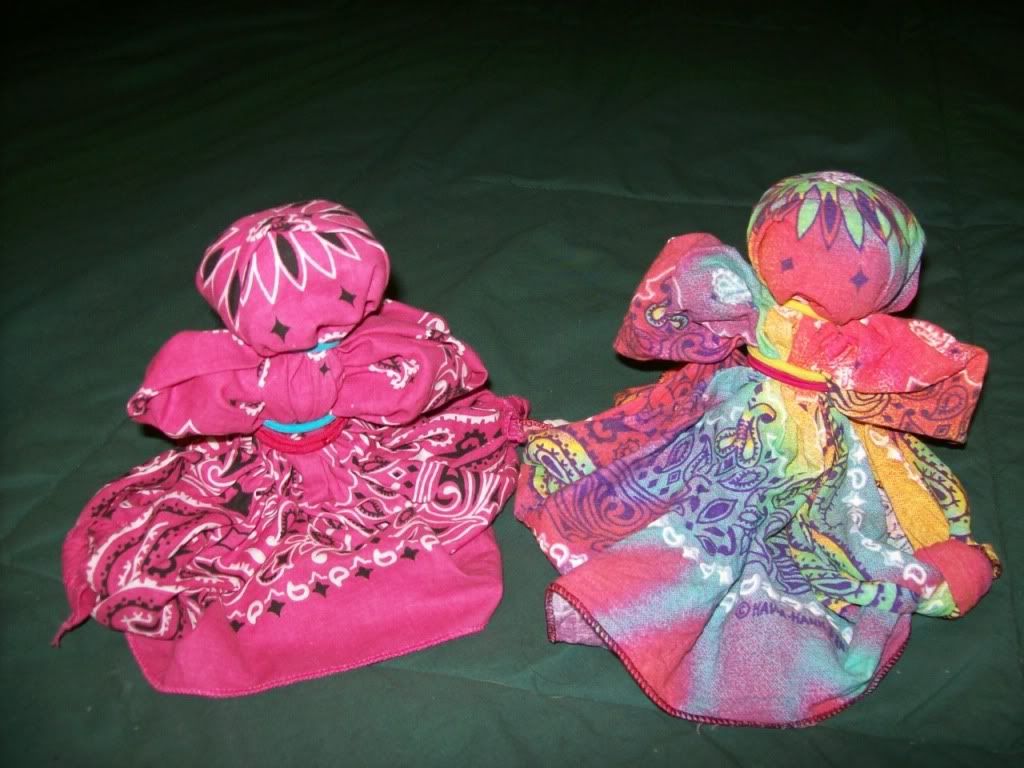
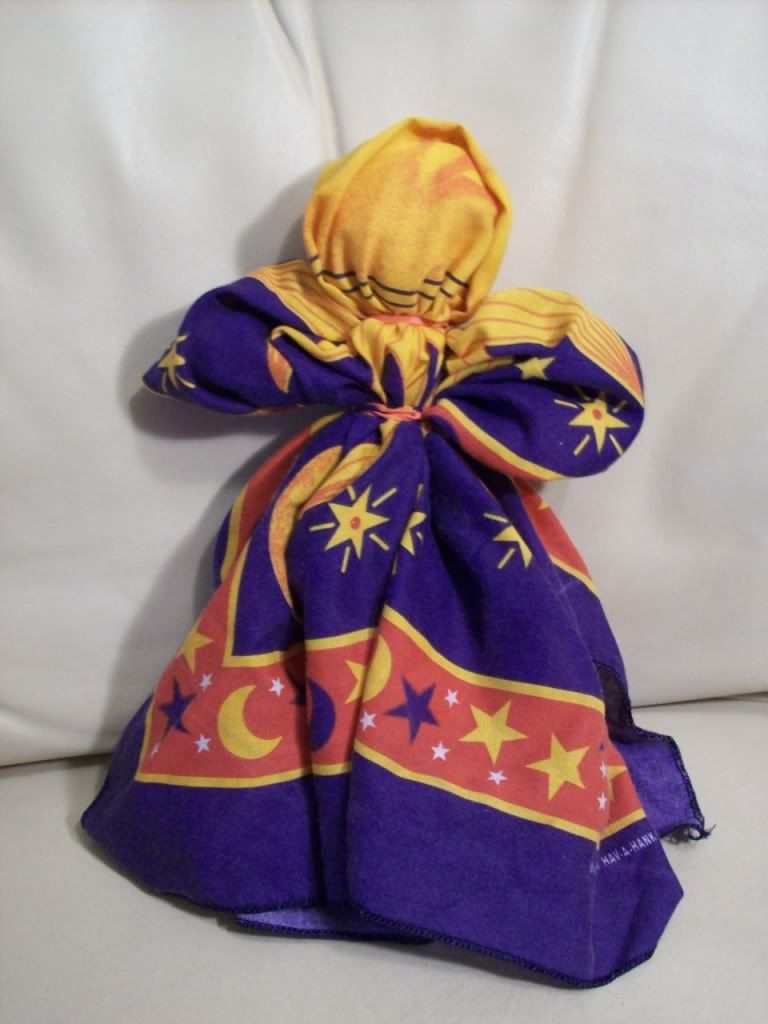
You can also make a variation of this doll using two bandannas. The ones I got happened to have spots around the center of the pattern, two of which formed eyes in the face. Instead of a single roll for a body, you can make a longer roll and fold it in half to form legs. If you make a pleat in the center, the head will be larger and the legs shorter, making a more child-like doll. Instead of folding the outer bandanna in half lengthwise, you fold it in half cross-wise. You will have to tuck in the top corners to make the arms the right length. You can either leave the skirt as is, or tie the front and back bottom corners together to make a more rounded skirt. The illustrations show the doll being made with a yellow bandanna for the body and a pink bandanna for the dress. At the end you will see what it looks like with a rainbow-colored bandanna in the same pattern, and with a sun-and-moon bandanna.


If you enjoyed this page, you might also want to see the instructions for making Anna Bandanna and the instructions for making a cat from a bandanna: Hanky-Kitty.


copyright 2003 by Karen Deal Robinson
| 
