Site hosted by Angelfire.com: Build your free website today!

Step by Step Pictures

Note~When I did these pictures I chose not to have my smiley face in them. Rest assured I HAVE ON MY GOGGLES! My goggles go on before I open the lye and do not come off until I have washed everything. However I do not have gloves on in these pictures. They should be part of your supplies. Please put safety first.

weighing the water
In these 2 pictures you can see why a large container is needed. I used 36 ounces of water and 13 of lye.

pouring the lye
Once the water has turned clear set this out of reach to cool.
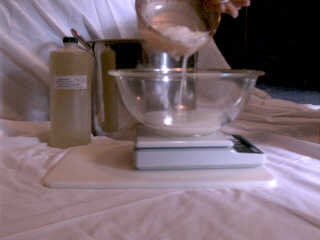
weighing the oils
Weigh all the oils seperately and put into your pot. Because it has been so warm my solid oils weren't quite solid but that is ok. You should try not to subject the oils to multiple temerature changes. Working with them this way is fine.

oils before melting
Nice and clear. I use pomace olive oil so they are a little darker.
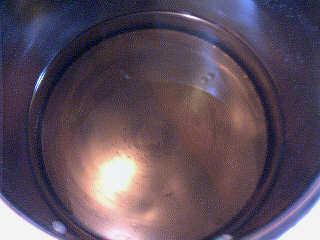
oils after melting

starting to mix
I worked with 6#'s of oil so I began mix at about 97 degree. You will be stirring quickly here. After all the lye/water has gone in you can change to the stickblender.I know the pictures aren't to good but note the extra paper around the pot. And yes I have on my goggles.

using the stickblender

this is trace
Do you see the little lines staying on the top? This is what you are going for. It only took about 5 minutes to get it after turning on the blender.

superfatting w/olive oil

scenting w/Lavender(my favorite)
When adding scent or fillers I like to hand stir these in.

pouring into the mold

wrapping the tub

wrapping the pvc pipe
Now they get put somewhere for 24 hours.

After a night in the freezer

This makes it a little easier

Half way home!

After a few days this will be cut into bars and rounds for the mugs.

I don't usually do this on the floor but the limitation of my camara dictated where I do it.

*A special thanks to my 5 year old Briar for helping take the pictures.*

Supplies Recipes Store