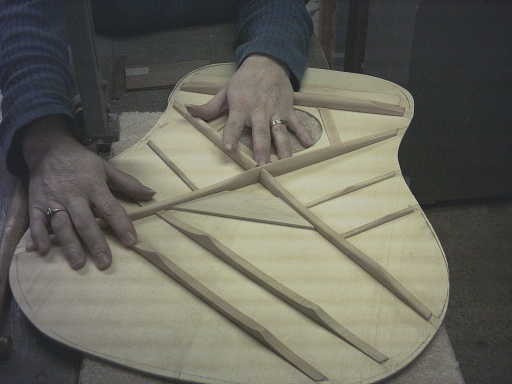
Carol laying out the "X" Braces for the top

"Dry run" fitting the X braces

Trimming ends of X braces
Top ready to glue on

Dry run of top fit

Making sure it's closed

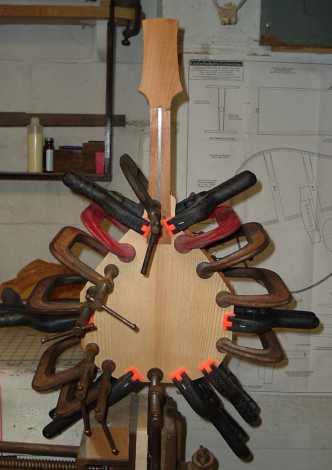
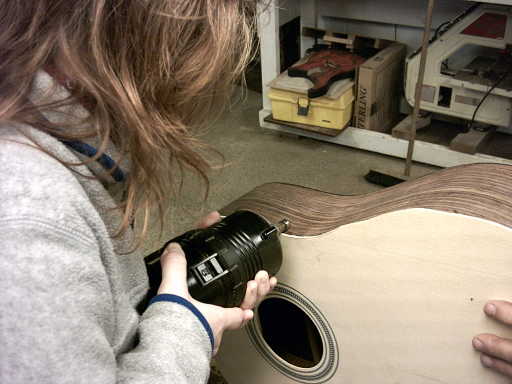
Gluing the top on

Top is "clamped" with stretchable cord

This step takes time!

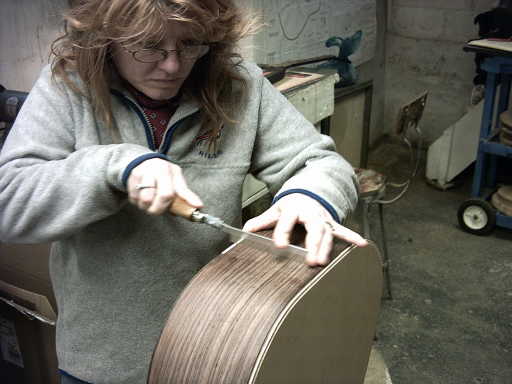
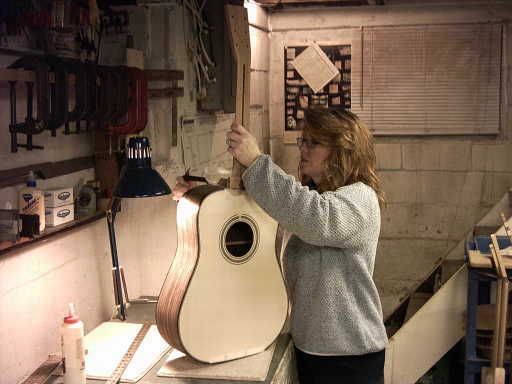
Carol trimming top to sides
"overhang" is cut off

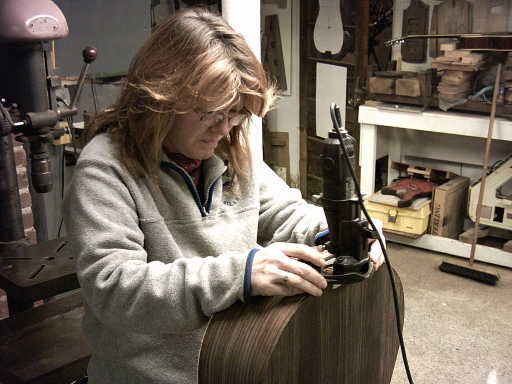
Carol uses the router "freehand"

Sanding edges flush

Cutting ledge for "herringbone"

Dremmel works great for this!

Cutting side binding channel

Laying out end pin binding
Trying to be careful ... OOPS!
Routing channel for end pin binding

Scraping side binding flush with sides

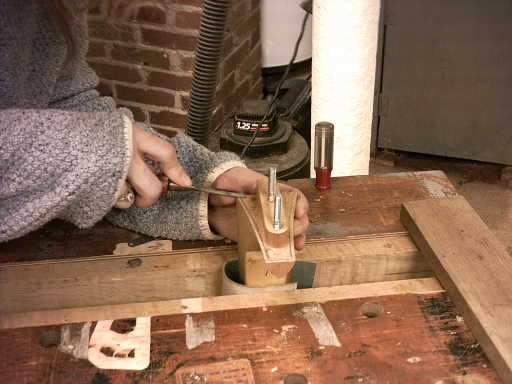
Trimming the neck tenon

This is the most important step!

Carol has a very good eye!
Very critical cut

Everything is double checked

Chiseling the relief
Sharp chisel a must

Final sanding of the neck tenon

Just a little more pitch angle

"dry" fit
The neck all glued up

Making alignment pins for fingerboard
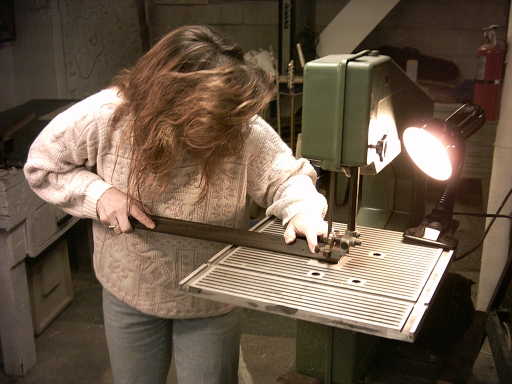
Trimming fingerboard to width

Joining fingerboard edges

Routing relief for fingerboard

Taping over truss rod channel

Gluing fingerboard

Fingerboard clamp up

Bridge glue-up

Clamp real tight!
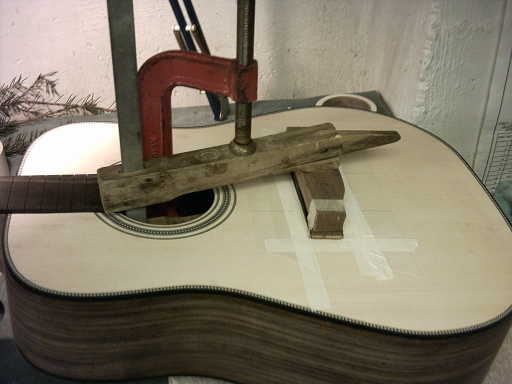
Clamps and caul for bridge glue-up

Gluing Rosewood peghead veneer

Here Carol is inlaying the Abalone inlays she previously cut out

Quite a beautiful and elaborate pattern involving stars, the sun and moon

Her artistic flair is only surpassed by her craftsmanship!

Installing the frets. Cutting excess fret wire off

She frets like a pro!

All the frets went down perfect!

... And she never hit her fingers!

This will get 15 coats of nitrocellulose high-gloss lacquer
Finally! The finished Instrument!

Note the "Shooting Stars" inlays

This is the "Sun, Moon and Stars" inlay group

Black pearl or MOTS (Mother-of-toilet-seat) pickguard
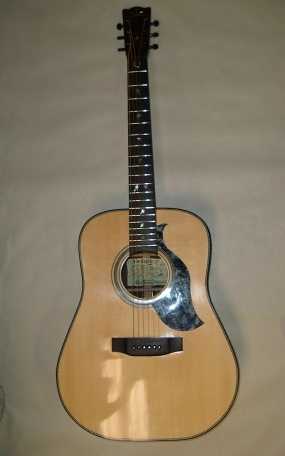
All strung up

Carol, the proud owner/builder
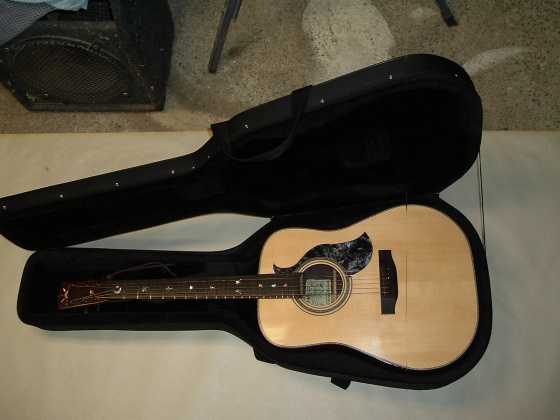
Safely in it's soft hardshell case

Acoustic Mandolin Construction: