Using Paint Shop Pro's Vector Tools

Know How to Create Vector Objects and Edit Nodes pp. 200-209

Vector objects can be more easily manipulated. The file size for the native files are smaller generally. And, the smoth appearance of vector objects exceeds that of raster (bitmap) images. One drawback is that filters can only be applied to vector objects. Thus, often vector objects are converted to raster objects.

When you work with Paint Shop Pro, you'll learn that you will need to work with different types of layers - vector layers and rater layers.

Vector objects can be distorted by dragging corner points:

  • Shift-drag to skew
  • Ctrl-drag to change the perspective

To combine channels:

  • Click Colors on the menu bar
  • Click Combine Channel
  • Choose the type of channels
    • RGB
    • HSL
    • CMYK

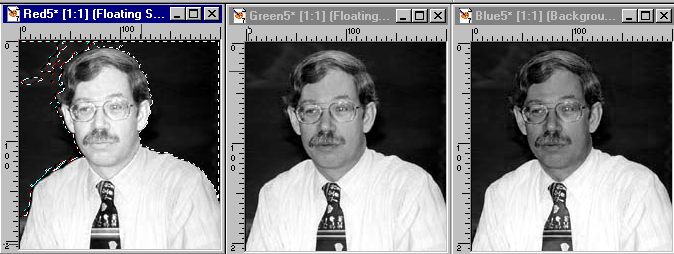
Below are the 3 images I get from my original mug shot shown above after I have split the channels into Red, Green, Blue channels.

Back Button
Teach Yourself Paint Shop Pro in 24 Hours Book Cover
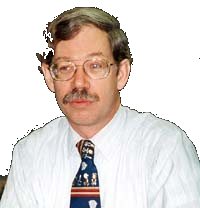
Original photo of Professor Patterson
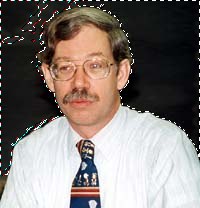
My original photo, no channels, tolerance set = 24

I've tried selecting the background above which is not easily done so I've resorted to the use of channels to try to simplify this task.


Professor Patterson's mug shot in red, green, and blue channels


Below are the 3 images I get from my original mug shot shown above after I have split the channels into hue, saturation, and lightness channels.
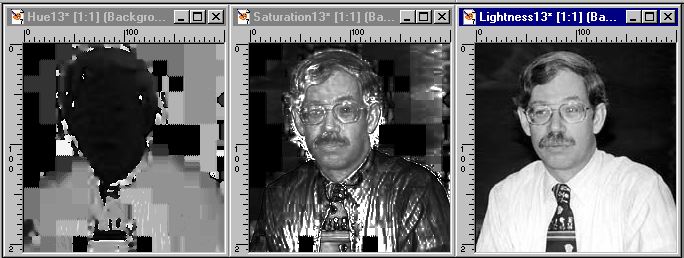
Professor Patterson's mug shot in hue, saturation, and lightness channels


Below are the 4 images I get from my original mug shot shown above
after I have split the channels into hue, saturation, and lightness channels.

My goal was to change the background color of the image. I decided to try using the Black channel from a CMYK channel split which I adjusted its contrast by 50%. Then, I used the magic wand with a tolerance of 36 to select the "white" area. I painted that area black for my mask, saved the mask to disk and returned to the original image. Finally, I opened the mask from disk, which fortunately masked most of my unwanted area. Below are the series of images I obtained.

Black channel with a 50% contrast adjustment

Mask created and saved mask to disk. Here I could make a better selection.

Original with mask opened from disk

To refine the image, the clone brush was used for the hair and bottom left corner. Next, I selected the background, to apply the blur effect to the edges. Lastly, I added a layer that was colored green.

This is how you can more easily modify graphics!


Copyright © 2001, RGPatterson, all rights reserved; last revised: 9/11/01