Creating a Simple Image pp. 46-47
- Learn to Use the Preset Shapes Tool
- Hands-On Exercise
- Click File/New - Set Width to 600 & Width to 300 pixels, Resolution to 72 dpi, Background Color to white, Image Type to 16.7 million colors
- Select the Preset Shapes Tool
- Set the foreground and background color at the top of the color palette
- Select the rectangle shape from the Tool Options palette - Click the drop-down button to make the shapes accessible
- Uncheck Retain Style & Create as Vector; keep Antialias checked
- Set Line Width to 2
- Use the #1 Solid line style
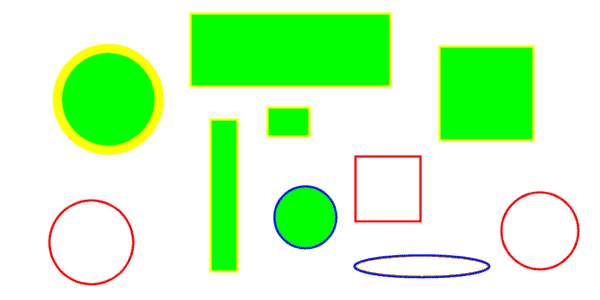
- Create a rectangle on the canvas with the mouse
- Create a square by holding down the Shift key as you drag
- Create a circle with no fill
Learn to Place Objects Precisely on the Canvas pp. 48-49
One can use either grid lines or guide lines that can also be adjusted:
- Click View/Rulers to make rulers appear
- Click View/Grid to make a grid appear
- Grid lines appear
- Click View/Guides to create guides
- Use mouse to drag either vertical or horizontal guides from the rulers
- Click View/Change Grid and Guide Properties to change grid line color or guide line color
- Snapping characteristics can also be modified
Aliased Images vs. Anti-aliased Images

|
|
| Aliased Image | Antialiased Image |
|---|
|
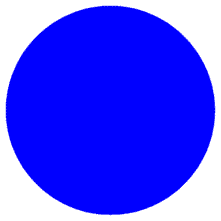
Curved objects that are digitized are often jagged. To remove the jaggedness, select the antialias feature when it is available. Antialiasing is a special process involving mathematics and shades of color to fool the eye of the viewer. |
Creating a "Highlighting" Effect within an Image pp. 46-47
- Learn to Use Brush Tips
- Hands-On Exercise
- Again Click File/New - Set Width to 600 & Width to 300 pixels, Resolution to 72 dpi, Background Color to white, Image Type to 16.7 million colors
- Use the Text tool to Place "Peirce College" on the canvas. Set the font as Arial, size 60, Antialias, black stroke, black fill, vector.
- Click Layers/Convert to Raster Layer
- Select the Paint Brush Tool; the Paint Brush Options Tab should be selected
- Set the Brush Types to Normal
- Set the Shape to Round, Size to 80, Opacity to 52, and Hardness to 0
- Set the Density to 100 and the Step to 25
- Brush a line across Peirce College
- Note: Experiment with other settings

Learn How to Use the Color Replacer Tool pp. 53-56
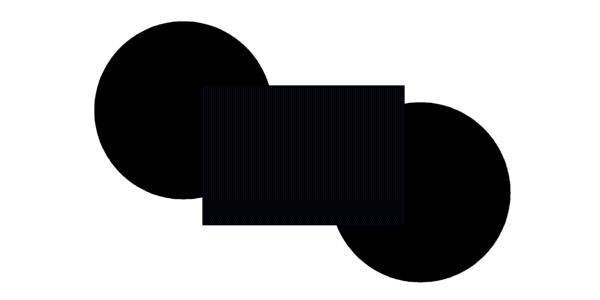
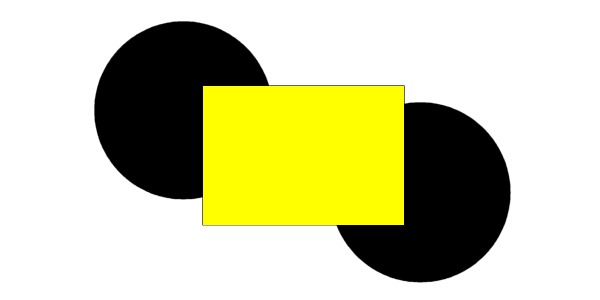
- Create 2 Black-Filled, No stroke Circles, followed by a rectangle of fill color - Red:04, Green:04, Blue:08 (dark blue), and again no stroke
- This will approximate what is shown on page 55 of the text as well as below
- Change the stroke color and click the Lock Option of the Color Palette
- Select the Color Replacer tool in the toolbox.
- Set the Tolerance to 0
- Double left-click anywhere in the square
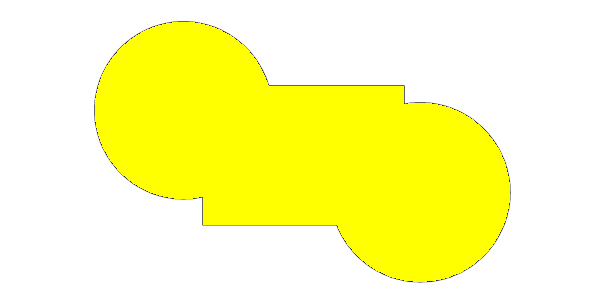
- Just the color of the square should change (see below)
- Double right-click should return the square to its original color
- Try changing the tolerance to 20-80
- Double left-click anywhere in the square again
- Now the color of all 3 objects should change
How to Fix Errors - Use Undo & Redo pp. 56-57
The options for reversing the changes you make to an image are:
- Click the Undo button on the Standard Toolbar
- Click Edit/Command History
- Also, one may click the Redo button on the Standard Toolbar to undo an undo!
- To set the "Undo Level", click File/Preferences/General Program Preferences/Undo-Redo Tab, then select the desired settings
Copyright © 2001, RGPatterson, all rights reserved; last revised: 9/5/01
