

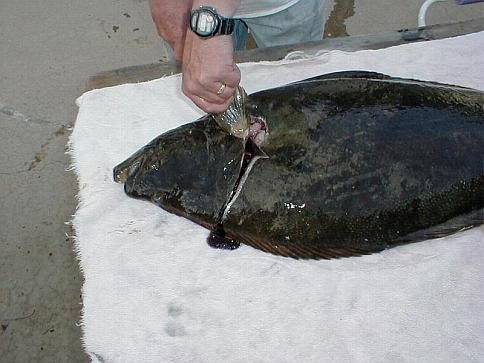
Step #1:
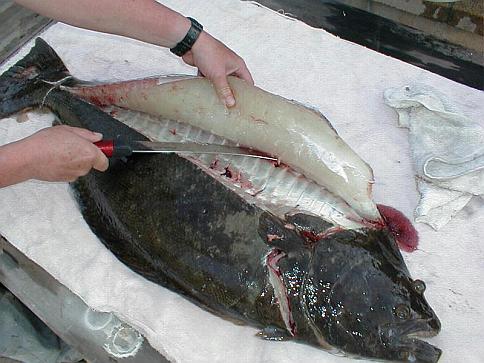
Step #2:

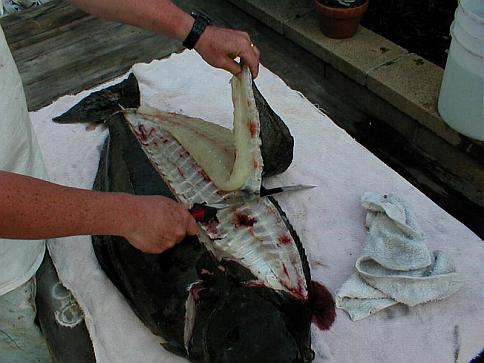
Step #3:

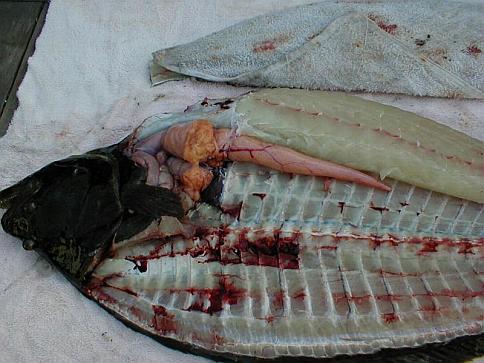
Step #4:
Step #5:

Step #6:
Step #7:

Step #8:
Step #9:

Step #10:

Step #11:
Step #12:

Step #13:
Step #14:
Step #15:

This Big Game Fishing Ring site is owned by Keenfish.
[
Prev
|
Skip Prev
|
Prev 5
|
List
|
Stats
|
| [Home] ~ [Trophy Room] ~ [Message Board] ~ [Links] |
