

BABailey's Rebel Pics Page
HONDA REBEL CMX250

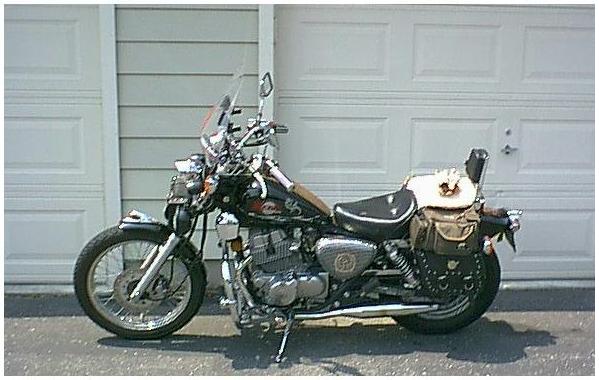
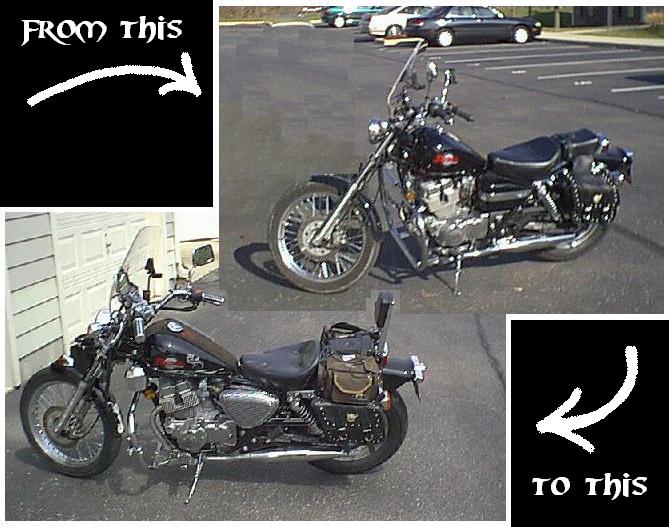
Below is a series of pictures documenting my
REBEL EVOLUTION
as i have made changes to my bike over time ...
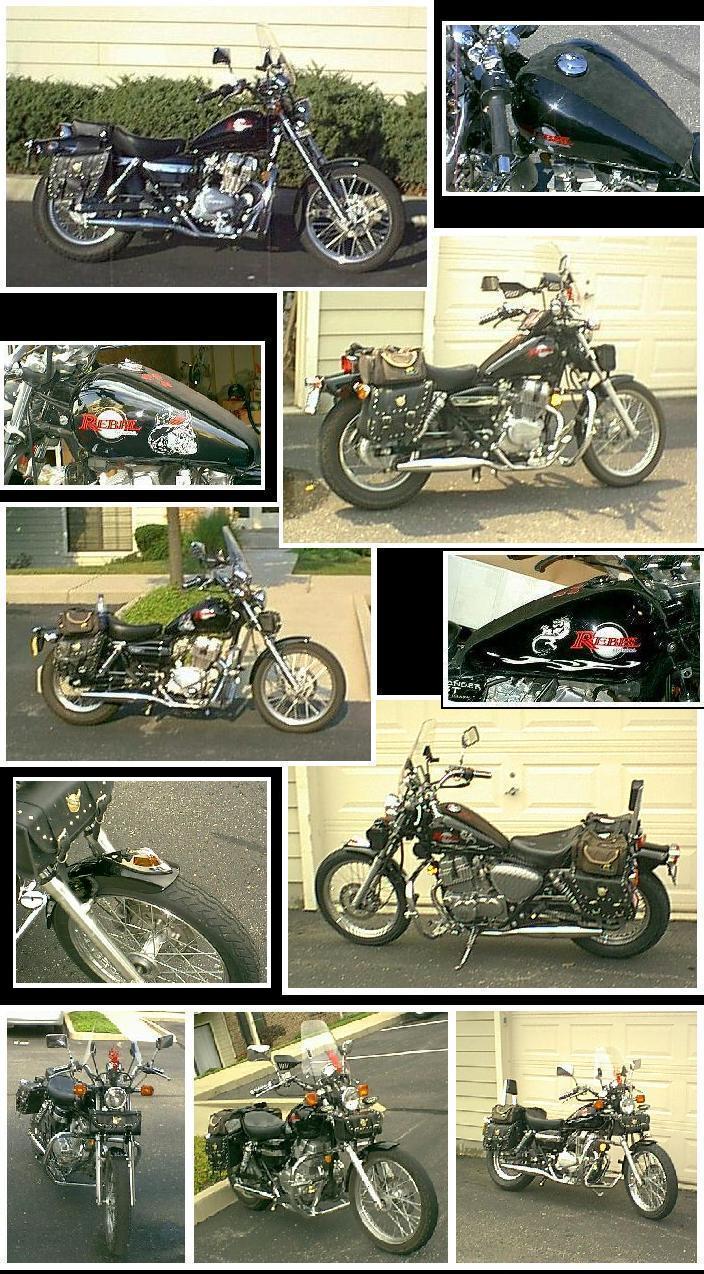


BABailey's Rebel 250
Summary of Projects Overview
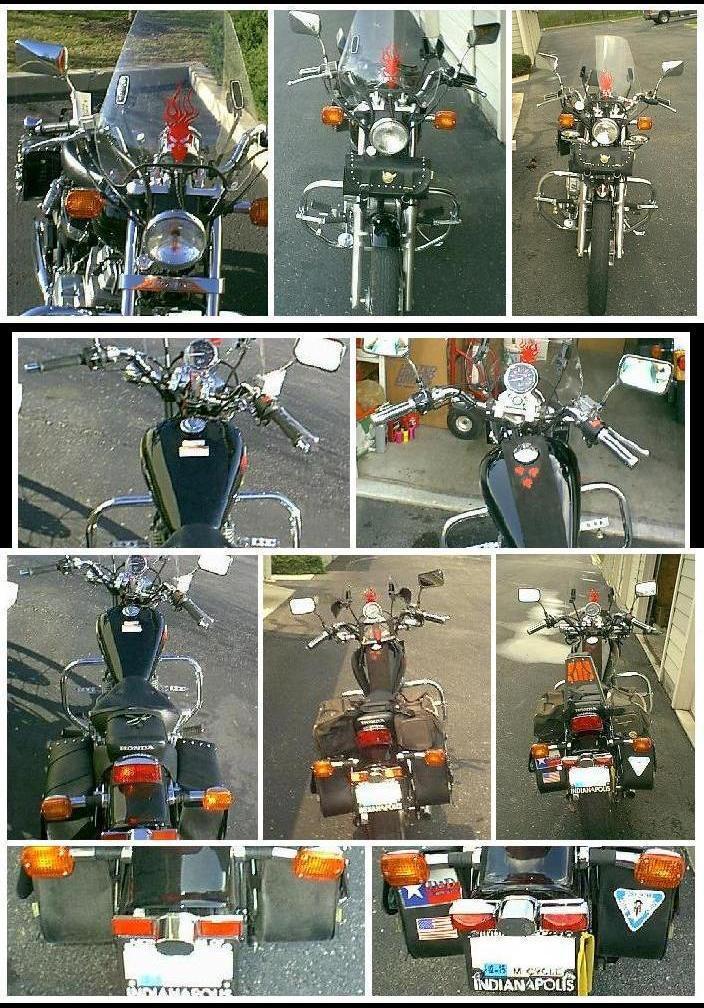
when i first got the Rebel home and started to consider doing some minor modifications
i decided that a digicam documentation series might be a good idea
to track the progress and evolution of the bike ... accordingly, i took a LOT of pictures ...
CLICK HERE to see my ORIGINAL SERIES OF REBEL PICS
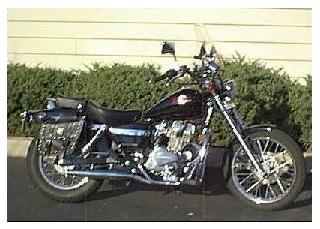

i also thought about the everchanging fluid nature of the internet
and the possibility of the mfg updating their site and web pages
so i went and mirrored the info on the 2000 Rebel Specifications page from the Honda site
to make sure i preserved a copy of the spec info for my bike ...
CLICK HERE to see my HONDA REBEL MFG SPECS INFO


My first project was a leather tank bib strap to cover the factory warning stickers ...
CLICK HERE to see my DIY 'CUSTOM' TANK STRAP PROJECT


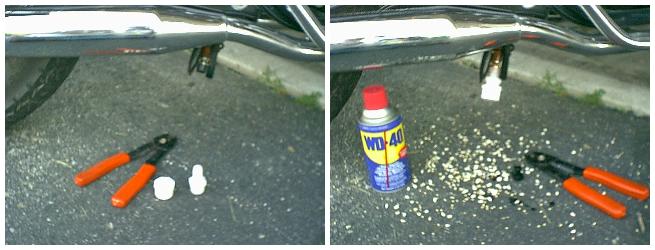
Next came a threaded adaptor for the drain tube to put an end to wrestling with that hose clamp and plug ...
CLICK HERE to see my DRAIN TUBE PLUG ADAPTION PROJECT

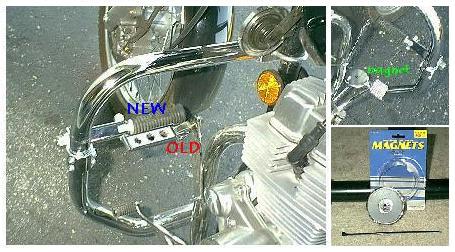
Then when the bracket for the highway pegs that came with the bike cracked and started to fall off,
i replaced them with engine guard clamps and an old pair of HD pegs that were in the garage ...
while i was down there i also added a magnet from the hardware store
for helping trip traffic light sensors ...
CLICK HERE to see my HIGHWAY PEG PROJECT

with the pegs changed i decided it was time to do something about the stock rubber MX type grips
i bought a set of (7/8th x 140mm)chrome and rubber touring grips from a local shop ...
CLICK HERE to see my GRIP REPLACEMENT PROJECT


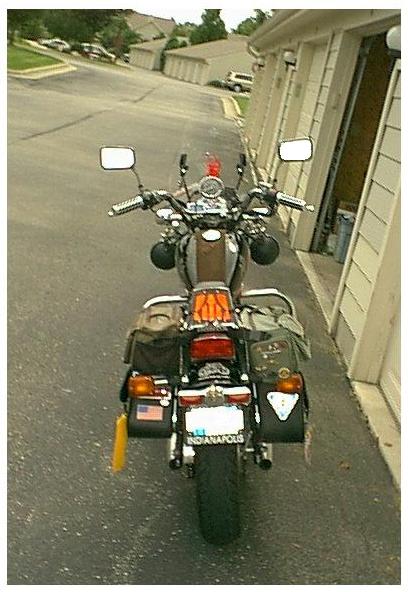
i've also been adding carrying capacity and convience baggage
beyond just the compact slant saddlebags i had installed when i bought the bike ...
CLICK HERE to see my BAGGAGE PROJECT
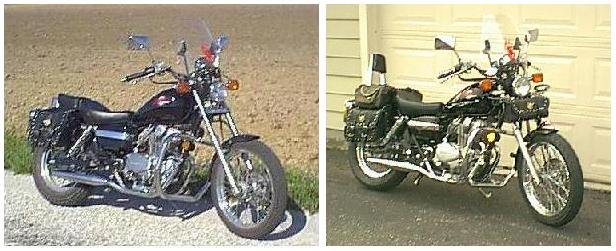

i've also added auxillary fog/driving lights
(mounted on the old set of highway pegs)
for those dark backroads
plus - i had a fender marker light installed for riding in city traffic after dark
- and i rigged up a set of illuminated switches to control both ...
CLICK HERE to see my AUXILLARY LIGHTING PROJECT
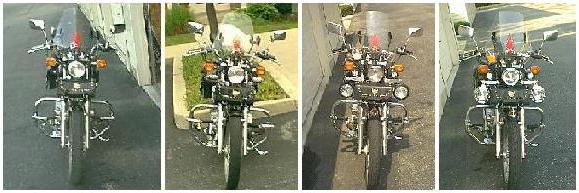

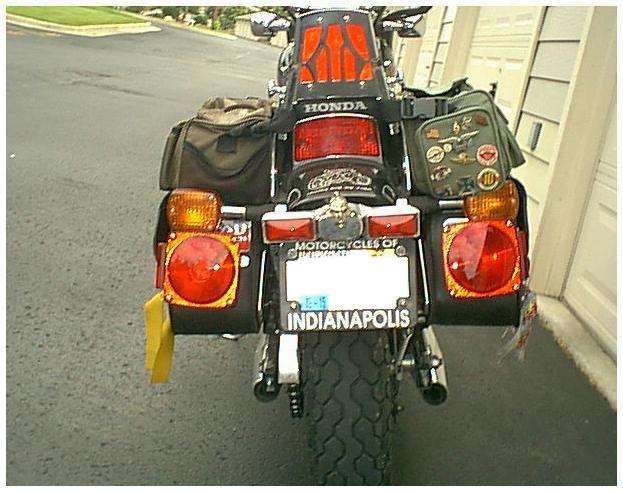
with lighting taken care of up front - i turned my attention to the rear,
and inspired by a project i had seen mentioned on the vlx forum,
i installed a pair of sealed LED units on the rear for a 3 point brake light pattern
to help tailgating drivers notice i am braking ...
CLICK HERE to see my BRAKE LIGHT PROJECT


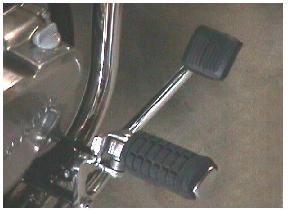
Adding a rubber cover to the brake pedal.
Balances the look of the shifter peg on the other...
CLICK HERE to see my BRAKE PEDAL COVER Project

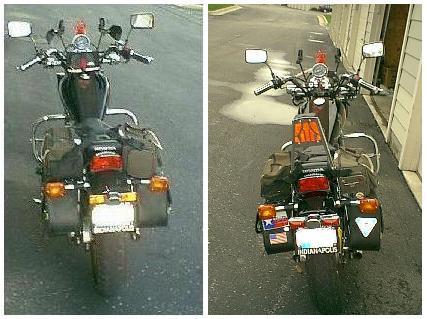
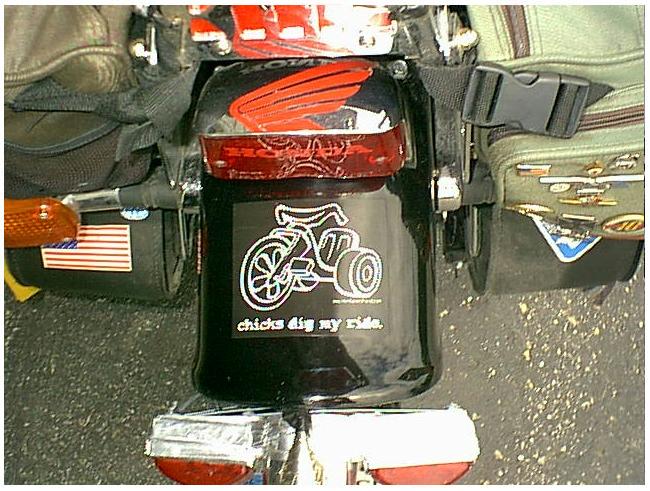
i've also had a sissybar installed for strapping stuff to
and what with the LED's covering the stock rear reflectors
i had the semi-bright idea of loosening up the pad and slipping some red retro-reflective material
behind the back plate and then tightening it back down
this turns the back of the pad into a large reflector
while allowing the backplate decor pattern to still look cool in the daytime ...
CLICK HERE to see my SISSY BAR PROJECT

I've also admired miguel's dragon from florida,
and have installed the faux air cleaner side cover like he has done on his rebel ...
CLICK HERE to see my AIR BOX MODIFICATION PROJECT
again inspired by miguel's dragon and the latest air box changes he has done
where he has installed smaller round air filters in his rebel ...
plus being tired of the $30-40 stock filter cost at the dealer
and where the stock design actually contributes to ruining itself with the crank fumes
... I decided to search around and rig something up ...
CLICK HERE to see my AIR FILTER ADAPTION PROJECT


with the brake lights working to deal with traffic from the rear,
i finally got around to implementing a project that i had been postponing all year
to deal with traffic up front, i went ahead and replaced the rebel's "tweety birdie" joke of a horn
with a 138db low note mega-loud blaster - and since it was kinda like a black plastic lump on the side of the bike, i then went to the harley shop and got a horn cover for it
looks like it belongs there - LMAO ...
CLICK HERE to see my HORN REPLACEMENT PROJECT


responding to a request for pics on how to do your own oil change on a rebel
i posted this photo and instruction series ...
CLICK HERE to see my DIY OIL CHANGE PROJECT


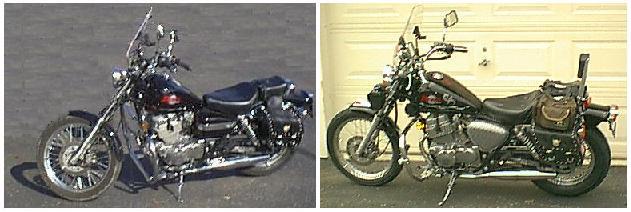
Install an in-line fuel filter to the gas line between the petcock and carb.
Helps keep debris from the tank out of the carb jets etc ...
CLICK HERE to see my In-line FUEL FILTER Project
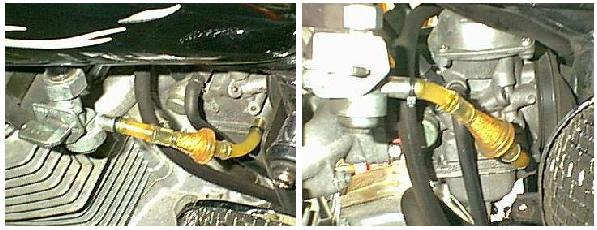

going down to texas for spring break, i needed a way to carry the rebel in the truck as it is still chancy on snow in indianapolis at this time of year ... two concerns i had were chocking the wheels and avoiding a dented in the middle tail gate (turns out the tailgate was a non-issue as the contact patch of the rear wheel is just inside the main bed area) ... to address both of these concerns, i decided to construct a channel track to support the bike and keep the wheels from sliding sidewise ...
CLICK HERE to see my TEXAS TRIP PICS PAGE
CLICK HERE to see my TRUCK CARRIER TRACK PROJECT
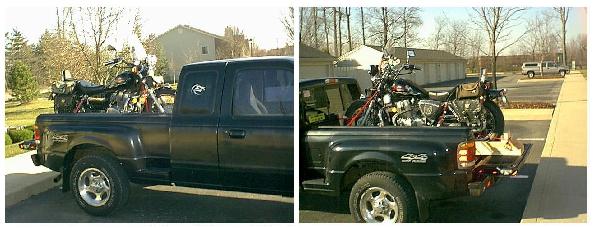

Rebel 250 Photo Essay Series: A TALE of TWO REBELS
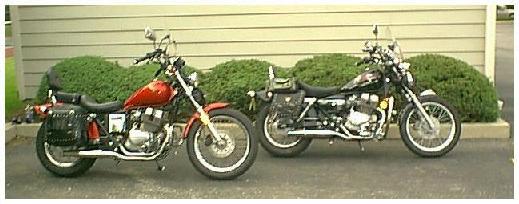
this is a set of pics showing two different people's approaches towards accessorizing their rebels ...
CLICK HERE to see my A TALE of TWO REBELS pics page
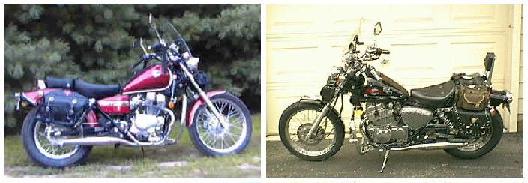
among some of the most commonly asked questions are...
"what are the differances between the 80's and 90's versions of the rebel 250 ?"
... and ... "what are the different options to adding accessories to my rebel ?"
below is an attempt to begin answering some of these types of questions ...
Rebel 250 Photo Essay Series: CLASSIC -vs- CONTEMPORARY
this is a set of pics of both a classic 80's and a modern contemporary version of the Rebel 250
parked side by side and the nominal differances between each edition ...
CLICK HERE to see my CLASSIC -vs- CONTEMPORARY pics page

thats about all ... ... for now ...
PLANNED PROJECT$
extended front forks to lift the bike a little and get some clearance under the engine guard
to avoid scraping on turns
NOTE: will also need a longer speedo cable and brake line
as well as a longer kickstand
smaller rear sprocket down from the stock 33T to a 30T
or even a 28T if combined with the re-jet mod below
re-sized jets from the stock 35/110 up to 38/115
to gain a 'little' more power to pull the smaller sprocket
NOTE: this will reduce gas milage mpg so a tank upgrade might be in order
larger (4.2gal ?) gas tank aftermarket sportster upgrade tank adapted to the rebel
Note: a new tank will of course require painting - ? custom art time ?
phat rear wheel see about getting a vlx rim laced to a rebel hub, as mentioned by shadowshack
rear fender mods unsure which direction to take here
until i do the front end mods and see what look flows best
? - rotated or dropped full rear fender and tombstone tail light
? - stock ducktail rear fender but relocate the lic plate to side mount and cateye taillight
indian style solo spring seat to move seating up and back slightly for leg room and style
NOTE: may need to move seat back anyway for gas tank clearance issues ?

This page has been viewed ...

... times since the Hit Counter was added on 9/20/2003


Click on State Button to Go To Ride INDIANA Roads, Rallies, and Rides Resource page







Click on this icon logo to RETURN to BAILEY Motorcycle MAINpage



Please contact BABailey at MillenniumRebel@yahoo.com about information on this page


