
BABailey's Rebel 250 Projects
Lighting Installation Page 5

Pleading the 5th
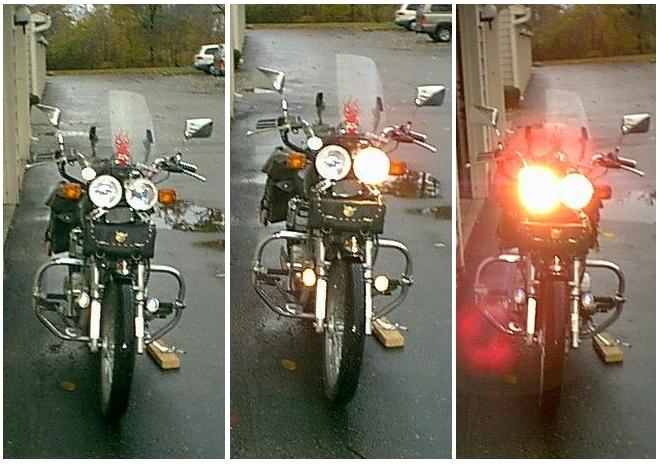
StreetFighter Style Dual HeadLight Setup


one unit = 55w = low beam
second unit = 100w = hi beam
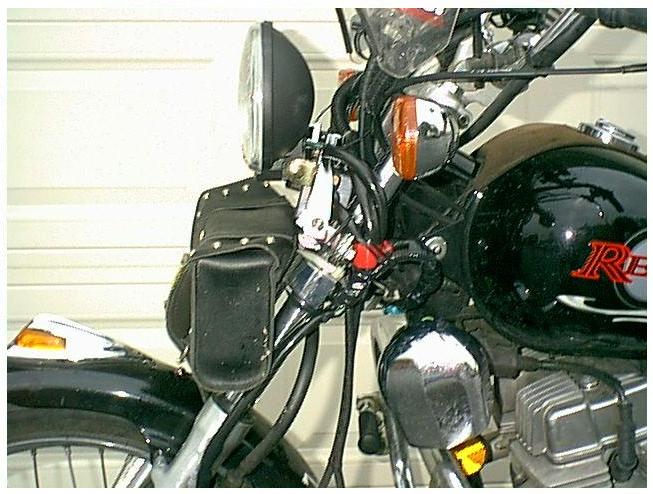
The previous version of seperate 3pc units for 1=lo / 2=hi has given way to the 2pc setup shown ...
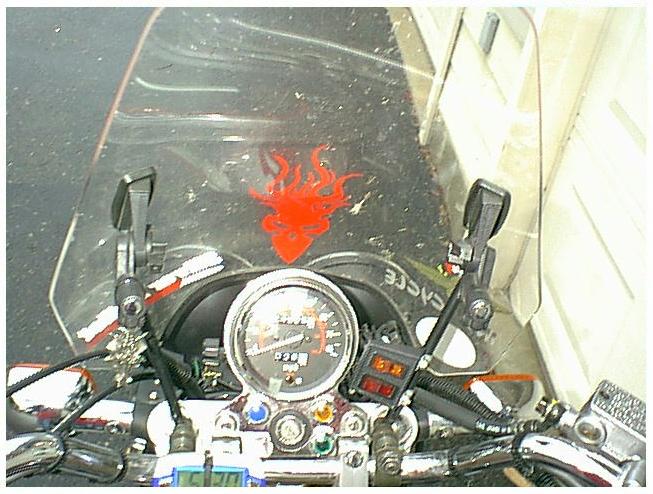
so I'm using one LESS head light unit as well ... the old high beam pair on the sides were too low hung to really throw very far ... they are now a teeny tad higher than the stock shell was and throw PERFECT (two beams lets me aim them fore and aft to cover more road distance - the high beam is aimed out ahead of the low beam ... low beam is on the left and aimed to the center of the road just ahead of the bike (this low beam is still better than the stock high beam ever was).... and the high beam is on the right and is aimed further down the road ahead of the low beam area to make a nice high beam pattern ... removing that grille cover on the lights also opened them up to let more light out - these units throw a lovely 'bar' of light right across the road area - MUCH nicer than the stock beam ever was (NOTE: the pre-03 models had a wimpy sealed beam 35w/36.5w? 5 1/2" unit ... the 03 models changed to a 55w/65w? replaceable bulb halogen unit - the same one as on the vlx from the looks of it)
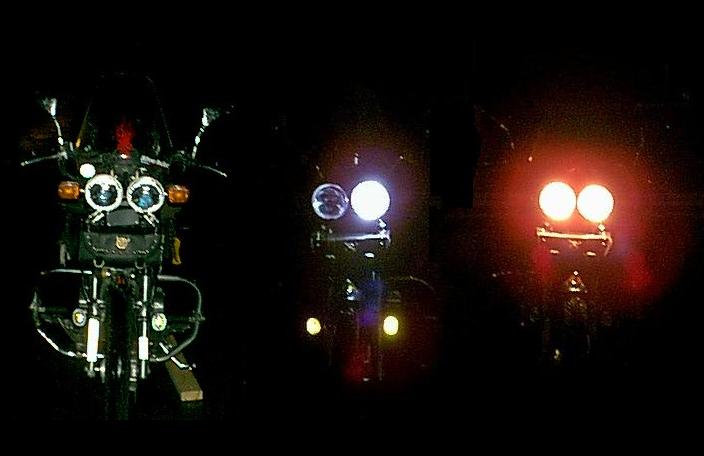
this left=low right=high means the low beam is respectfully turned away from oncoming drivers eyes
and the high beam is right in their faces so if I have to flash them - they know they been flashed ...
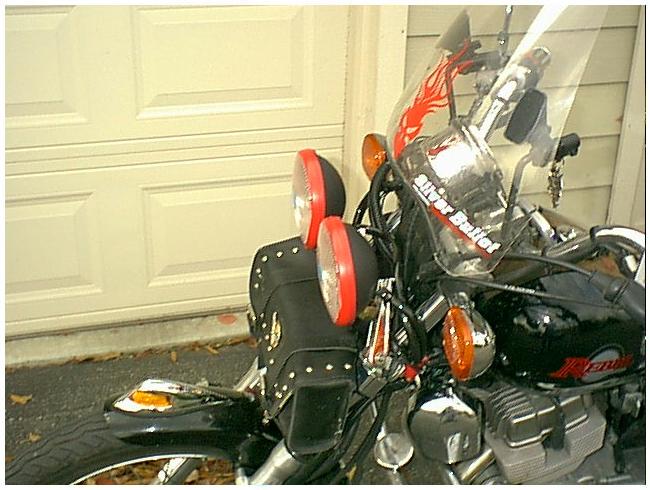
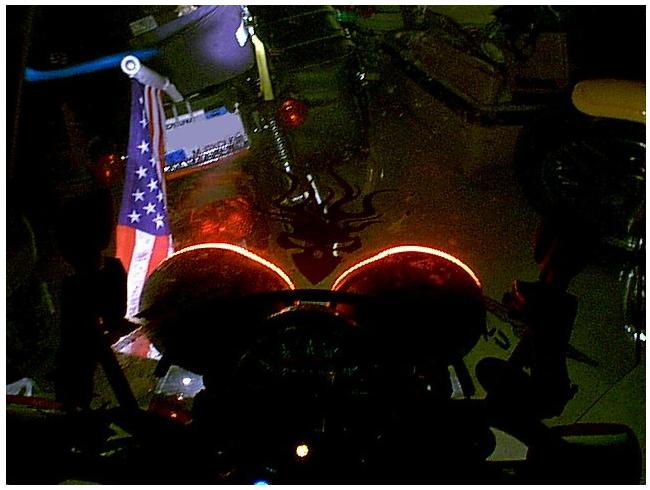
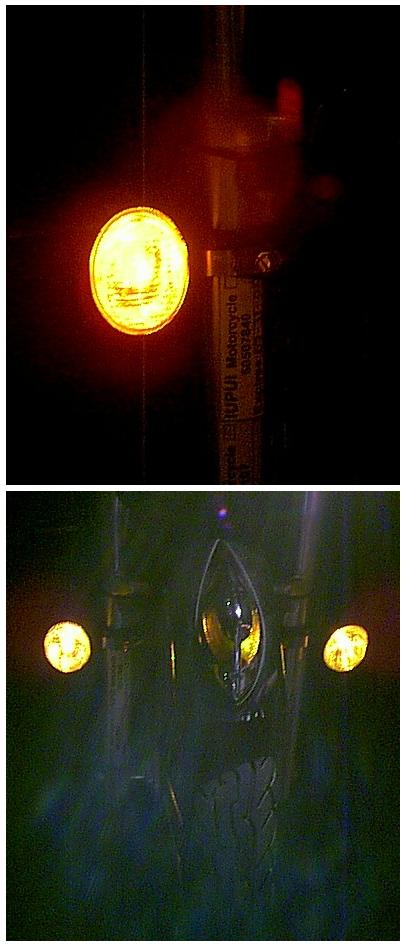
wrapped some red electrical tape around the outer rim of the two head lights - makes a neat glowing red ring around the light when viewed from the rear or off to the side (also helps seal out water from shell)- orange tape is likely a better choice for front use
- -
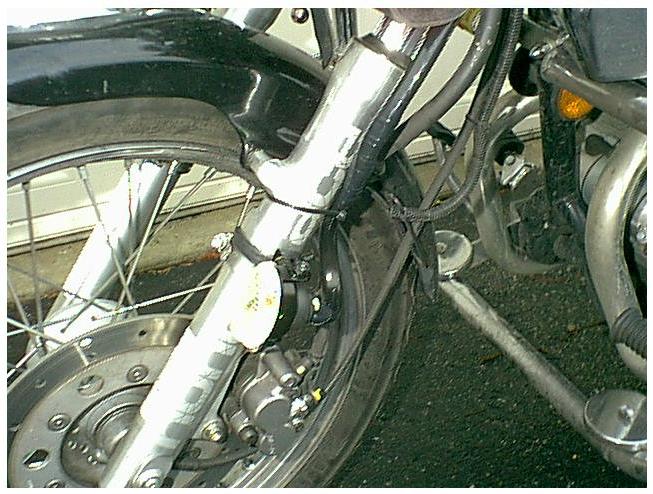
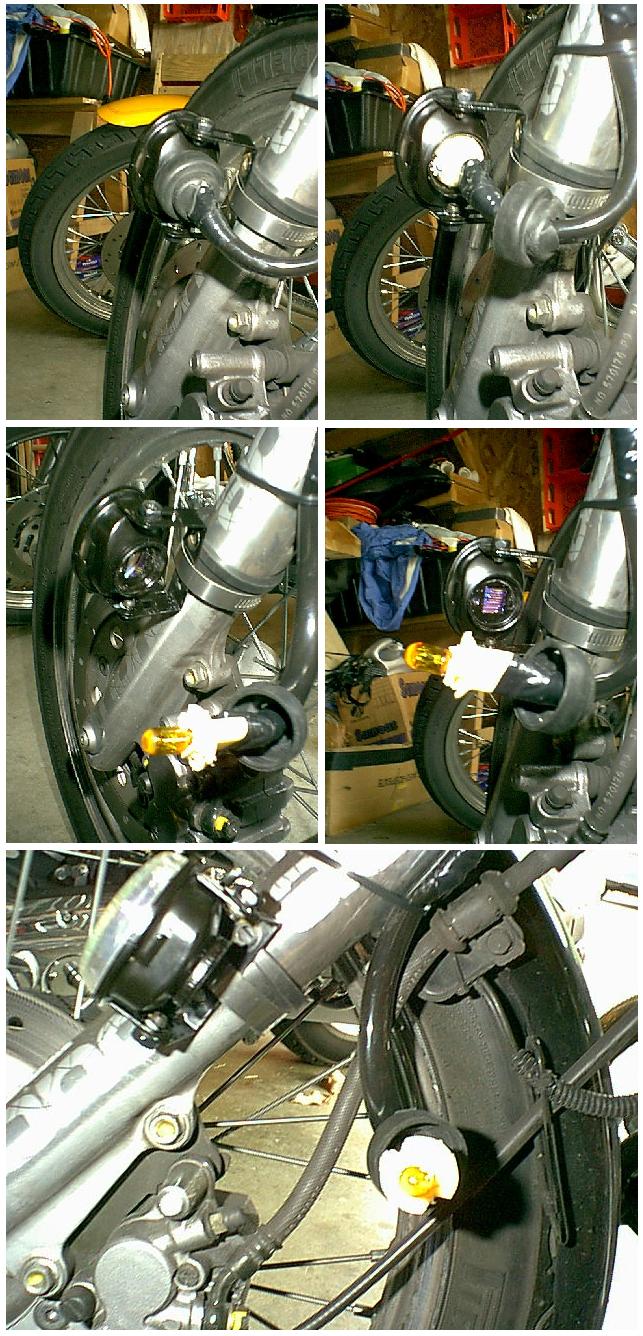
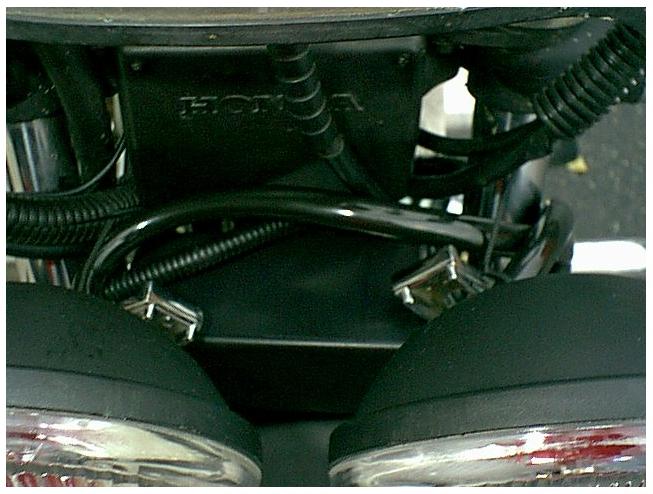
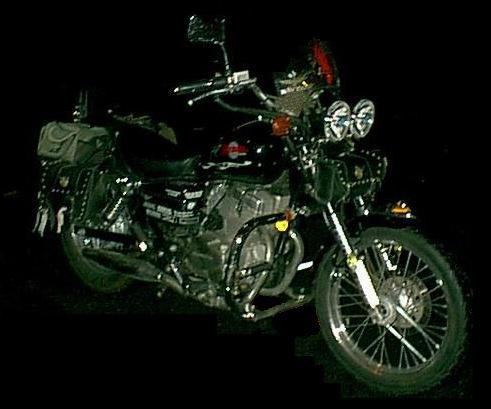
I gutted a pair of small H3 55w mini fogs with dichromatic lense and rubber boot covers on the back ...
dremel cut off wheel sawed the prongs off two sides of a pair of stock turn signal sockets (bulb type 194 - from pep boys) so they would fit into the rectangulat H3 hole ... installed 194A(amber) bulbs ... stuck them in the socket - put a notch on the sides of the signal sockets to clear the hold down screw hole ... added a external (prongs out) star washer to a slightly longer screw and used it to grip the plastic of the socket body and hold the socket to the shell ... slit the back of the rubber boot (in an 'H' pattern) to let the socket length stick out ... used left over rubber circles from cutting off the plumbing connectors used for teh air filter mod to cushion the forklegs and used the left over hose clamp bands from the same plumbing connectors to attatch the light brackets to the fork legs ... and switched it to the 'dash panel' orange/red switches - which are in turn activated off teh lo beam switch (so the HI kills the marker/aux lights - and the LO activates them - or rather their switches which I can choose to turn off or not - but they have NO power when the hi beam is in use - so less worries about an inadverent draining of the battery with too much of a load all at once ...
these replaced the auxillary spots (for now) which were 2x 20w ...
so I'm actually using LESS wattage than the previous set up ...
- -
- -
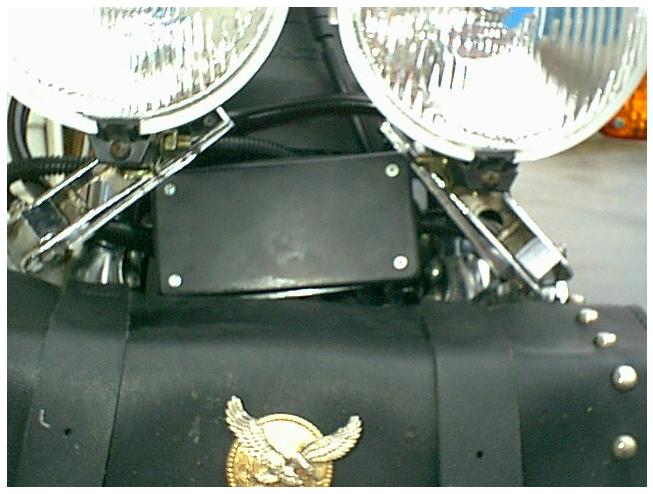
project box from radio shack
Wiring Diagram Sketch
- -
- -
- -
- -
- -


click to RETURN TO REBEL LIGHTING INDEX menu page
Click on this icon logo to RETURN to BAILEY Motorcycle MAINpage


Please contact BABailey at MillenniumRebel@yahoo.com about information on this page

 . . . . .


