BABailey's Project Photo Pages
HrlyDr's Sportster Carb Hop Up

El Cheapo Carb Hop Up for Sportster
This is a mirror/reprint of a thread at CruiseBikes.Net by HrlyDr ...
A friend of mine (Truckmaster) has been a lil disillusioned with the way his new 1200C has been performing. I suspected the carb wasn't set up correctly at the dealer when they installed the Screamin Eagle pipes...and after 250 miles his mufflers are still as clean on the inside as they were when they came out of the box.
Diagnosis: Too friggen Lean (yes, that's technical terminology)
Perfect example of the dealer not doing it right.
Anyway, I thought it would be fun/interesting to post some pics of the DIY stuff anybody can do to improve the performance of your new scoot by setting the carb up correctly. So here it is, in big full-color pictures. Enjoy. Or don't. But this is free info.
Start by shutting off your fuel valve & draining the float bowl. Put a catch pan under the bike, and using a long screwdriver between the jugs from the left side of the bike, loosen this screw. I took this picture after the fact, cuz you just couldn't really see it so good in the pics.

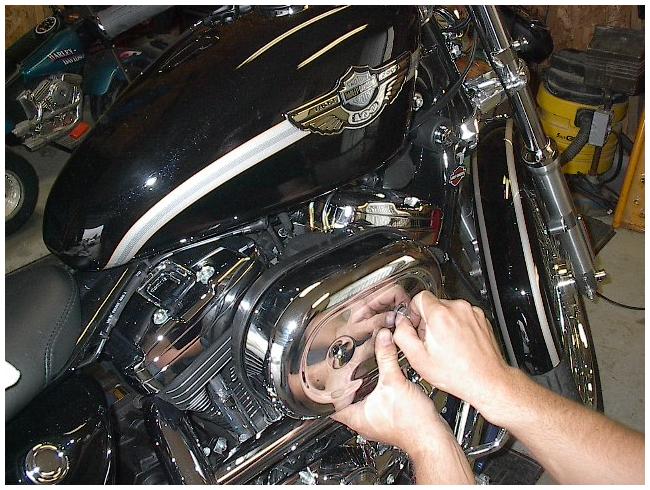
Remove the air cleaner...
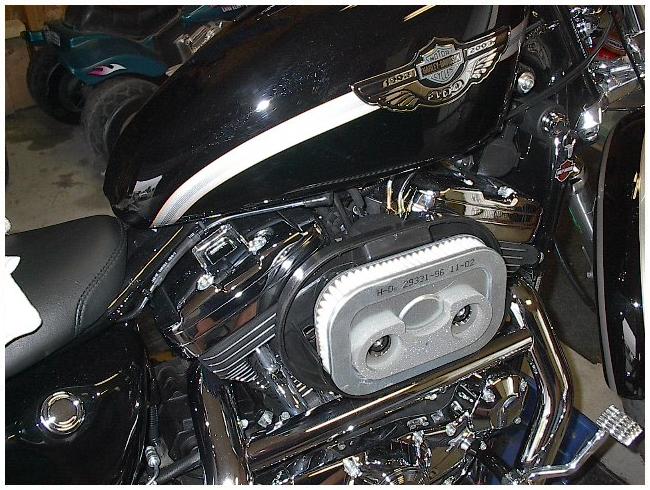
Remove the filter...easy enuf, just pull...
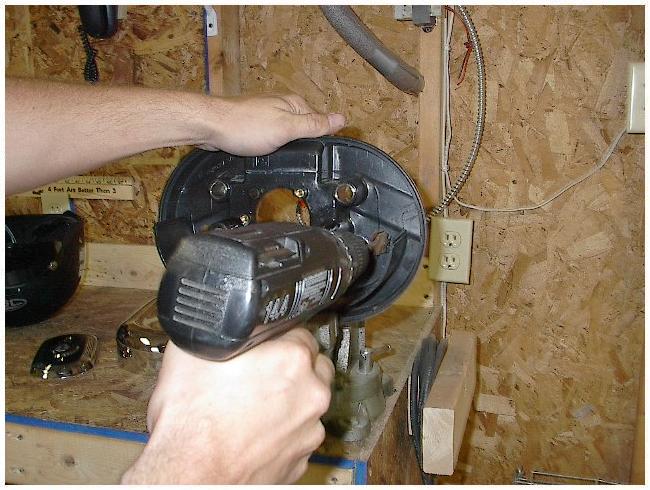
Now you have a choice, you can remove the small hex head bolts at the mouth of the carb, or the big banjo bolts that hold the backing plate to the heads. I chose to remove the banjo bolts...they are your crankcase breathers, don't be alarmed if you see oil here...you should.

Using an allen wrench, remove the three screws in the backing plate at the mouth of the carb.
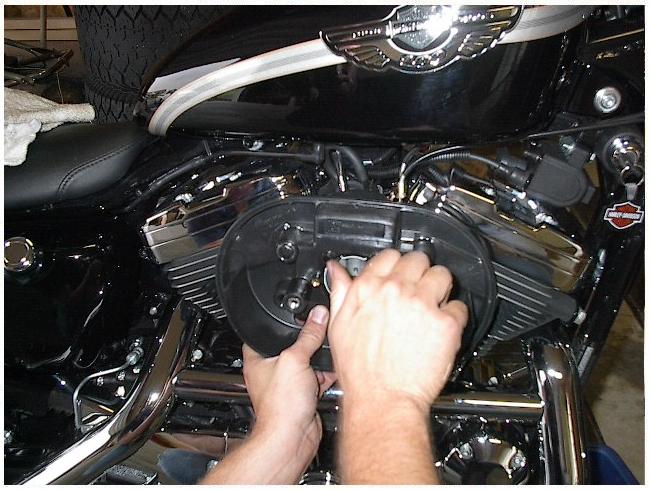
Now grab the carb body with your hands and gently wiggle/tug/pull the carb off of the intake. Yep, just pull it off. There is a re-usable rubber seal on the front of the intake that the carb sits in.
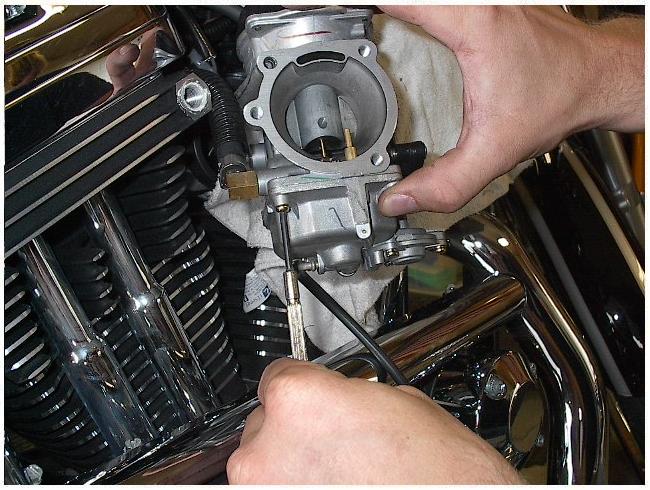
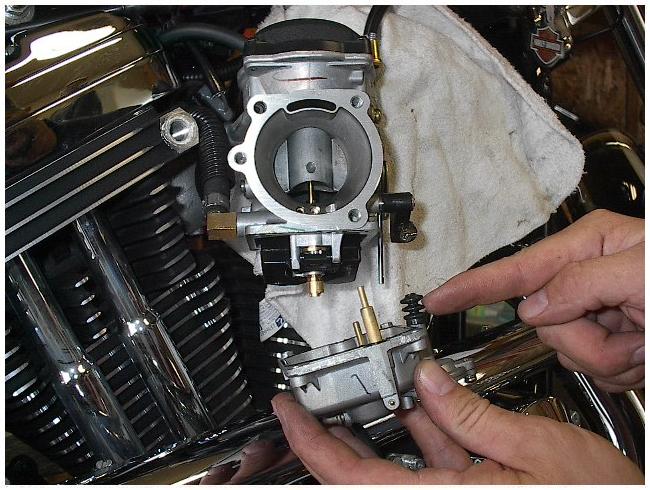
Once you're this far, remove the four brass screws from the corners of the float bowl.
CAREFULLY remove the float bowl, avoid pinching the float itself as this may cause the tang to bend, and well...just don't do that or this gets more complicated.
The screwdriver is only to point out where the acclerator pump rod and the bellows are located. Just pull the float bowl off the bottom of the carb.

Here's another pic of the bellows, and the accelerator pump rod
The rod is an L shaped rod that hangs from the side of the carb. It will fall off if you aren't careful. But don't worry, just slide it back thru the hole from the carb side of the plastic thingy (yes, another technical term)

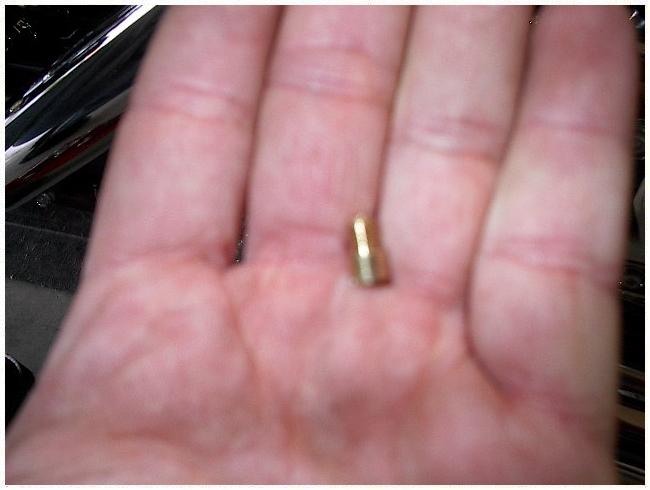
Ok, fuzzy picture...blame that on my lovely assistant Truckmaster...
Anyway, this is your main jet and emulsion tube. Using a small flat screwdriver, remove the main jet from the tube (you may hafta hold the tube with a pair of needlenose pliers or a wrench)
TM's main jet was a 180. I figured this would be good enuf for the mods he had and the ones we were about to make, so I re-installed it...GENTLY and did NOT use Loctite. Big no-no.
*EDIT* since the original pic sucked big time, I went out to my Bin O' Parts and took a pic of another carb I have. I didn't hafta remove the carb from TM's bike for this job.

The main jet...
Just behind the emulsion tube is a hole cast into the body of the carb. Inside that hole is your slow jet. Use a small screwdriver to remove it
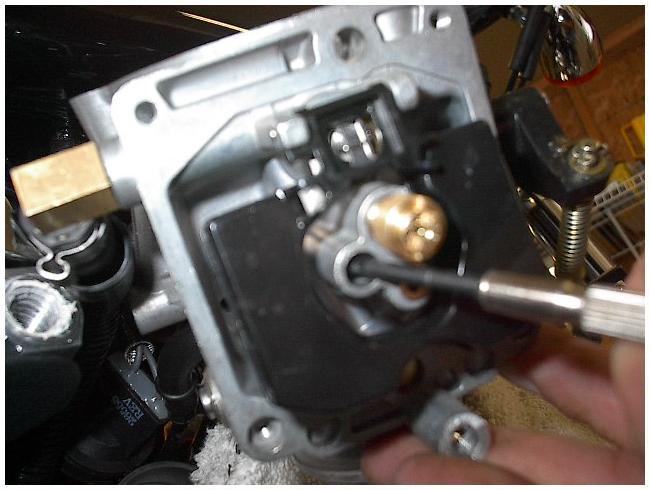
The slow jet...
His stock slow jet was a #45. That seems a lil small for the pipes, and the upcoming airbox mod, so we replaced it with a #48. Again, NO LOCTITE!

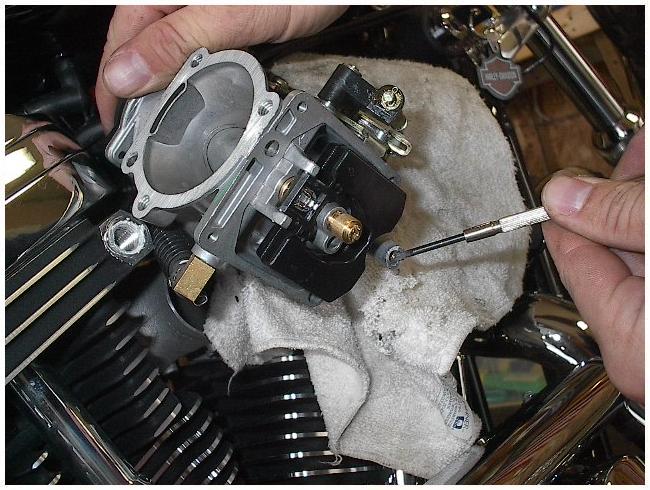
Behind the carb, is a small tower that is sealed at the factory with an aluminum cap. You can pry the cap off, or run a sheet metal screw into the cap a few threads and wiggle the cap out. Somebody already broke the cap off of his carb, so I can't show you the process...but it's easy.
About 3/8" behind that cap is your idle mixture screw. Run it all the way in (tight) with that small screwdriver, and count your turns. TM's screw was adjusted out 1˝ turns...I moved it to a full 2 turns out.
The stock air cleaner/filter is very restrictive. There are two approximately 7/8" holes located in the backing plate behind where the filter sits, and two rectangular holes in the backing plate, under the filter.
I drilled 4 more 7/8" holes in the plate...
Here you can see the additonal holes.
Vaccuum out any plastic shavings and debur the holes.

Ok, you're almost done...
Installation is the reverse of removal. Carefully line up the float bowl and tighten the screws, be sure to guide the bellows back over the pump rod. Don't forget to close the float bowl drain screw. Be sure to use some Loctite pipe thread sealant on the banjo bolts (the big breather bolts) when you reinstall them. This prevents oil from seeping around the threads and dripping down the backside of your air cleaner.
Turn your gas valve on after your all together, and fire her up.
I'll let Truckmaster report on the results, but it seemed good to me on the test ride.
BABailey Q: can i just do the backing plate 7/8ths additional holes drilling without having to rejet or change anything else ? i don't mind opening up the air box - am shy about disassembling the carbs
Hrlydr A: That's tuff to say BAB. You'll be flowing more air now, so you really should think about replacing the jets.
On your 883 a #45 slow and a #165 or #170 main should be about right for slip-ons and an air box mod.
Don't be shy...it's easy.
The Original Thread for this Discussion is located at ... www.CruiseBikes.net - El Cheapo Carb Hop Up
This page has been viewed ...

... times since the Hit Counter was added on 9/25/2003

Click on this icon logo to RETURN to BAILEY Motorcycle MAINpage