Day 3 - Bad boy bonnet
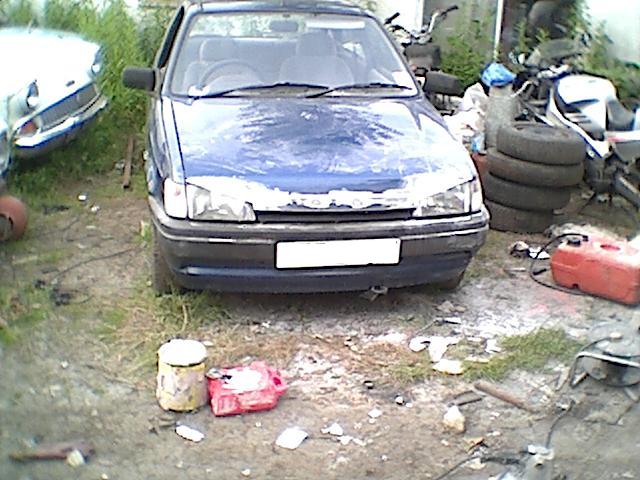
This has got to be the best part, the hardest but best lookin part. What I did was I measured out the shape that I wanted it to be onto tin and cut it out. Then i got my dad to weld it on the bonnet.

Look's like this on the front

Then all you do is crud it, you should now know how to crud, but this is really difficult. If you have to put a really thick layer on, so that you can sand it off to what ever shape you like. I did it first time but had to fill in little holes. Then I sanded it with an electric sander. You could just use sand paper on a small block of wood.

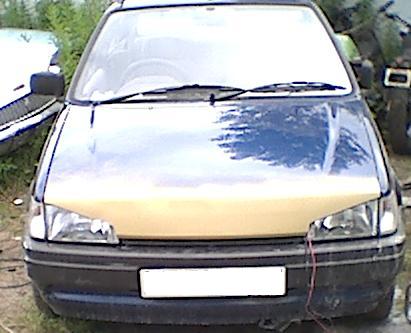
Then just smooth it down as much as possible and bob's your uncle.
Gorgeous, the pics a bit light though, but you get the general idea :D I'm a happy man now.

When you've sanded it enough with course sand paper 'P40' is best you just need to finish it off with finer paper 'P180' I used, otherwise known as wet 'n' dry. If you spot any nicks or knocks that are quite bad then you should crud up again with really clean crud and make a good job. I had to re-crud places about 5 times, so bare that in mind. And don't forget to sand a smooth curve in the brow of the bonnet if you want one, it does look the part with a curve.
Next job is priming it, this is pretty easy if you've got the equipment, if not get someone else to do it or borrow the equipment. Put newspaper all around the area you don't want to spray fixed with maskin tape. Then just spray smoothly back and forth about 4 or 5 inches away from the car. When that's finished check to see if there's anything wrong with it, e.g. still little scratches and stuff in it. If there is then P180 it wet until it's all gone. Then add another coat of primer, then you must get P800 to really finish it off.
