(Original air date 02/23/66)
bvbvbvbvbvbvbvbvbvbvbvbvbvbvbvbvbvbvbvbvbvbvbvbvbvbvbvbvbvbvbvbvbvbvbvbvbvbvbvbvbvbvbvbvbv
bvbvbvbvbvbvbvbvbvbvbvbvbvbvbvbvbvbvbvbvbvbvbvbvbvbvbvbvbvbvbvbvbvbvbvbvbvbvbvbvbvbvbvbvbv
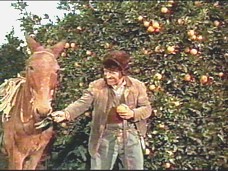
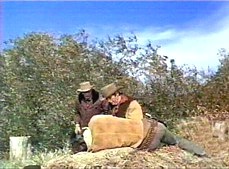
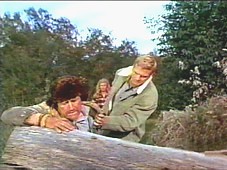
The gunfire alerts Nick who rides out to the area. There he meets with the old goat he recognizes as the man who shot his father’s killer, family friend Handy Random (James Whitmore).
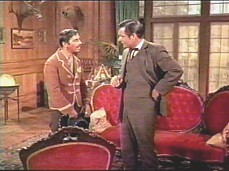
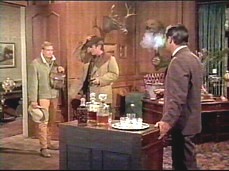
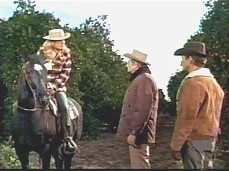
Nick comes in with Handy who is happy to be renewing acquaintance with the Barkley children and accepts their generous hospitality to lodge at the ranch. Once enlightened about the land dispute between the two clans, Handy proposes a radical method in order to deal with the trespassers. Jarrod and Nick are against further violence and wince at the news that Handy already shot one of the Craddock boys. This incident will likely give way to all-out range war; a situation they are desperately trying to avoid.
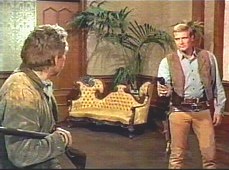
Jarrod then introduces Handy to his little brother. Heath’s eyes start shooting daggers at the scruffy-looking man he recognizes from his past. He storms out of the room without so much of an explanation to his two puzzled siblings.
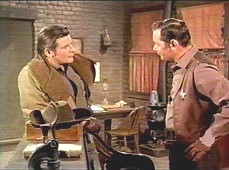
In town Nick discusses the incident with the sheriff (Michael Harris) insisting that Handy is not a hired gun but a friend of the family who just happened to be at the wrong place at the wrong time. The sheriff can only try to keep the peace between the Barkleys and Craddocks until a judge can settled the land dispute.
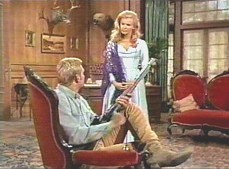
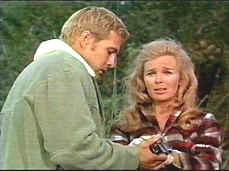
After visiting with Handy in the barn to give him a special gift, Audra goes to Heath requesting that he explains his rude behavior towards Handy. Barely does he have time to tell her all about his run with the man that Nick barges in, furious at his failure to knock some sense into Craddock’s head.
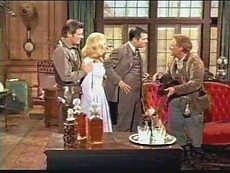
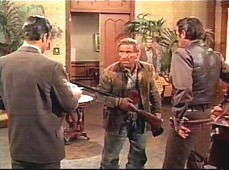
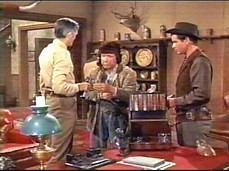
Handy interrupts the discussion by reiterating his offer to keep the Craddocks off their land for a $500 fee. They refuse, stating that violence is not the answer.
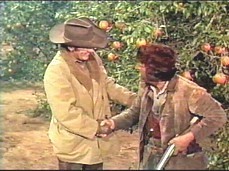
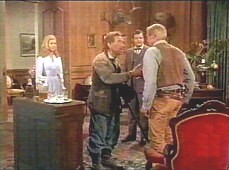
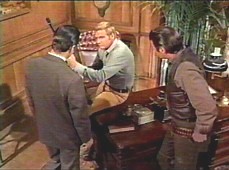
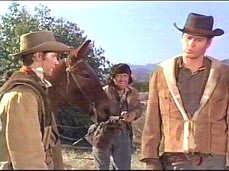
Nick and Jarrod politely ask Handy to mount up and ride off their property. When Handy’s temper begins to flare up, Heath backs his brothers with a gun thrust at the old man’s back. Nurturing high hopes of having the opportunity to work for the enemy, Handy leaves them with a warning not to trespass on Craddock’s land for he won’t hesitate to shoot them on sight.
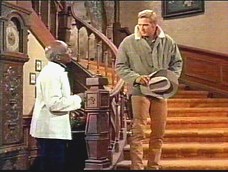
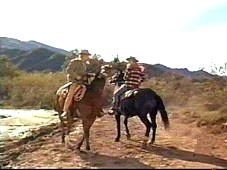
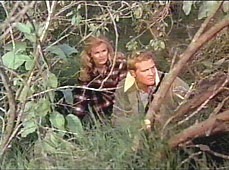
Heath returns home to be told by Silas that Audra was seen riding out toward the Craddock place. Worried that Handy might shoot her, Heath grabs a rifle and rides after his sister.
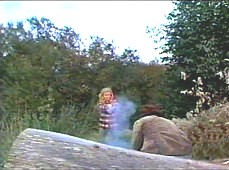
Halfway down the path, they part ways. A few feet away, Handy is aiming to gun down the pretty blonde when Heath shows up. The jackass brays, sounding the alarm that prompts Heath to jump on Audra before shots are fired.
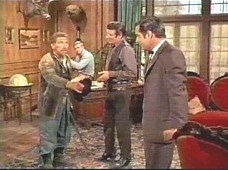
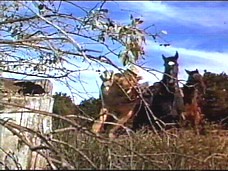
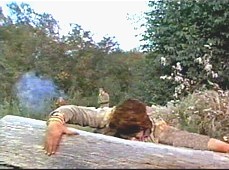
Frank shows up, threatening Handy to drop his weapon but the old man is faster on the trigger and shoots the boy dead. Minutes later Ezra and his son Joe find Frank’s body.
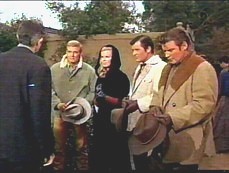
At his son Frank’s funeral, Ezra apologizes to the Barkleys. Although not willing to relinquish the land he does however agree to allow the Barkleys’ harvest hands in the groves to pick the oranges.
Director: Bernard McEveety
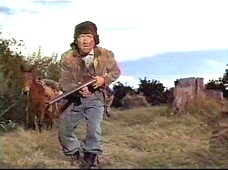
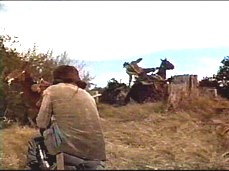
A lone rider ambles his way through the Barkley orange groves, minding his own business, when shots get fired at him. He runs for cover and attempts to reason with the concealed gunmen while he strains to catch sight of them. Once he spots his targets he aims and shoots, hitting one of them.